Starting the Journey — My Stock GPU Setup
Nov 25, 2025
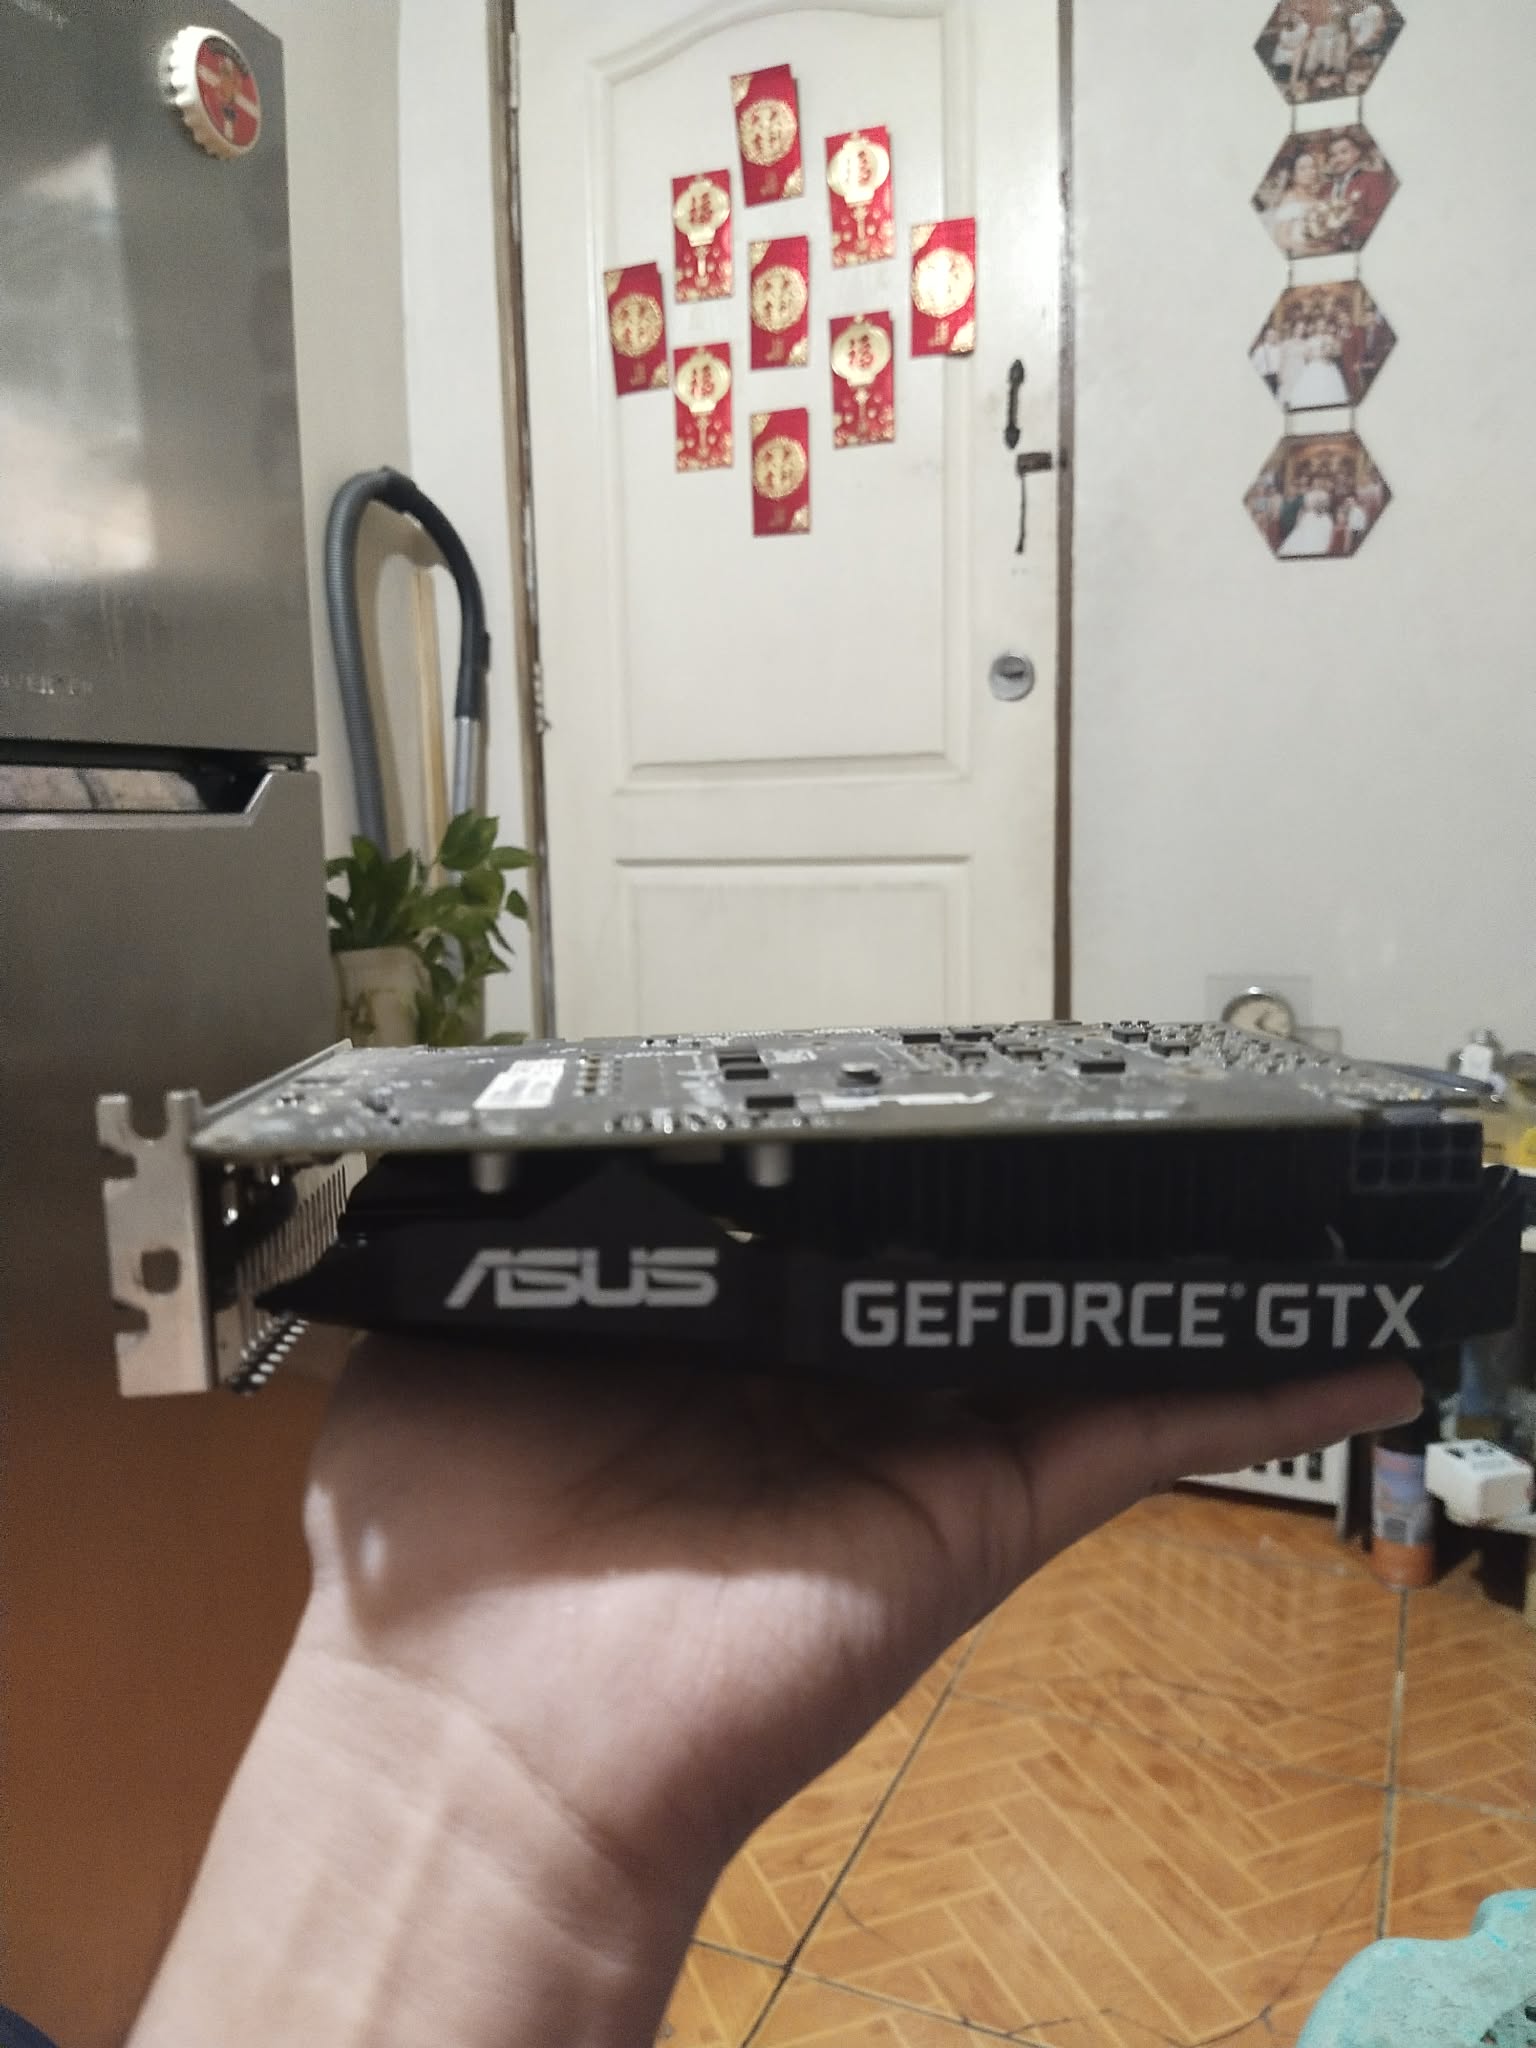
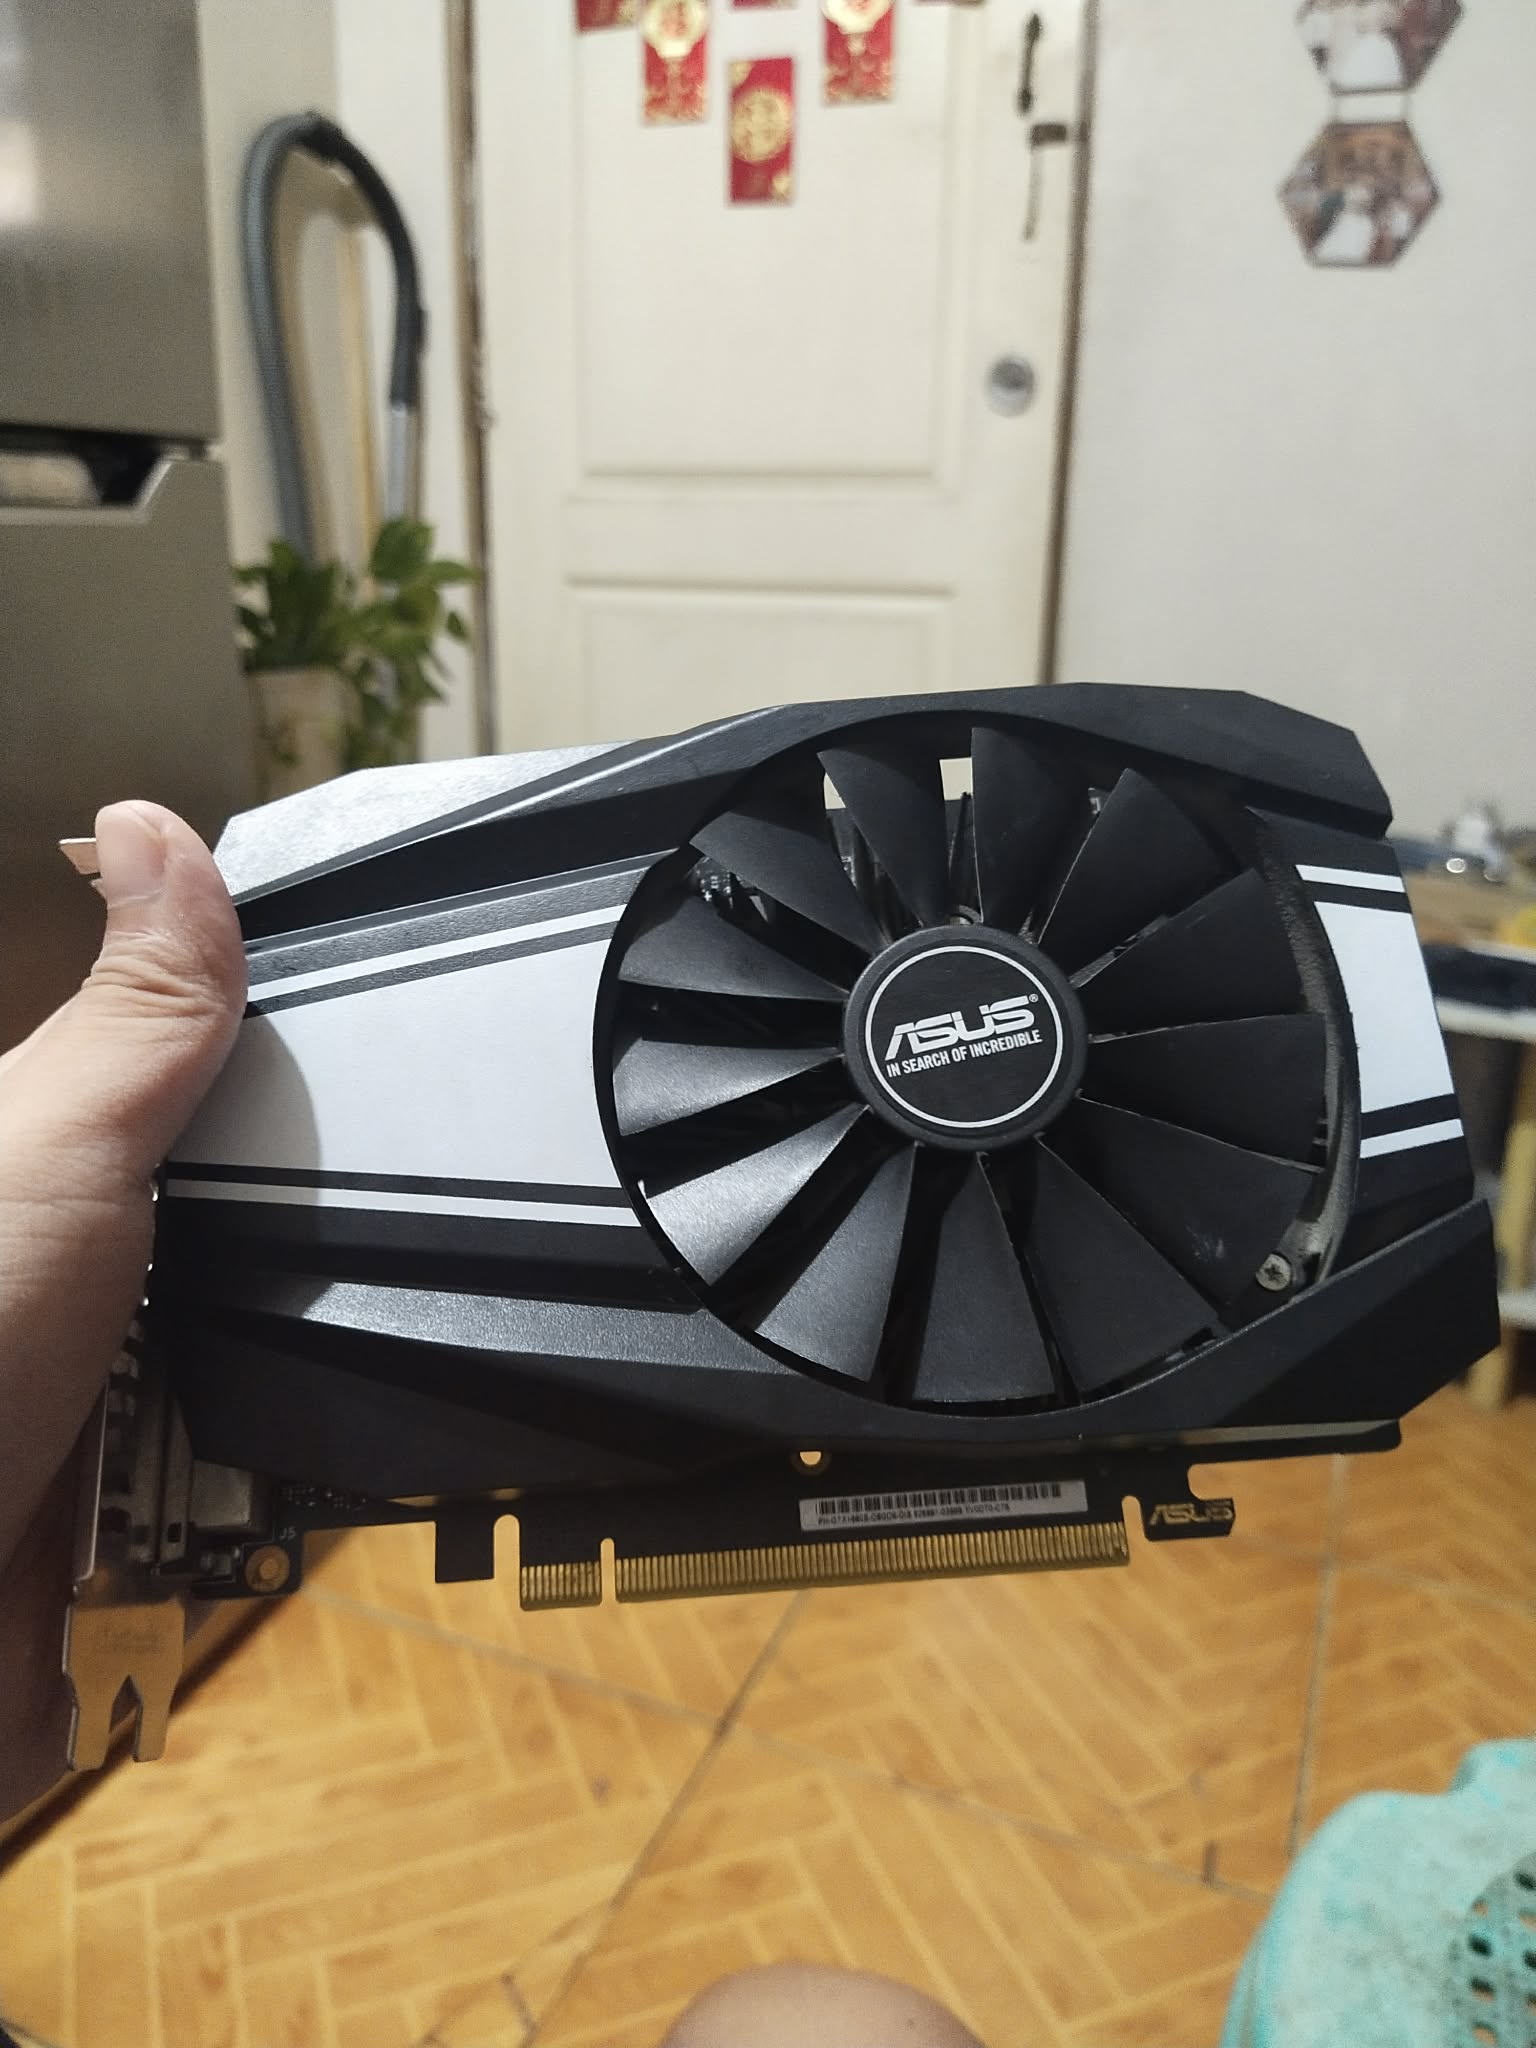
I always wanted a white GPU for my dream Midnight Build. With the combination of a black chassis and white components, it looks fantastic and super awesome to look at. Then it came to my mind: “Why don’t I turn my boring black GPU into a white one?” With that idea, I started watching a lot of YouTube tutorials on how to spray paint a video card. This is what my stock GPU looked like—an Asus Phoenix GTX 1660 Super OC.
Materials needed and Initial Design
Nov 26, 2025
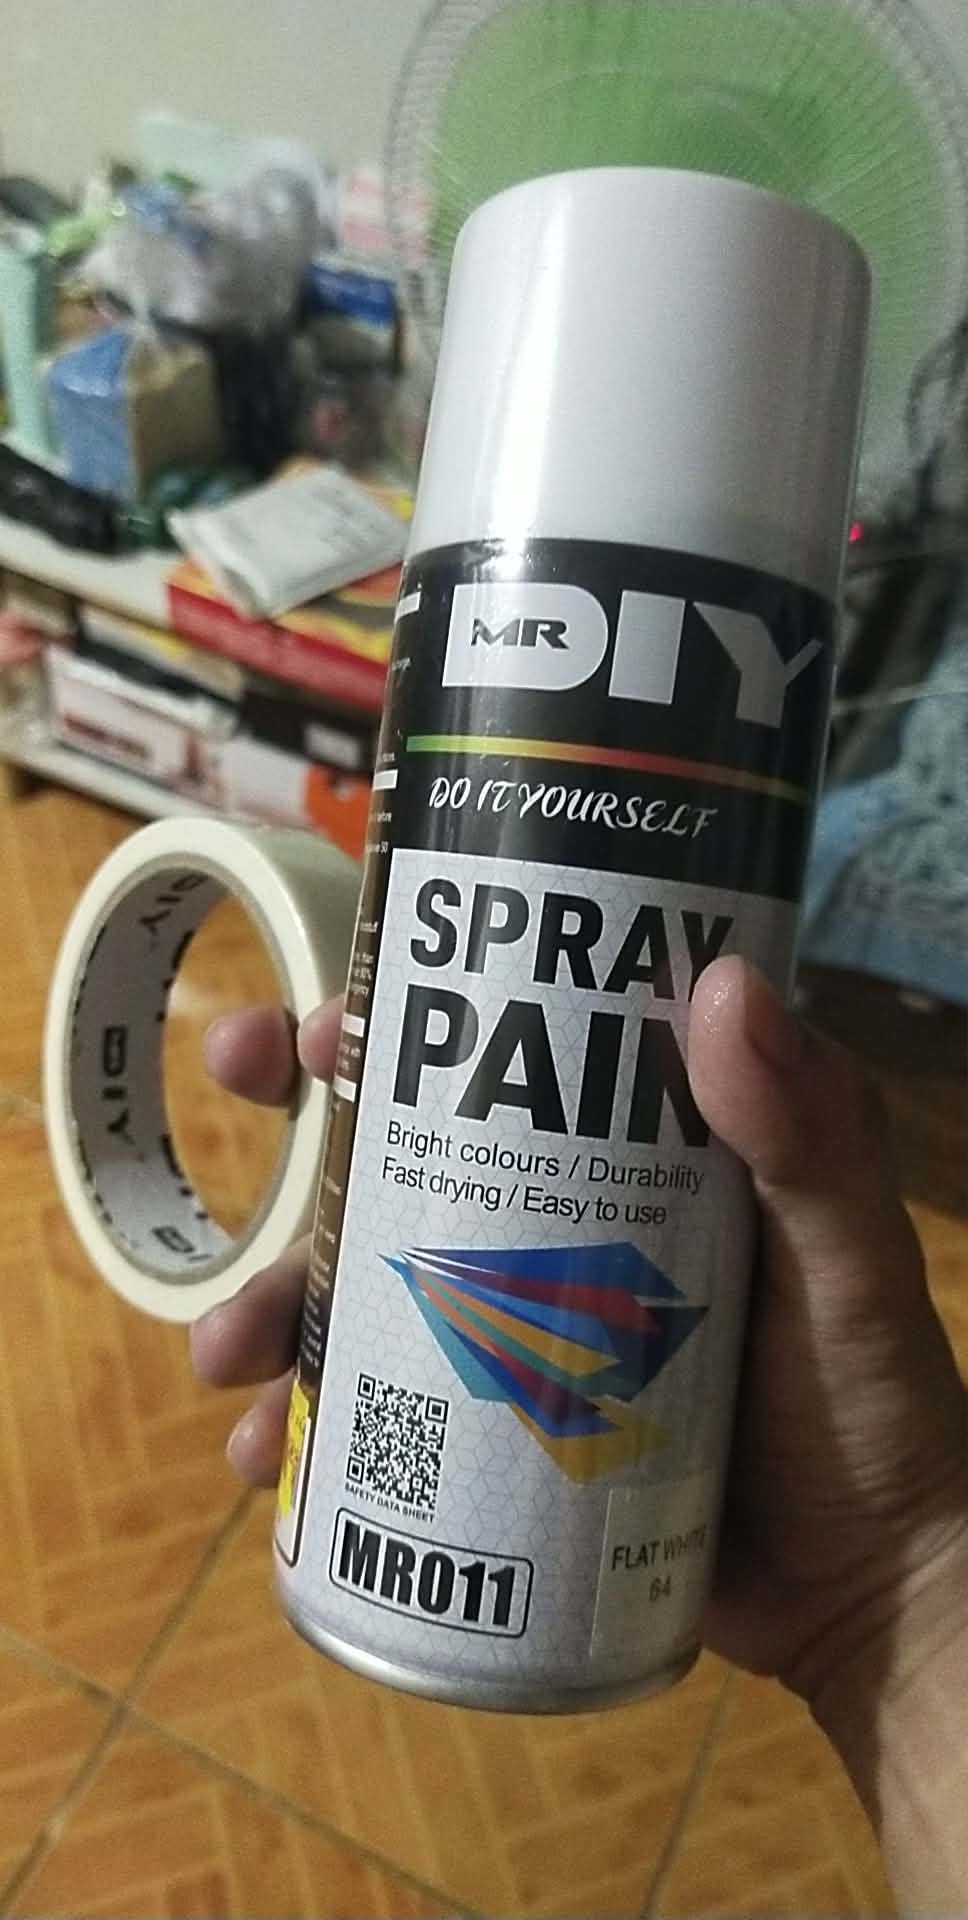
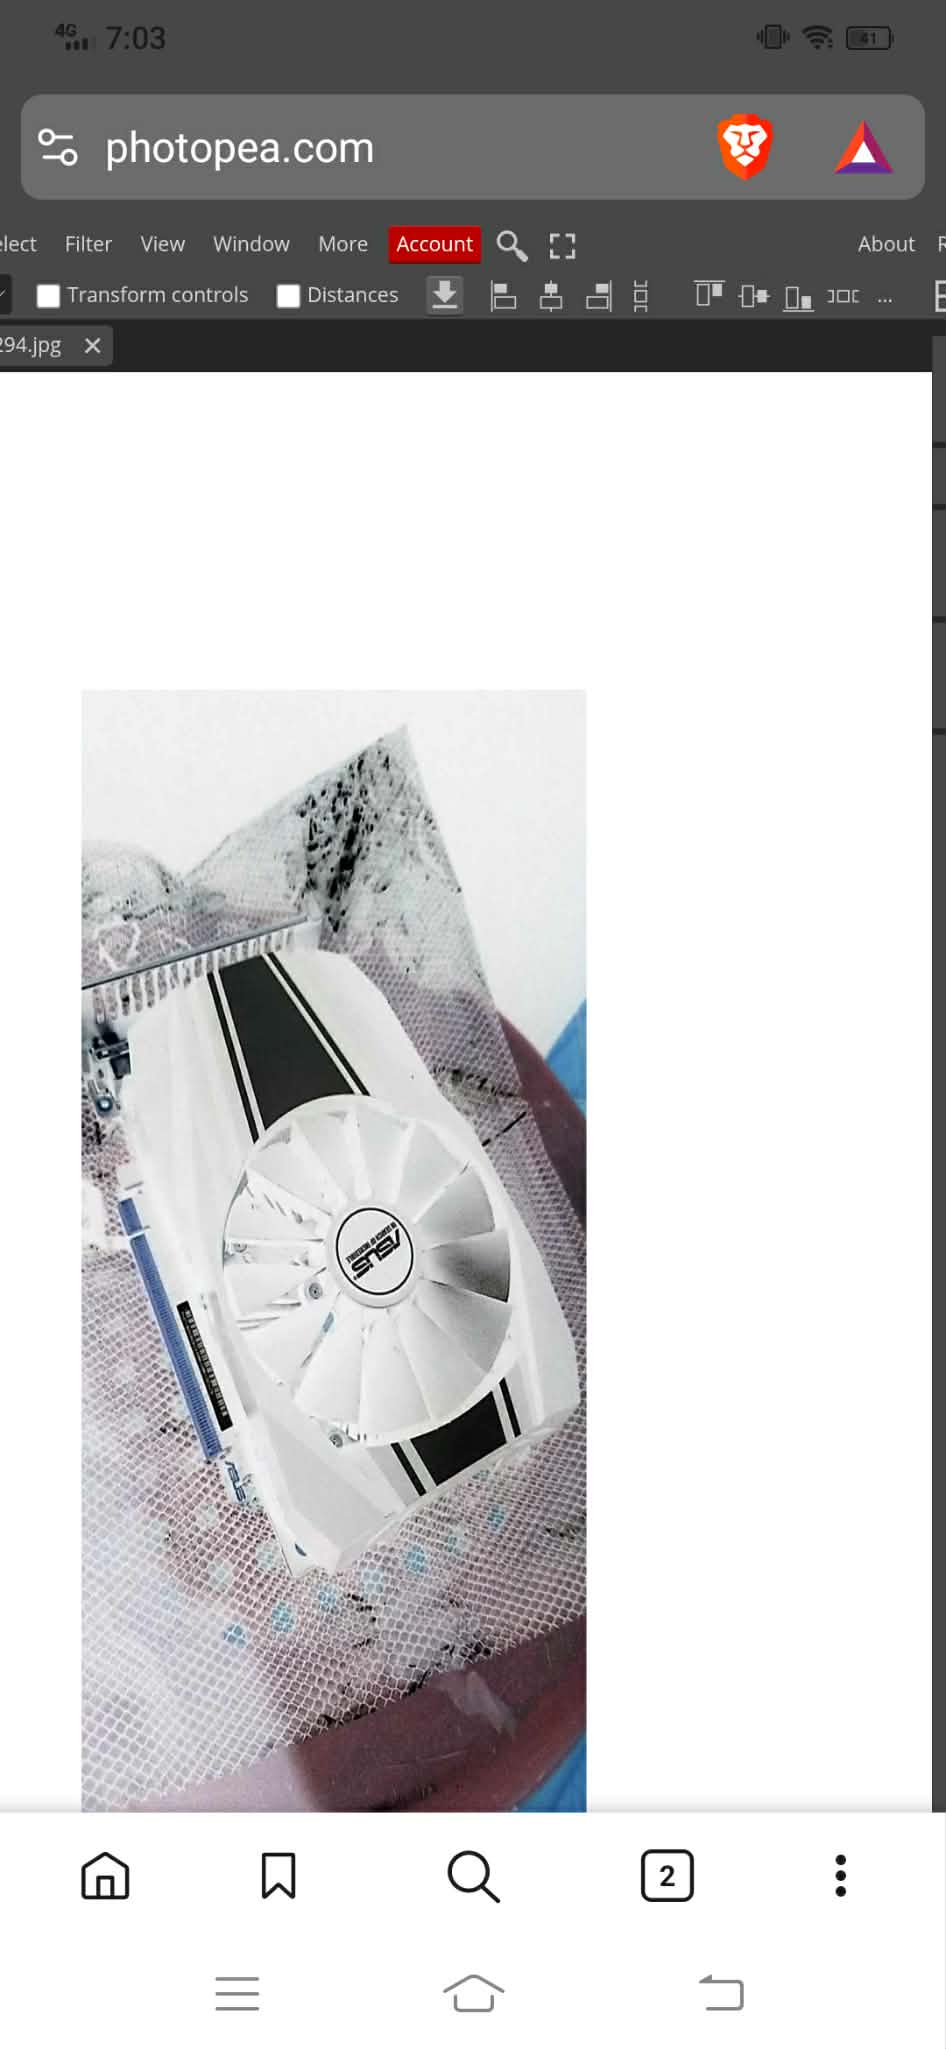
After watching tons of tutorials, I started gathering materials and bought some spray paint and masking tape. I even inverted the colors of my GPU photo to make it look white, and that became my initial design.
Disassembly
Nov 26, 2025
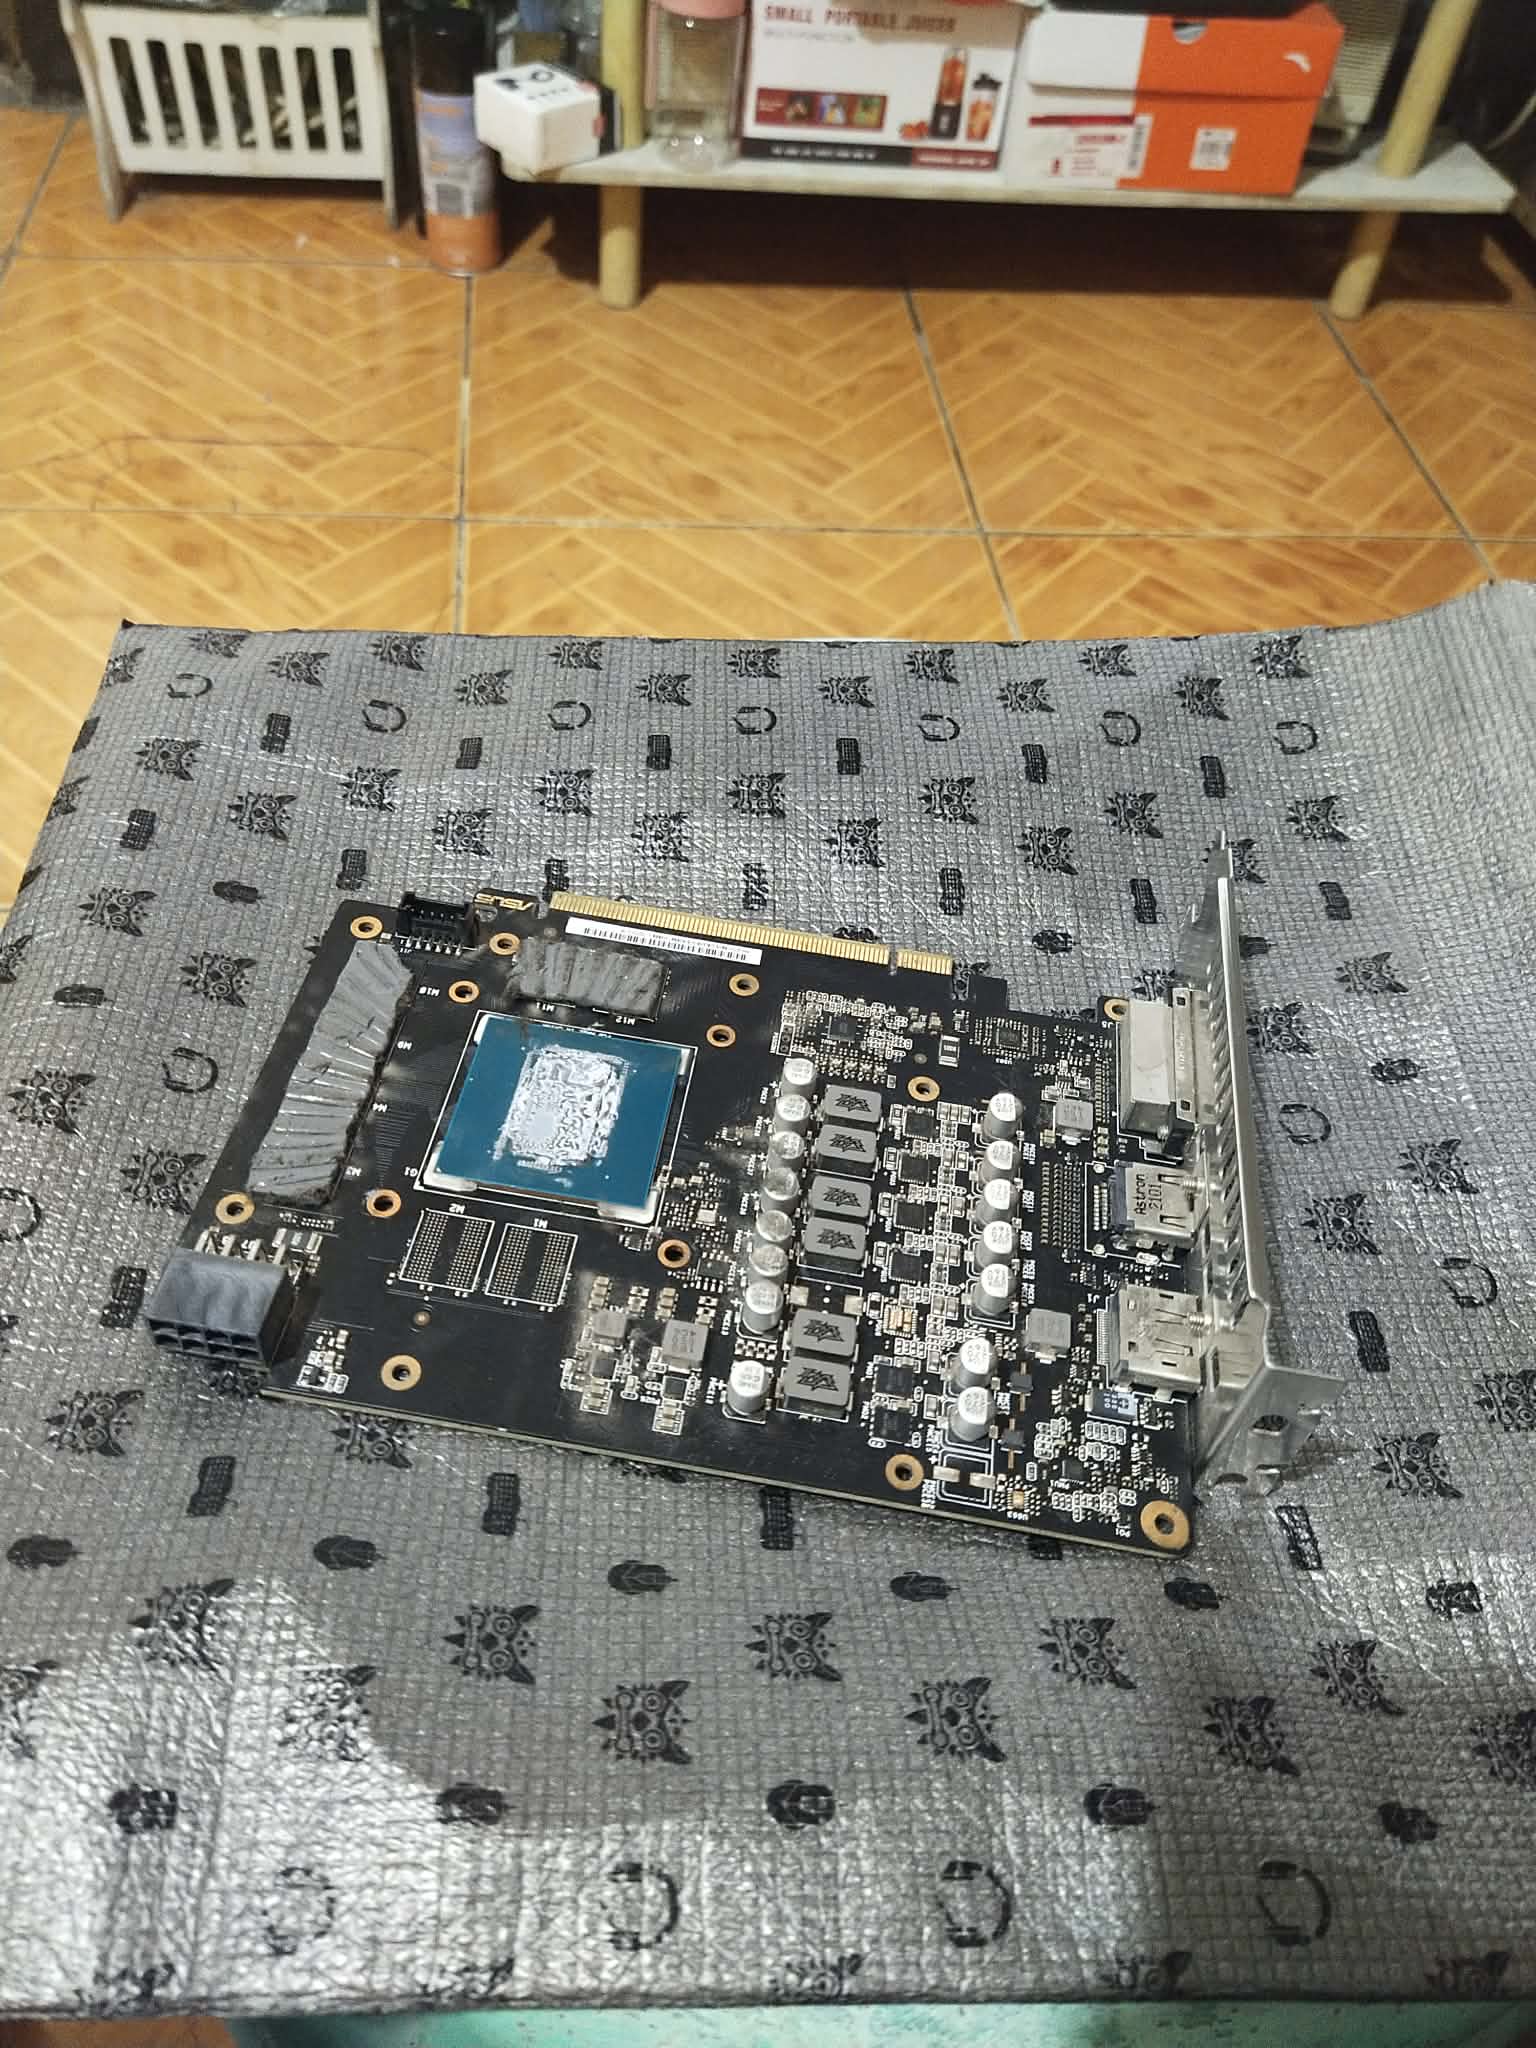
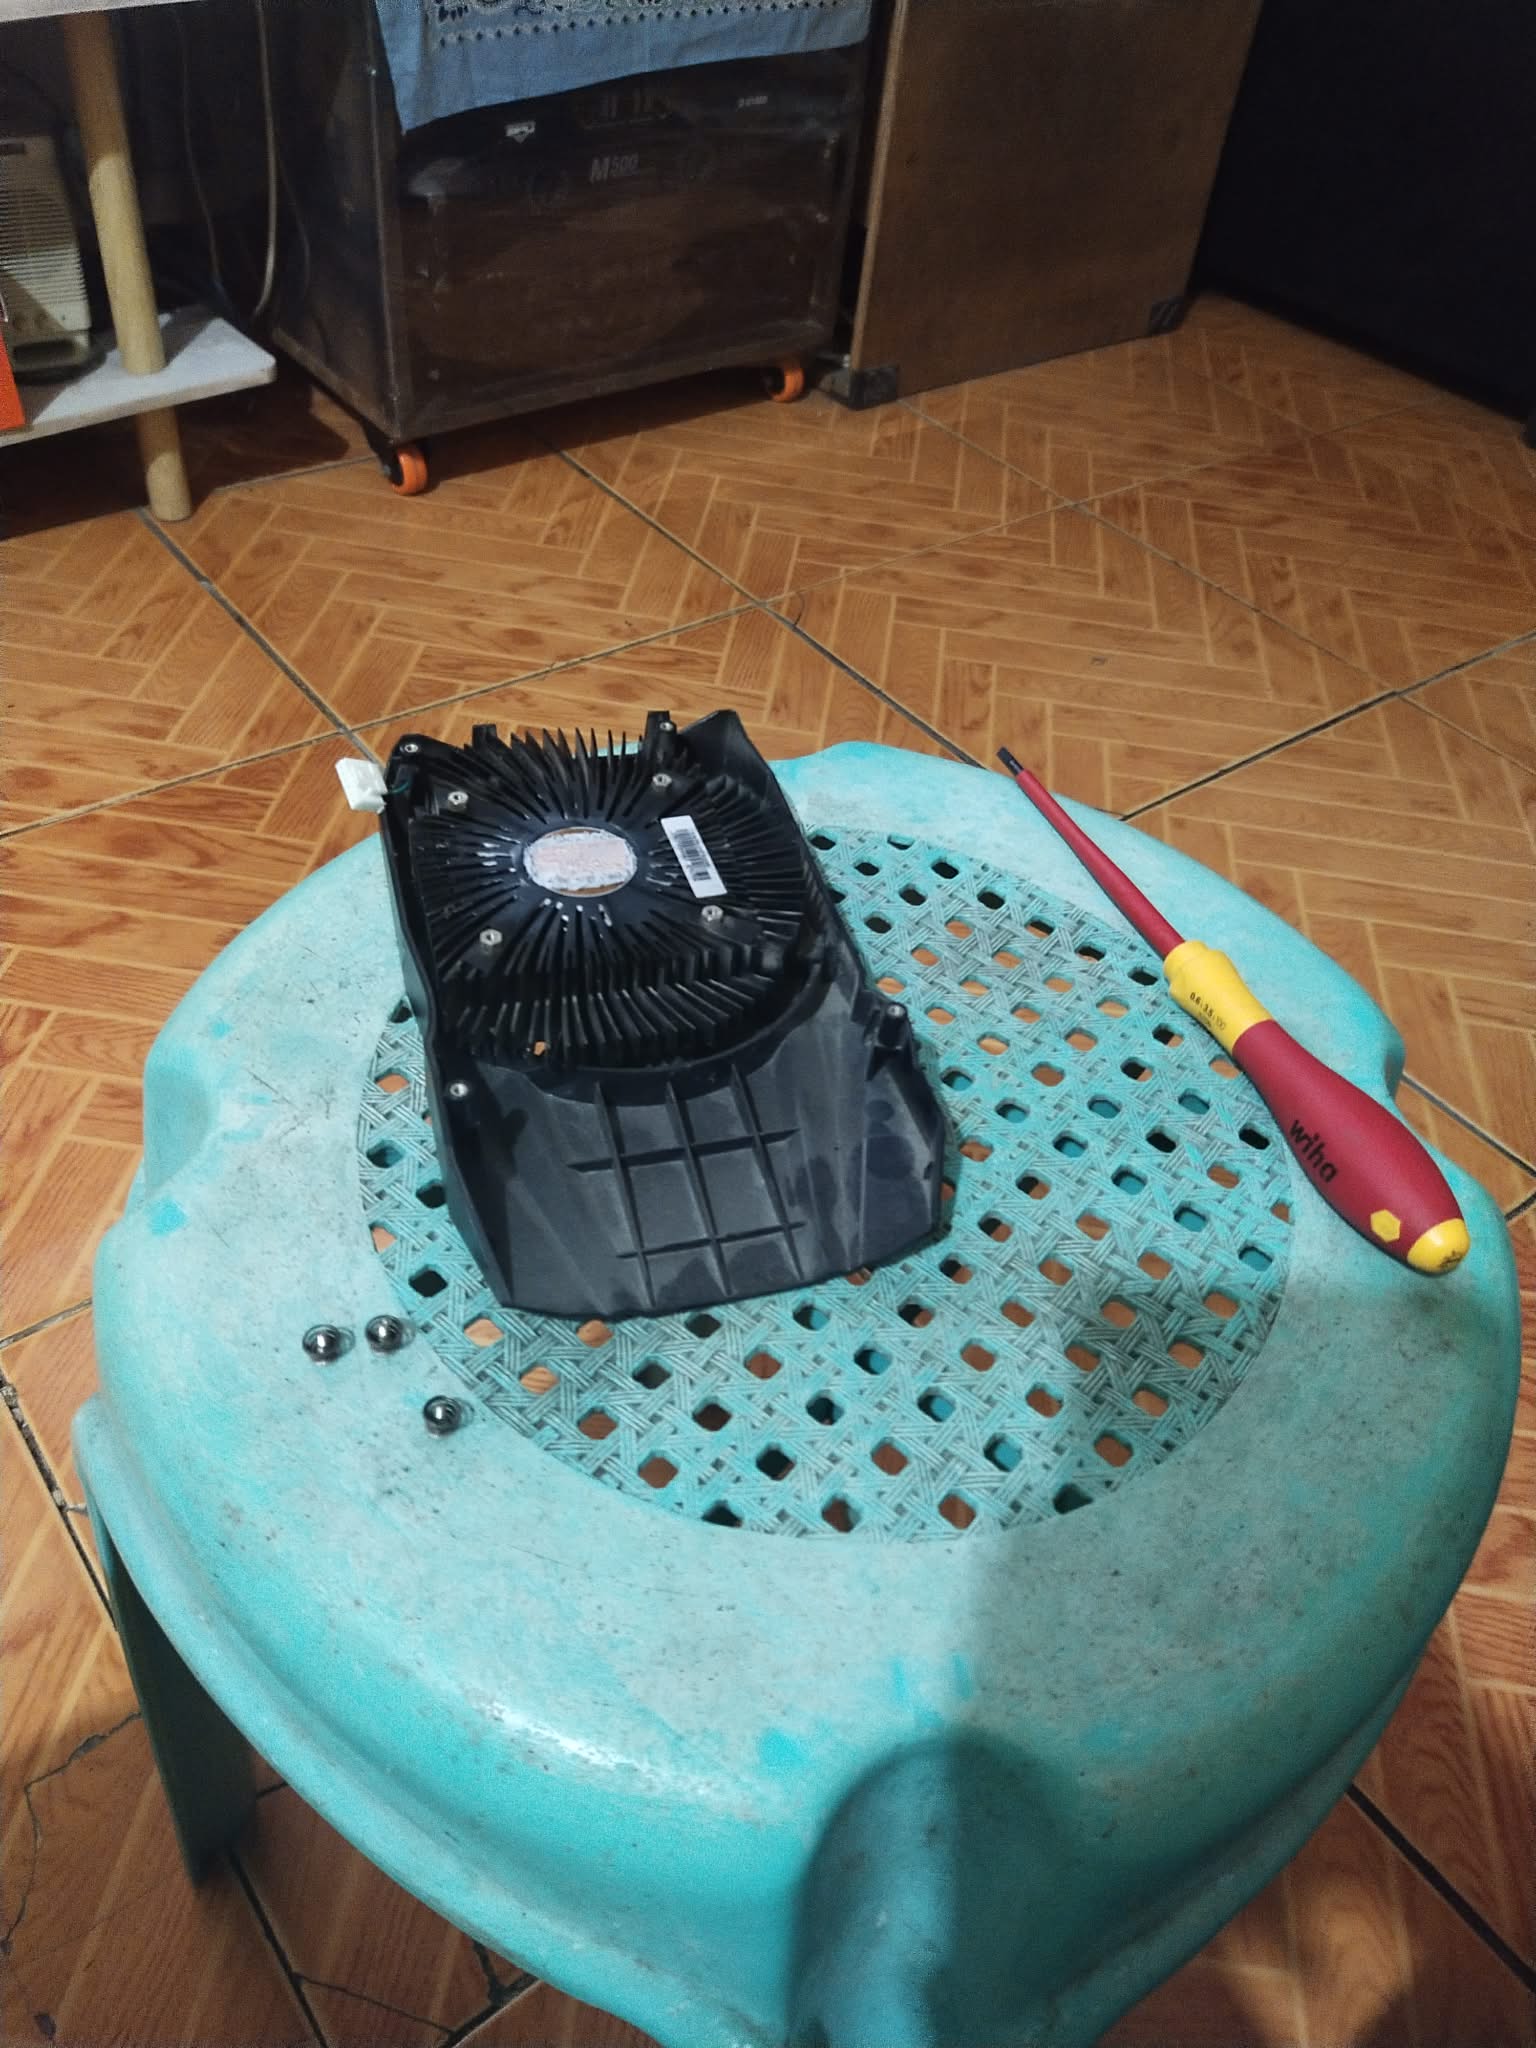
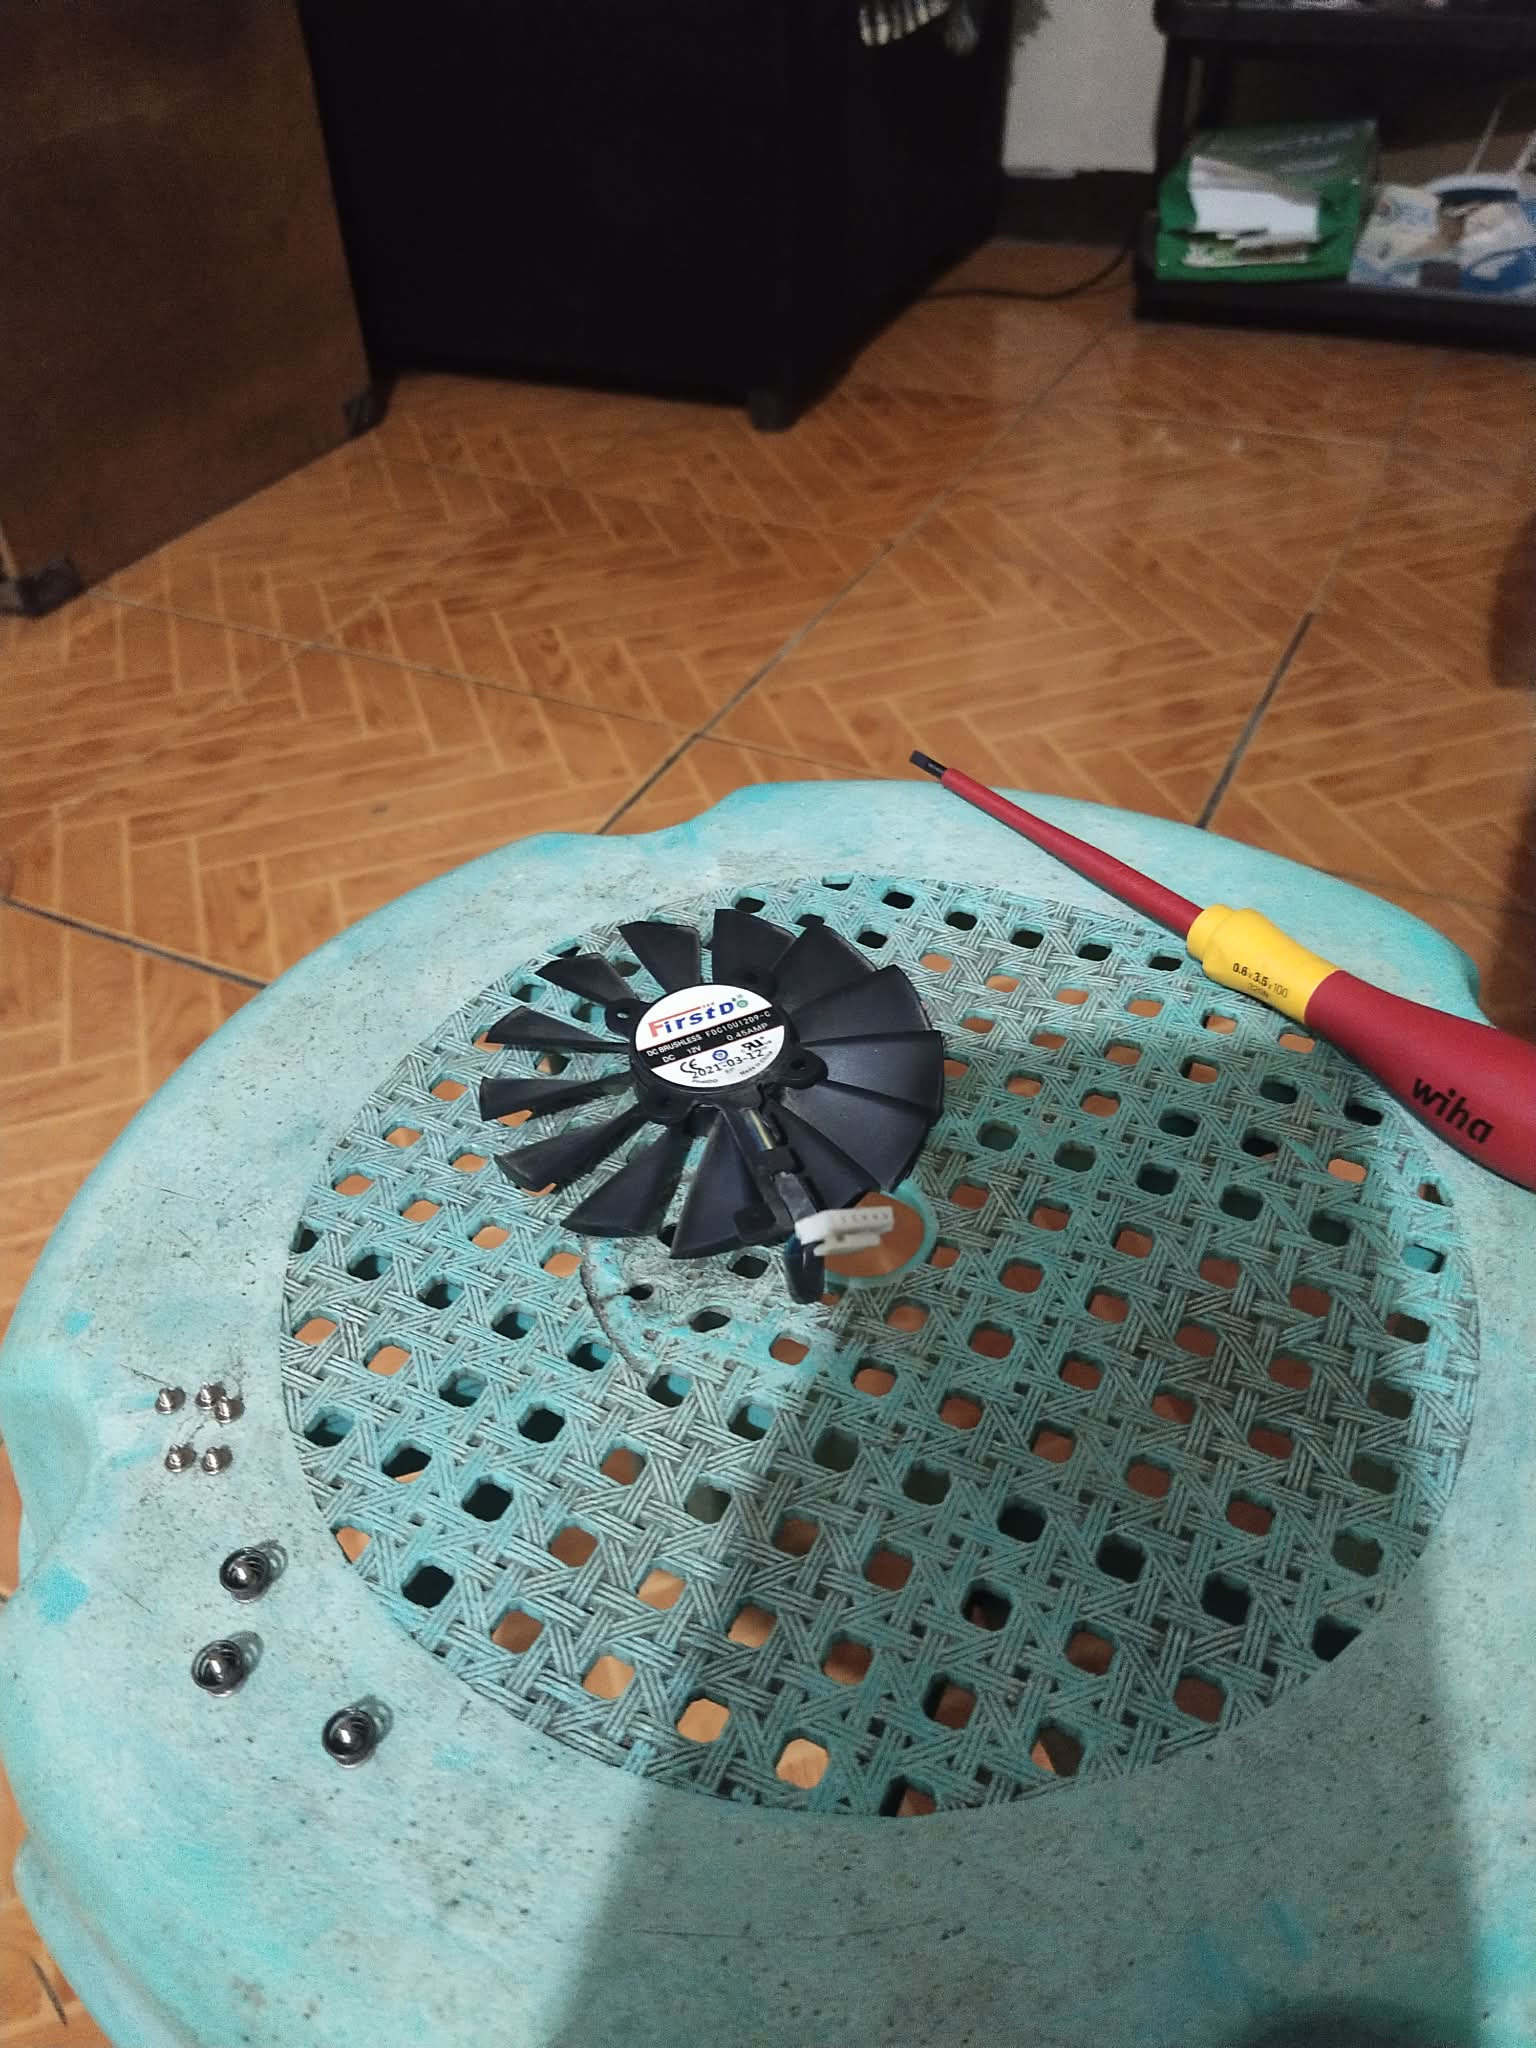
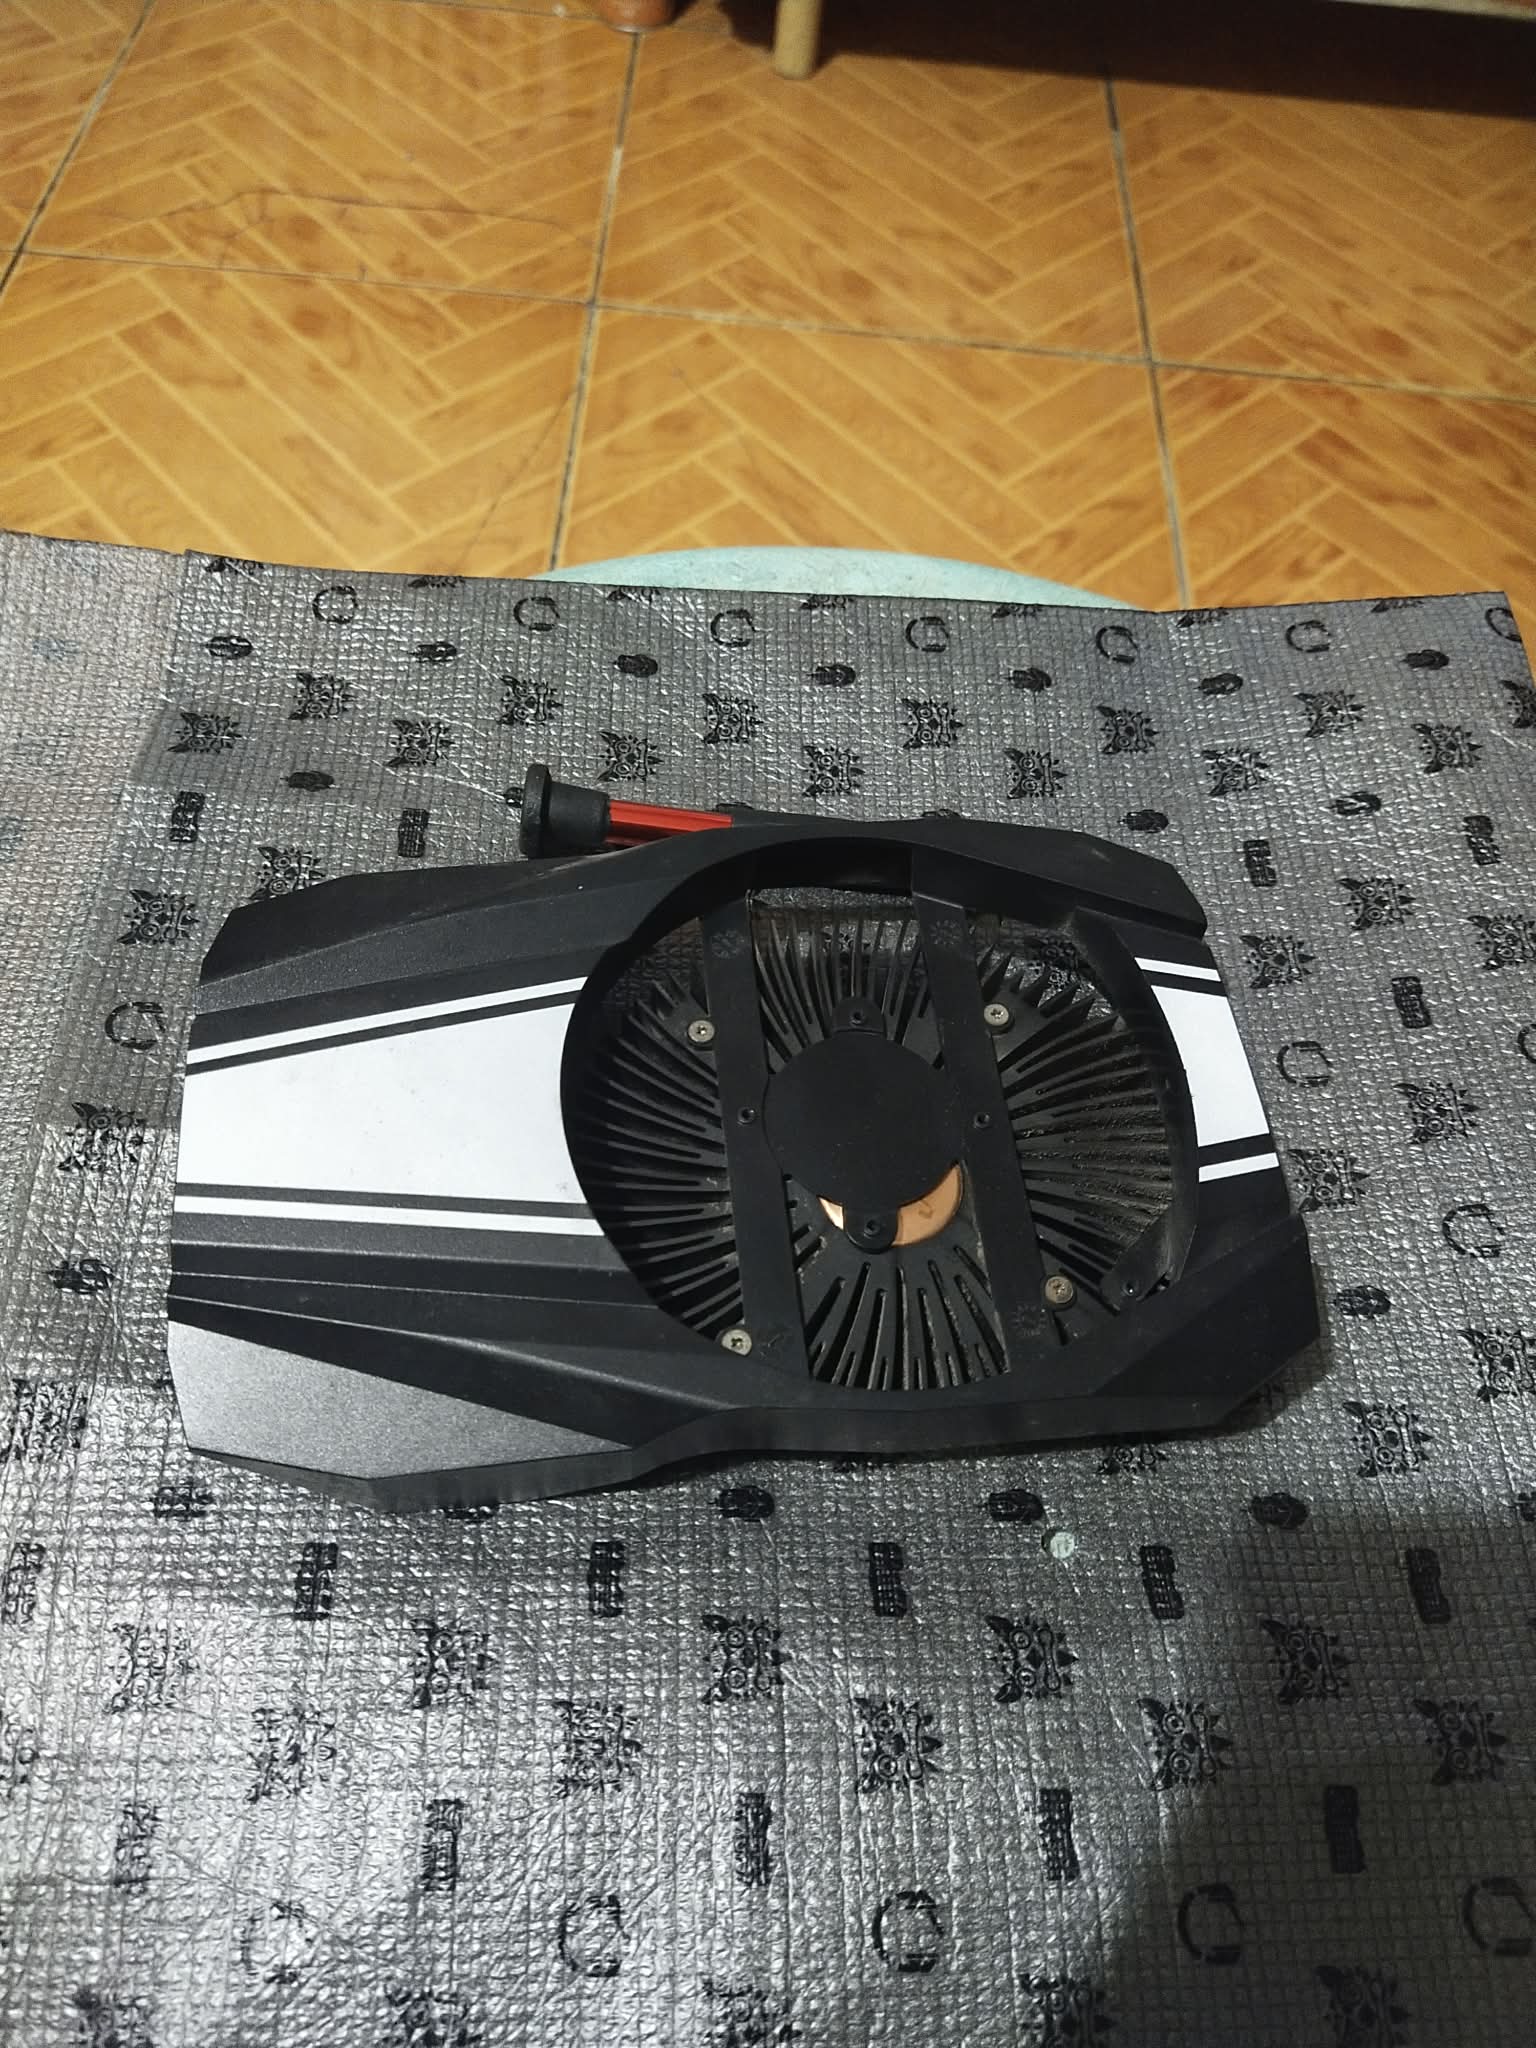
I grabbed my tools and started disassembling my GPU. I needed to be careful since I might damage some important parts. I took apart everything—from the GPU shroud to the GPU fan. I couldn’t remove the heatsink because I think one of the screws is stripped, so I just left it as is.
Taping and Prep Work
Nov 26, 2025
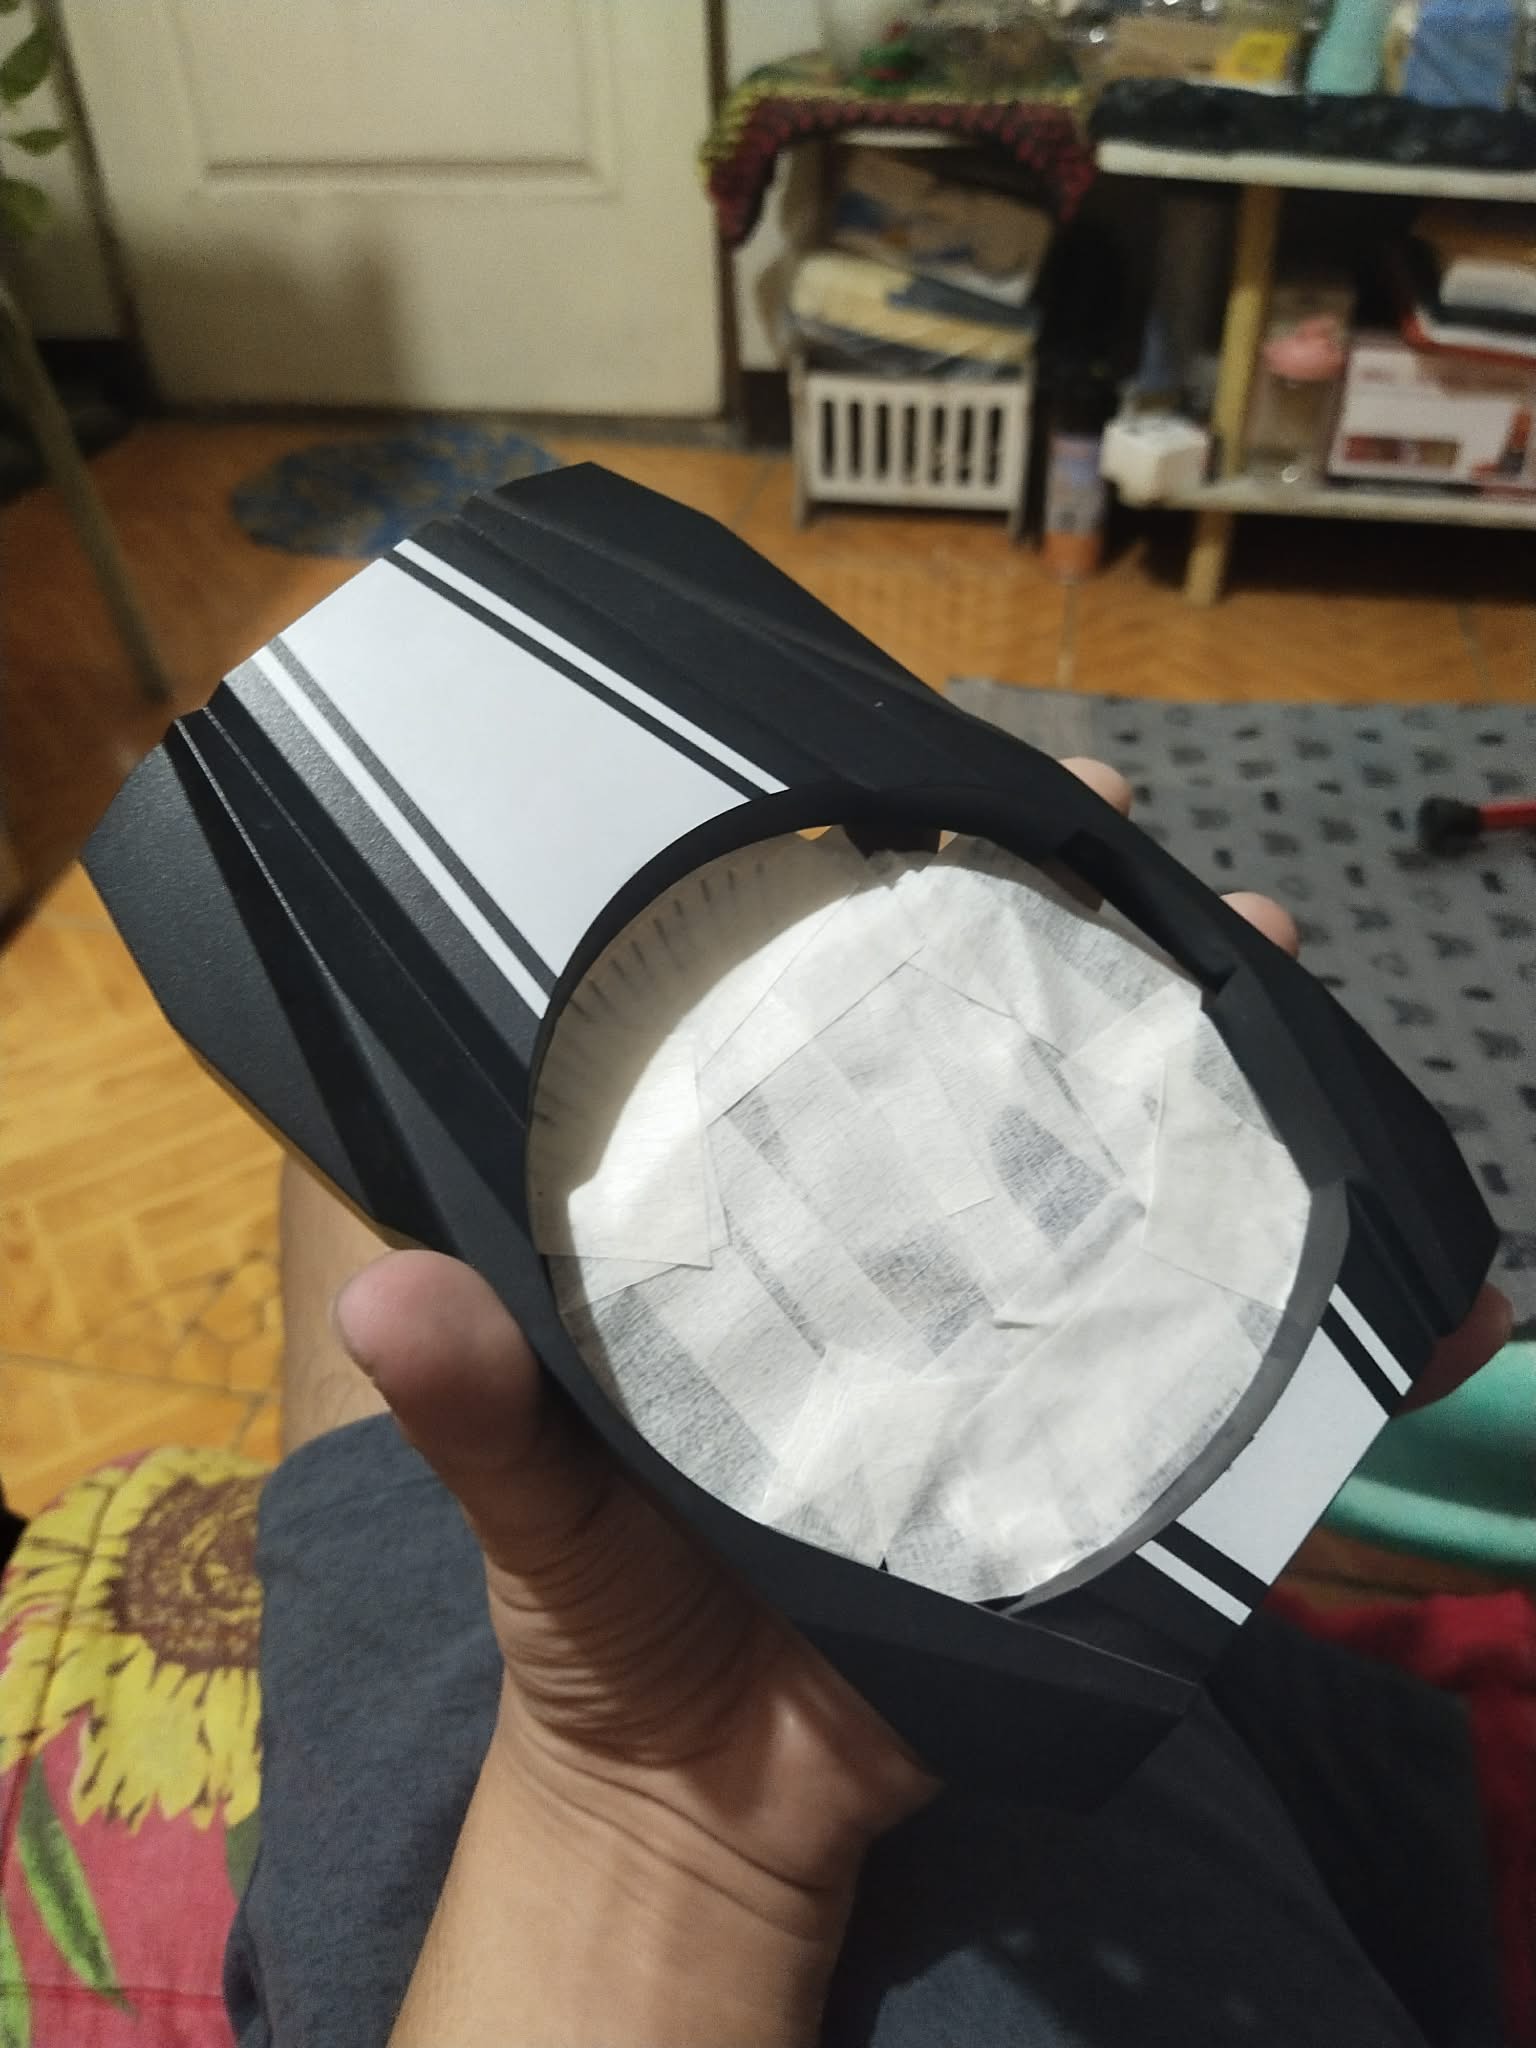
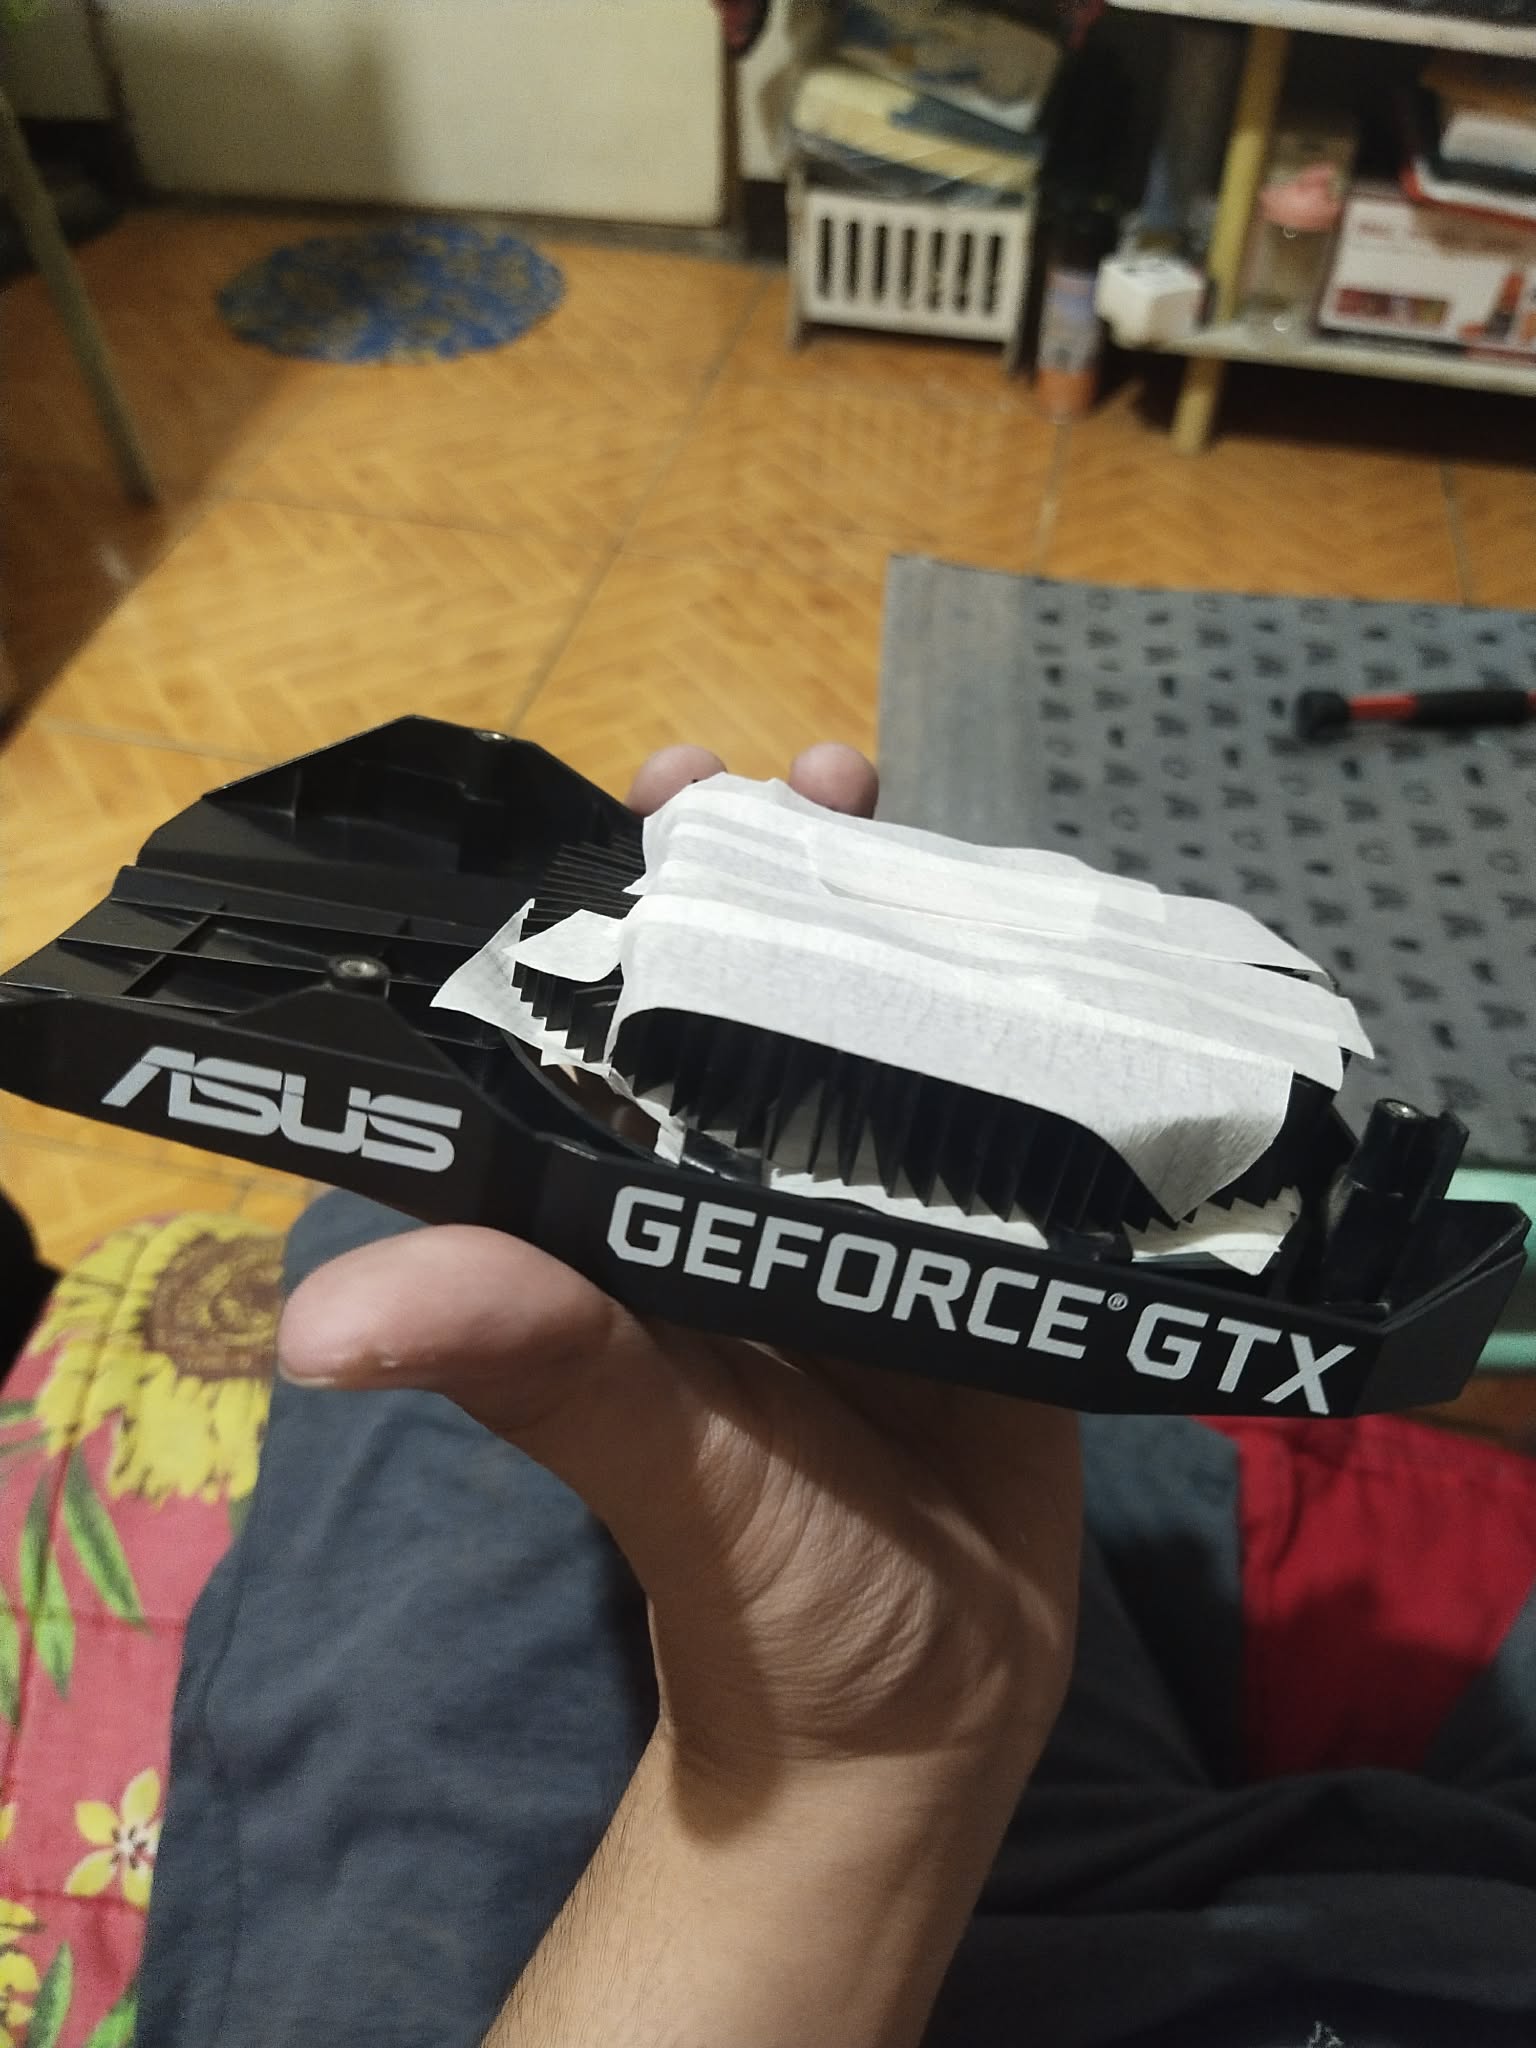
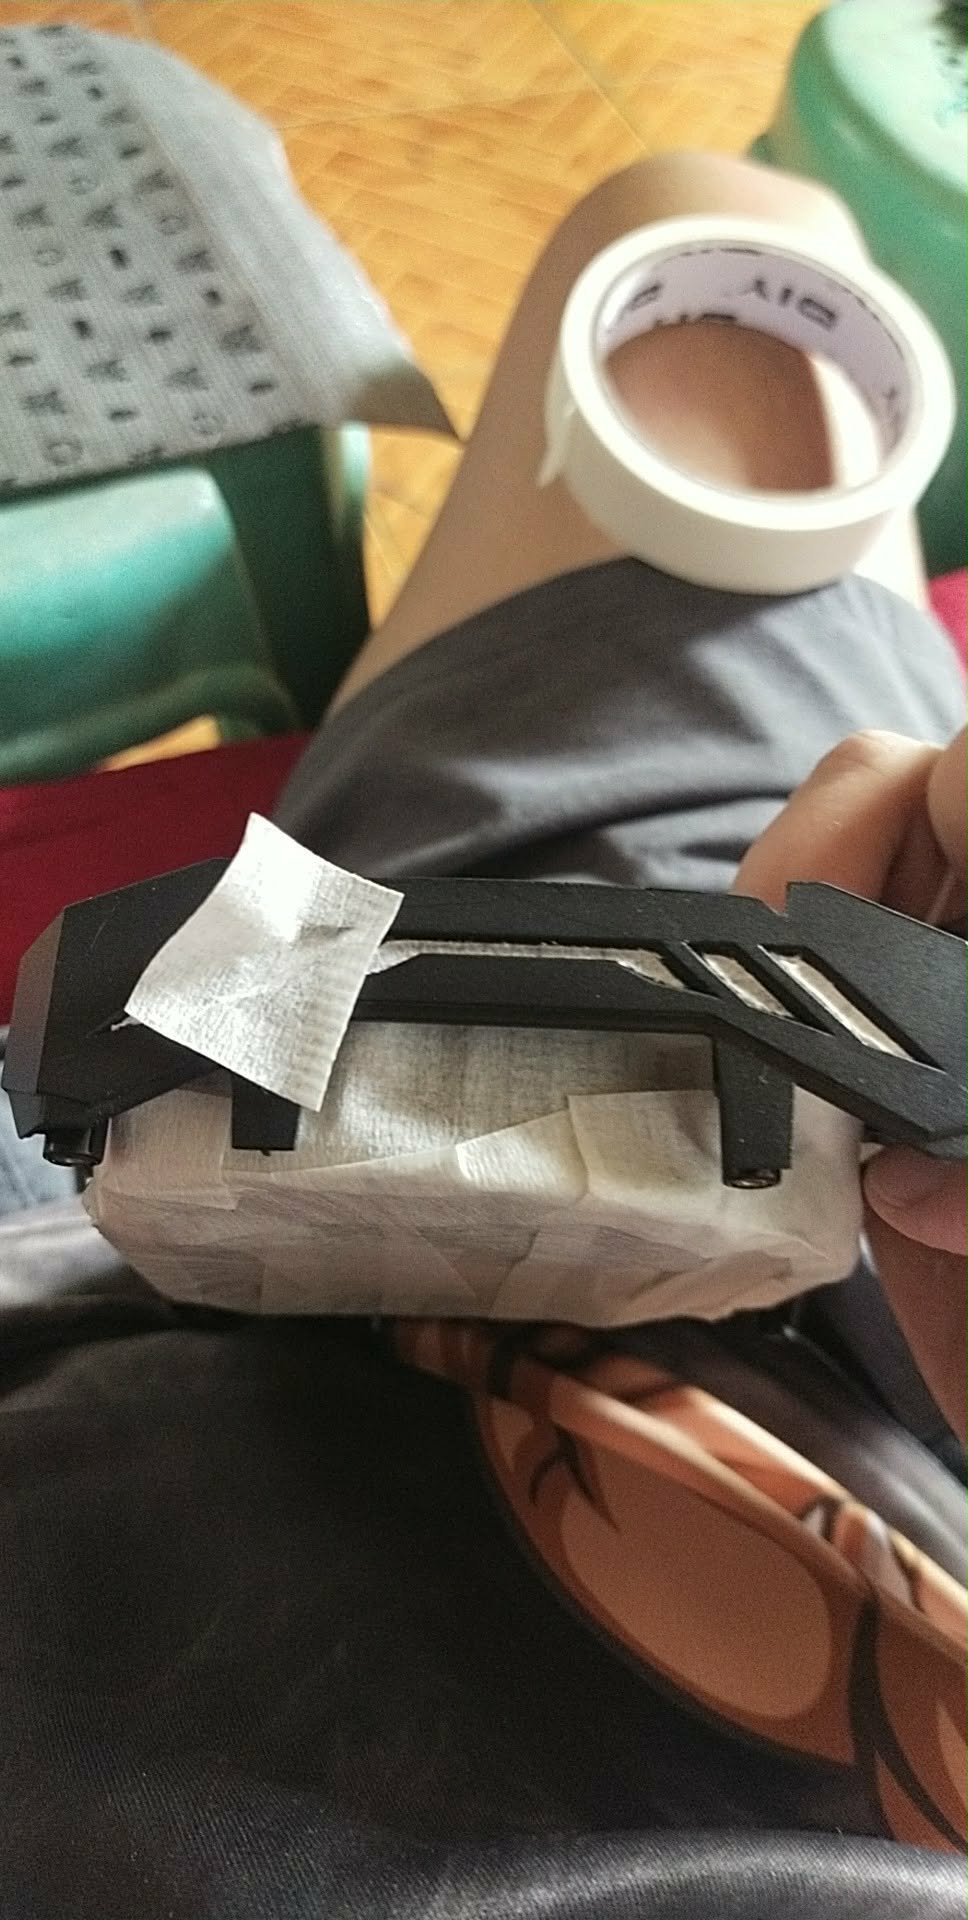
I taped the heatsink since it couldn’t be removed due to the loose thread. I also taped some details at the back of my GPU because I thought it would be awesome to leave some parts black once the whole GPU becomes white.
Spray Painting
Nov 27, 2025
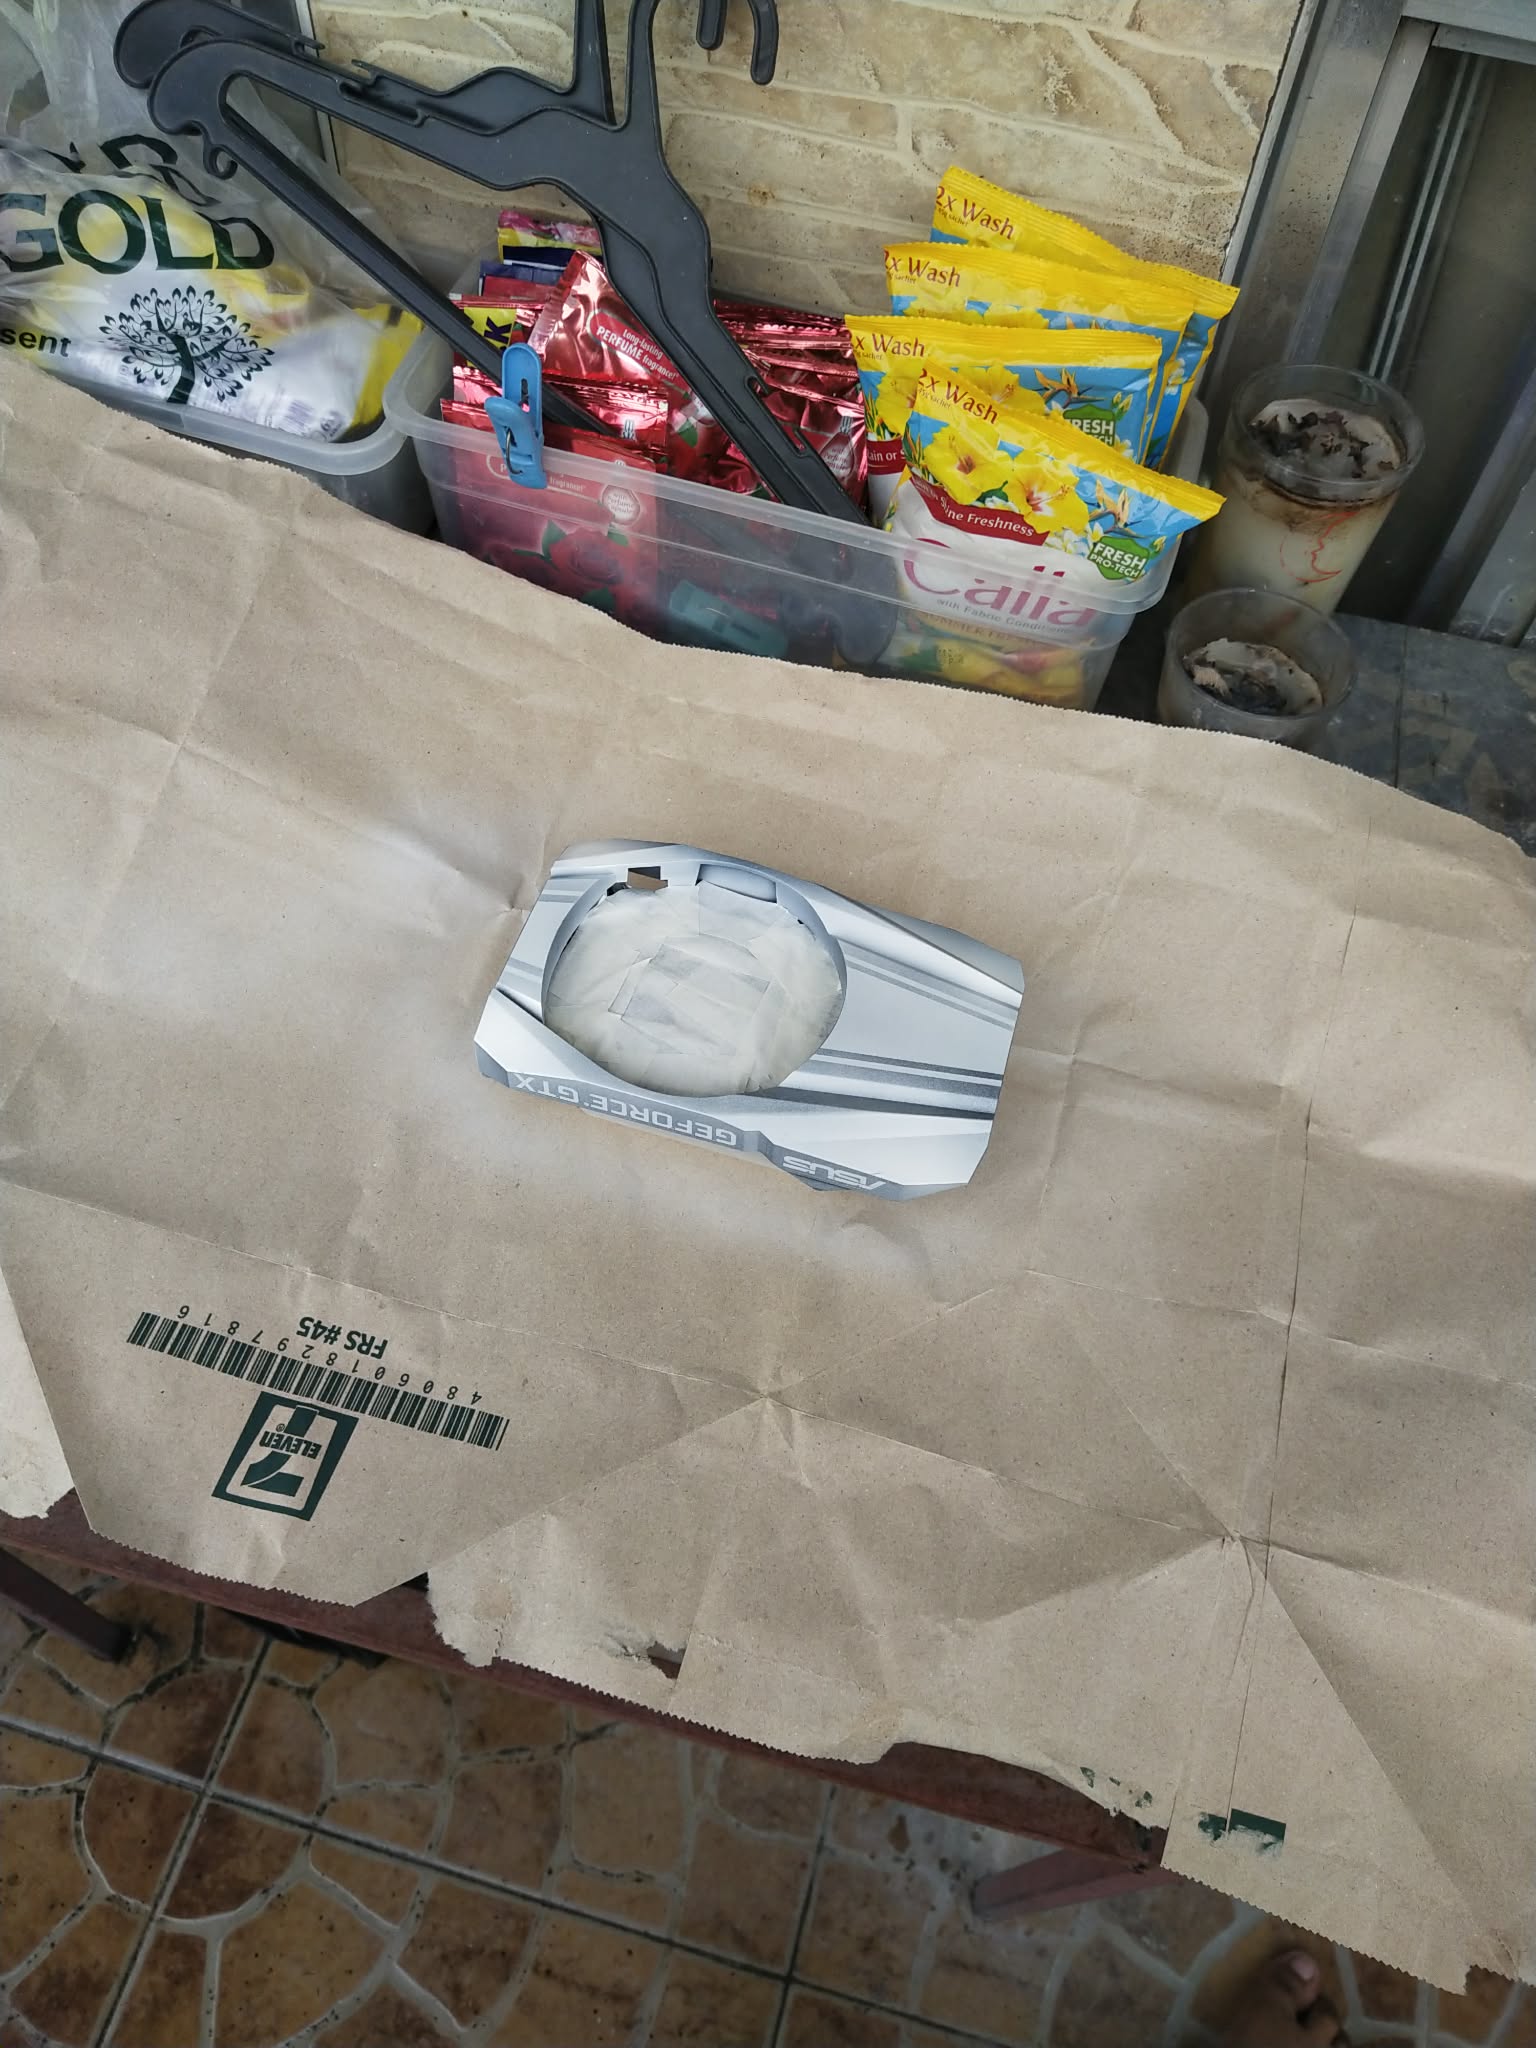
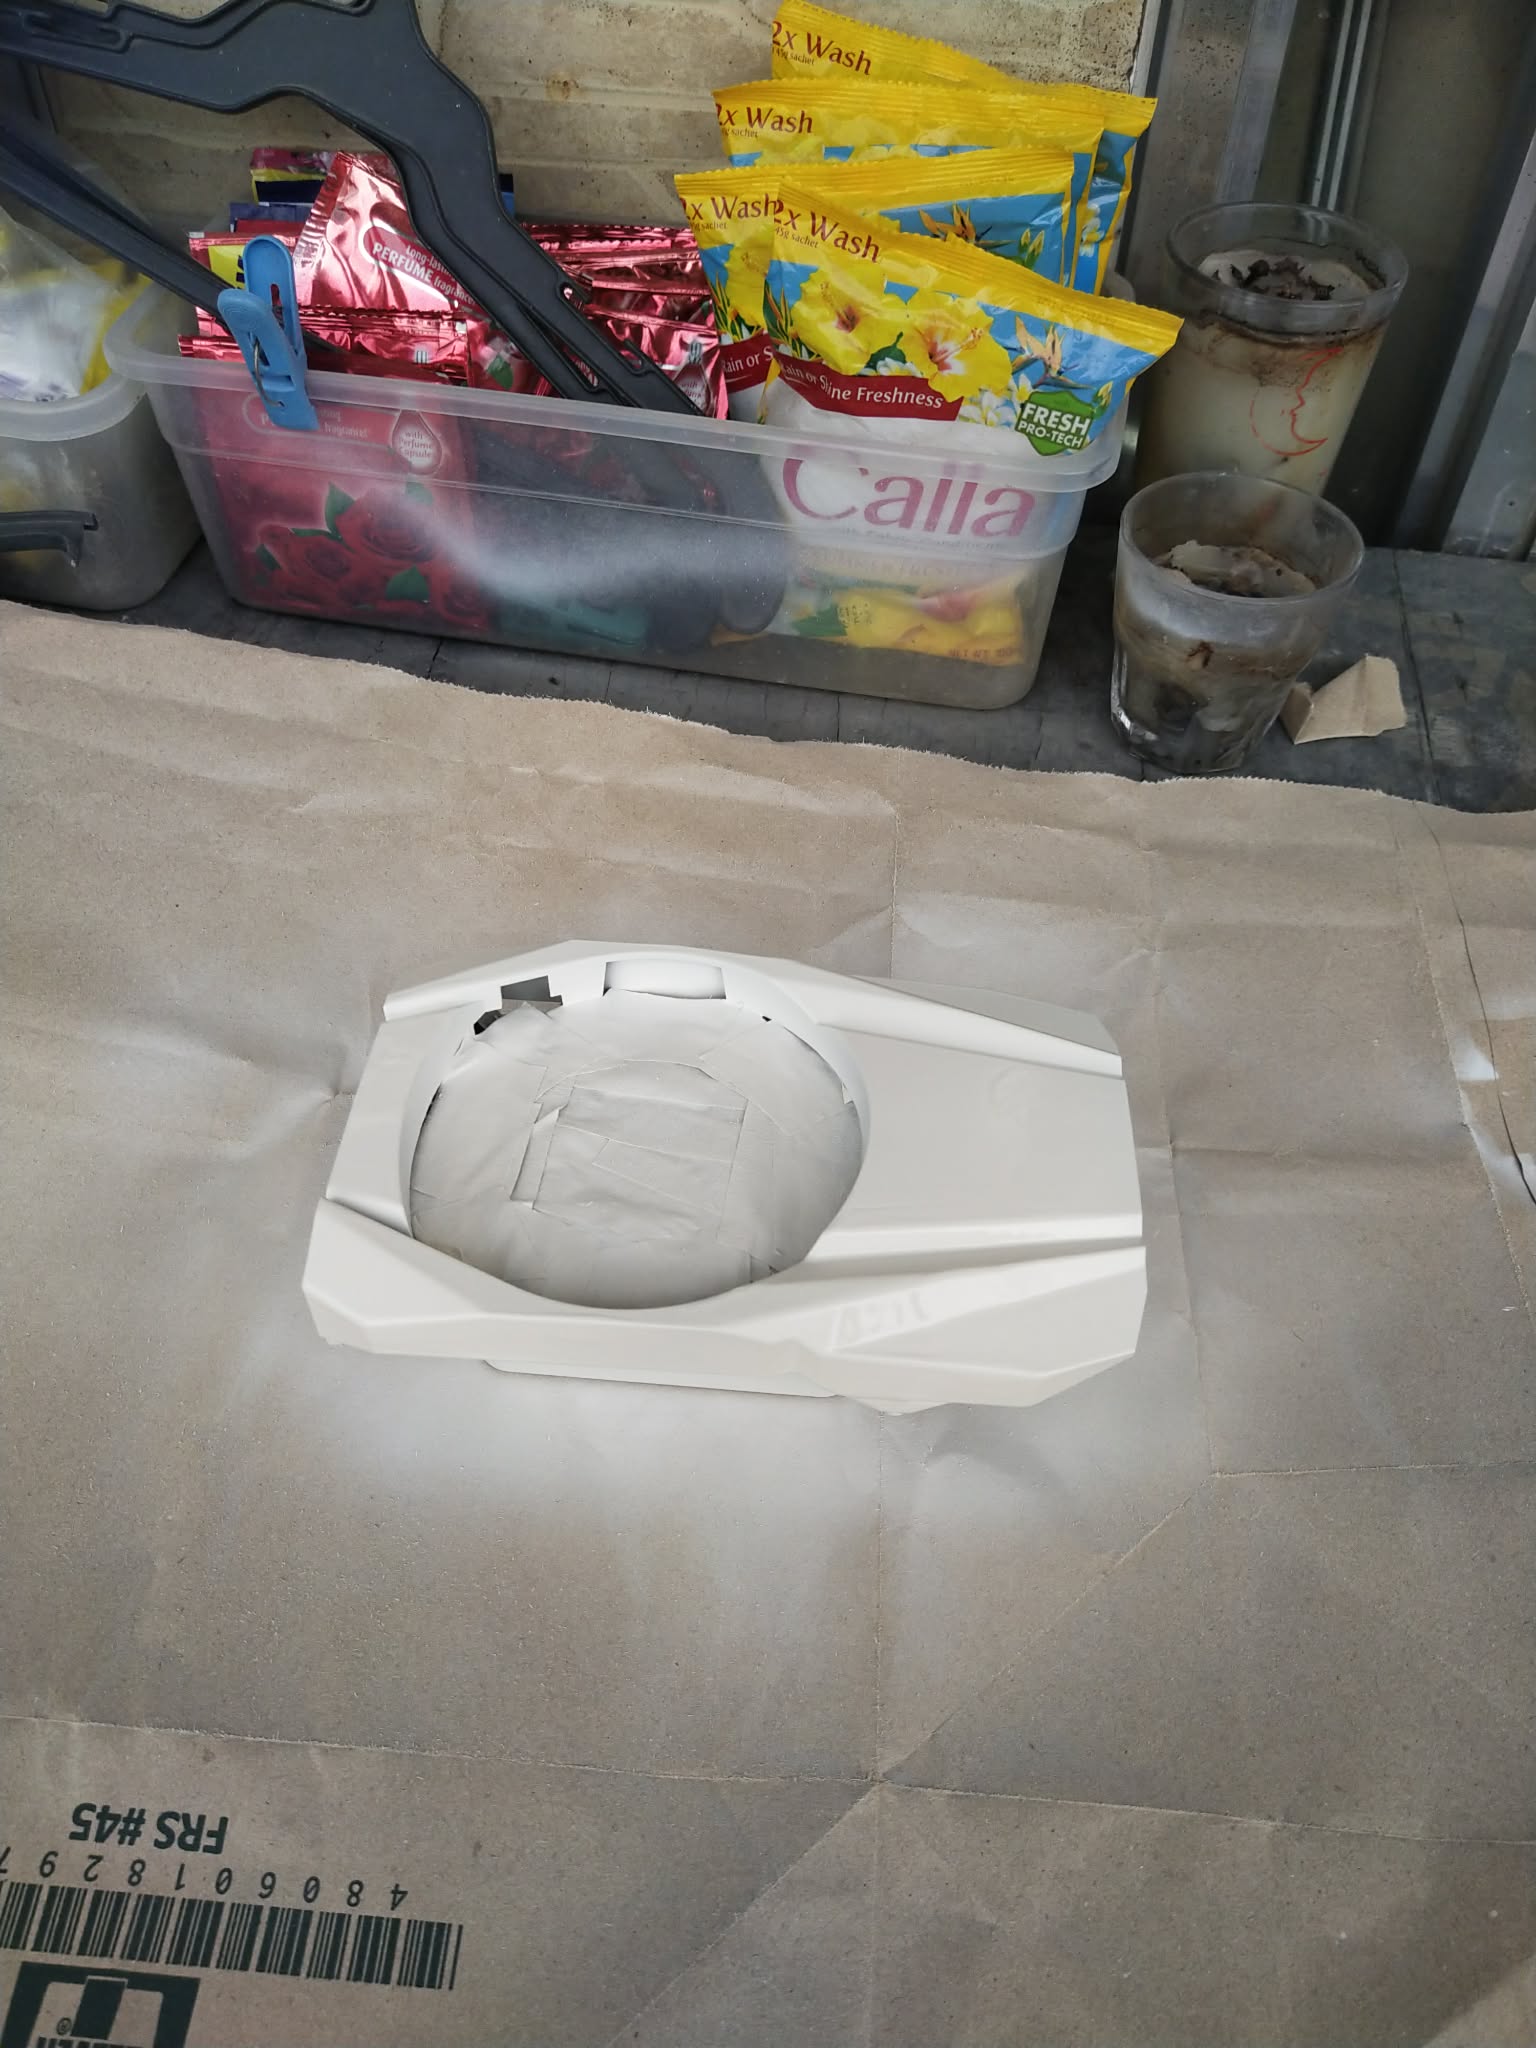
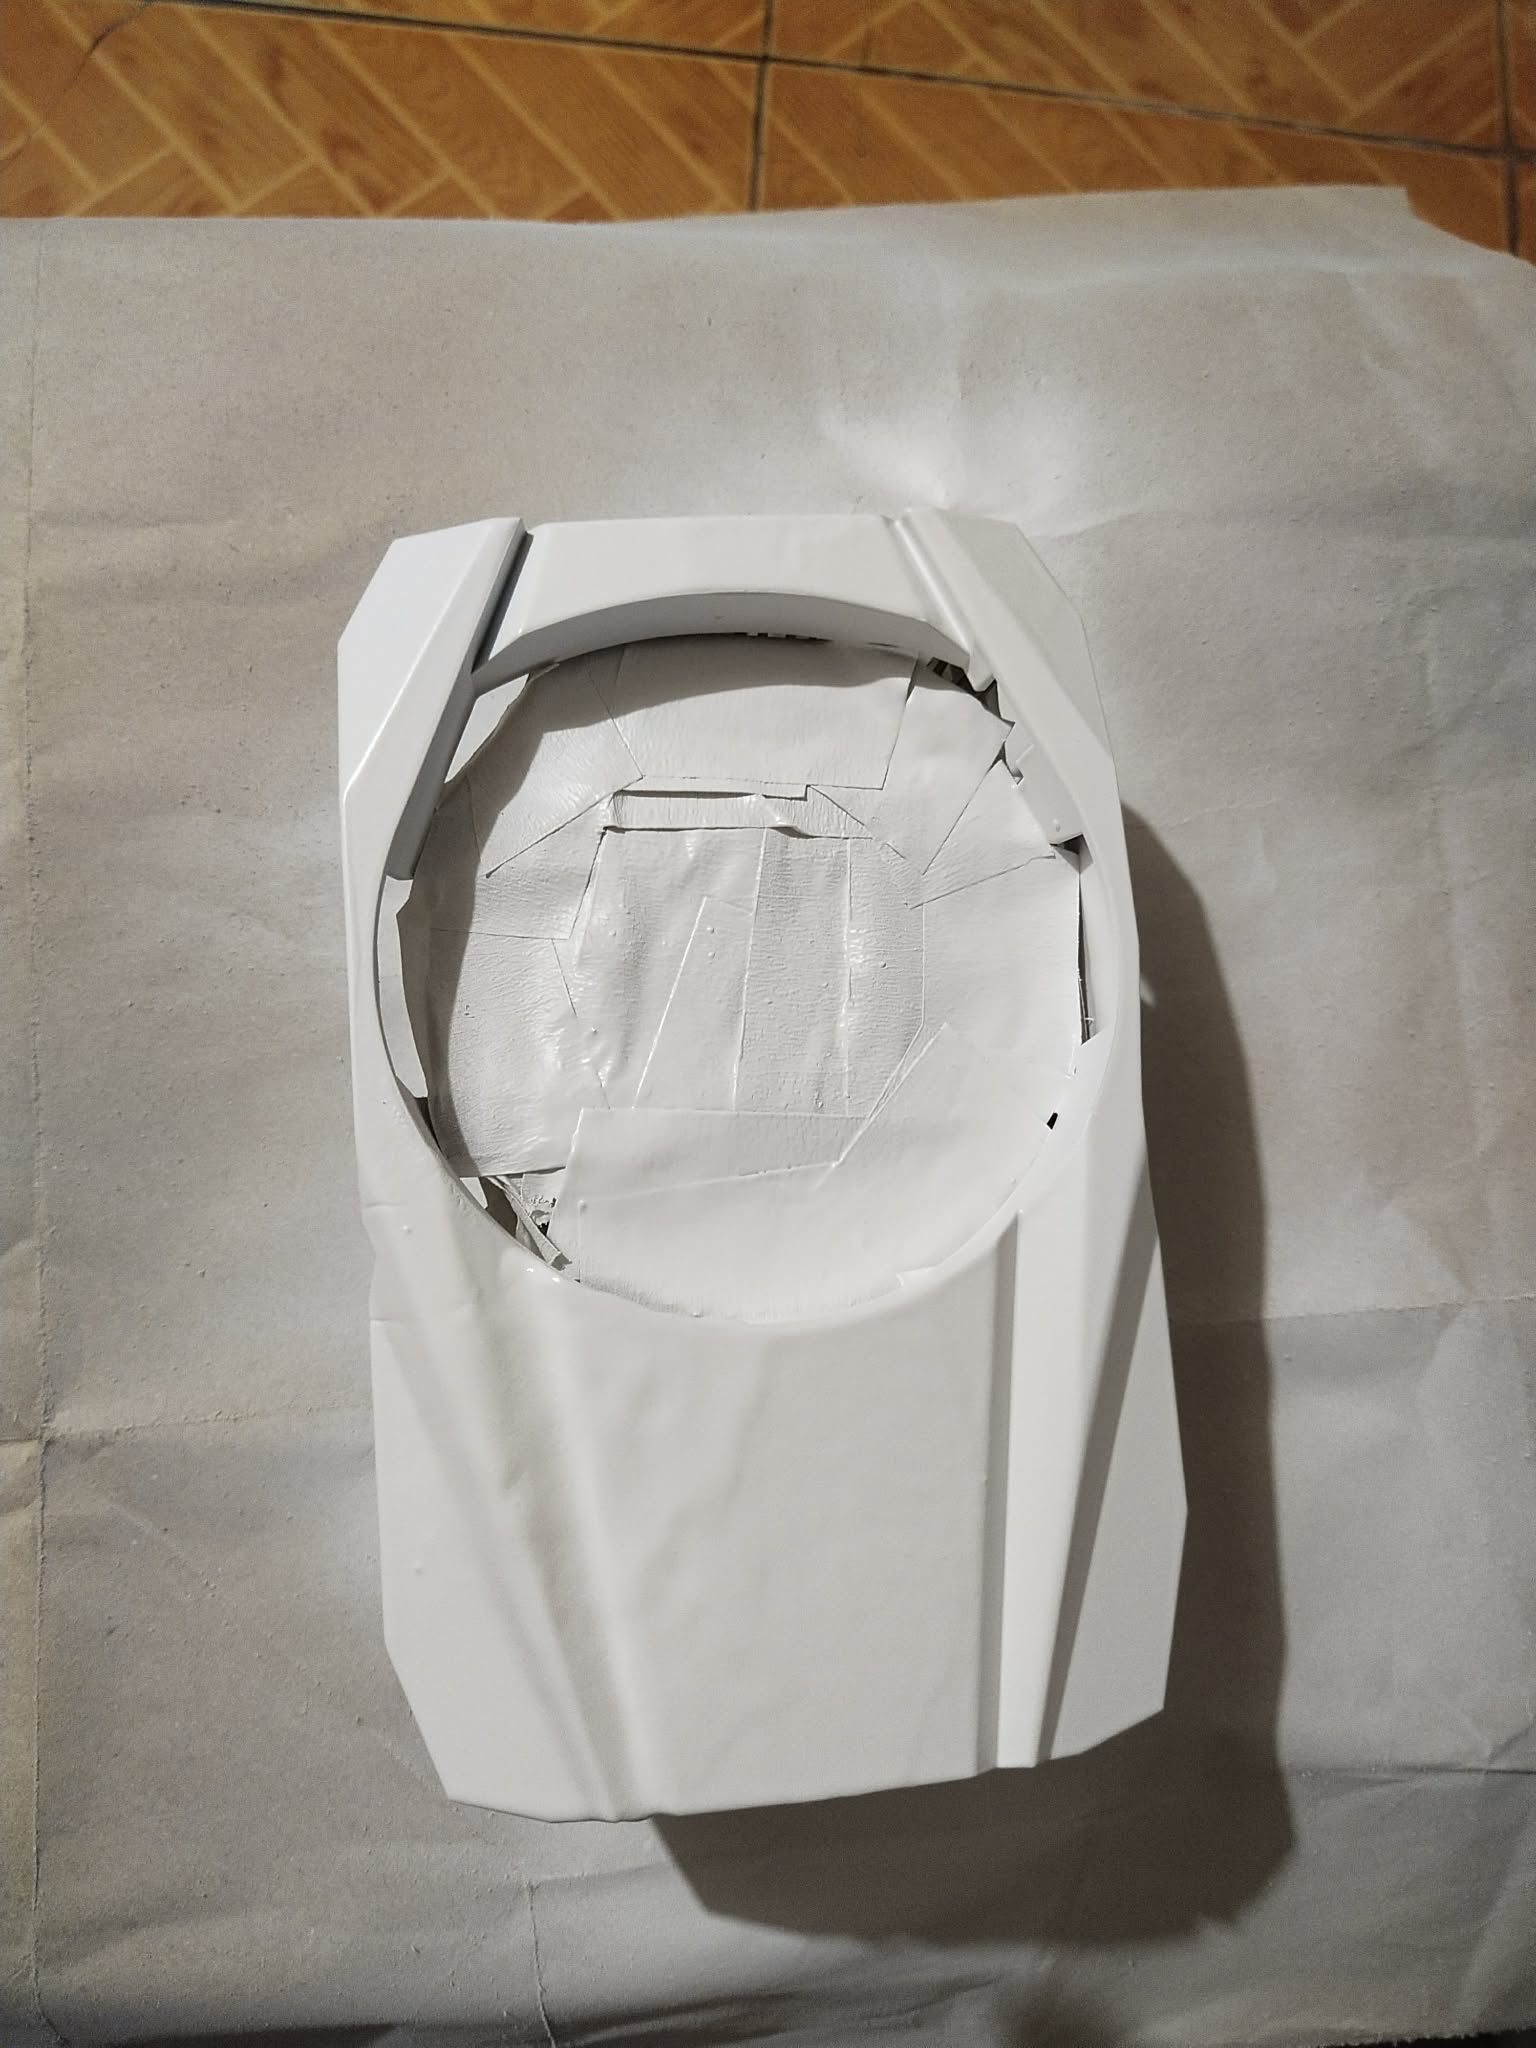
Then I started spray painting the GPU. The first coat was the thinnest coat, just like in the YouTube videos I watched. The third one was the thickest. I messed up the last coat (the 5th one), and now it has a wave on it LOL. I asked my uncle—who’s a painter—for help to fix the paint wave. He said it would be done in a day.
Final Design
Nov 29, 2025
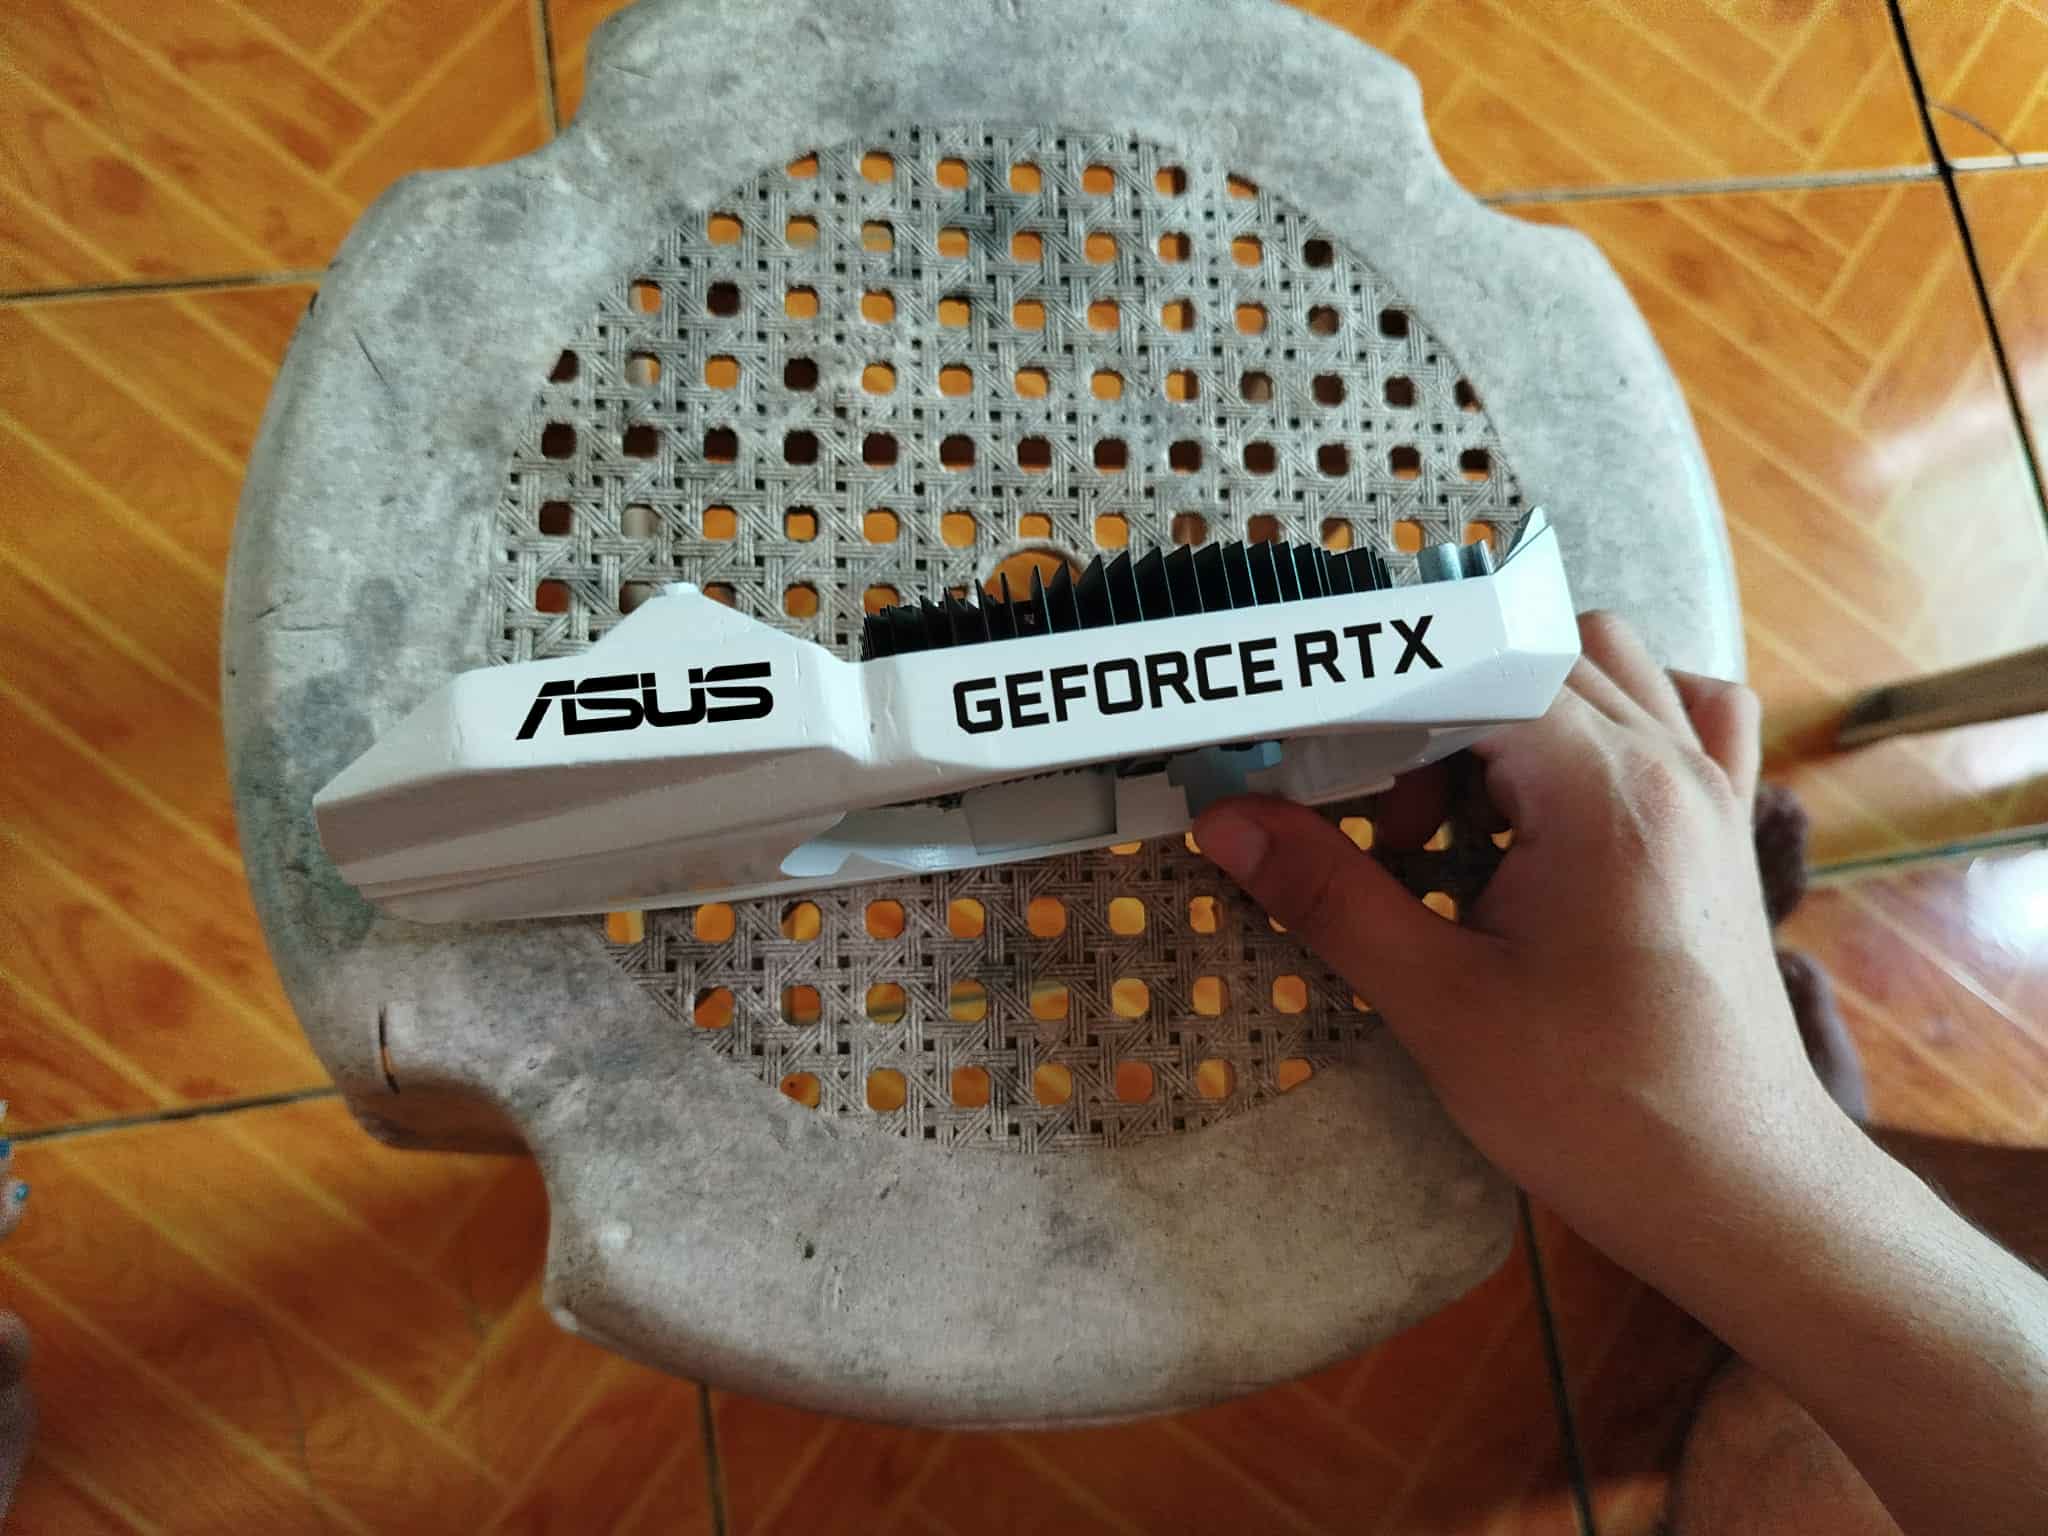
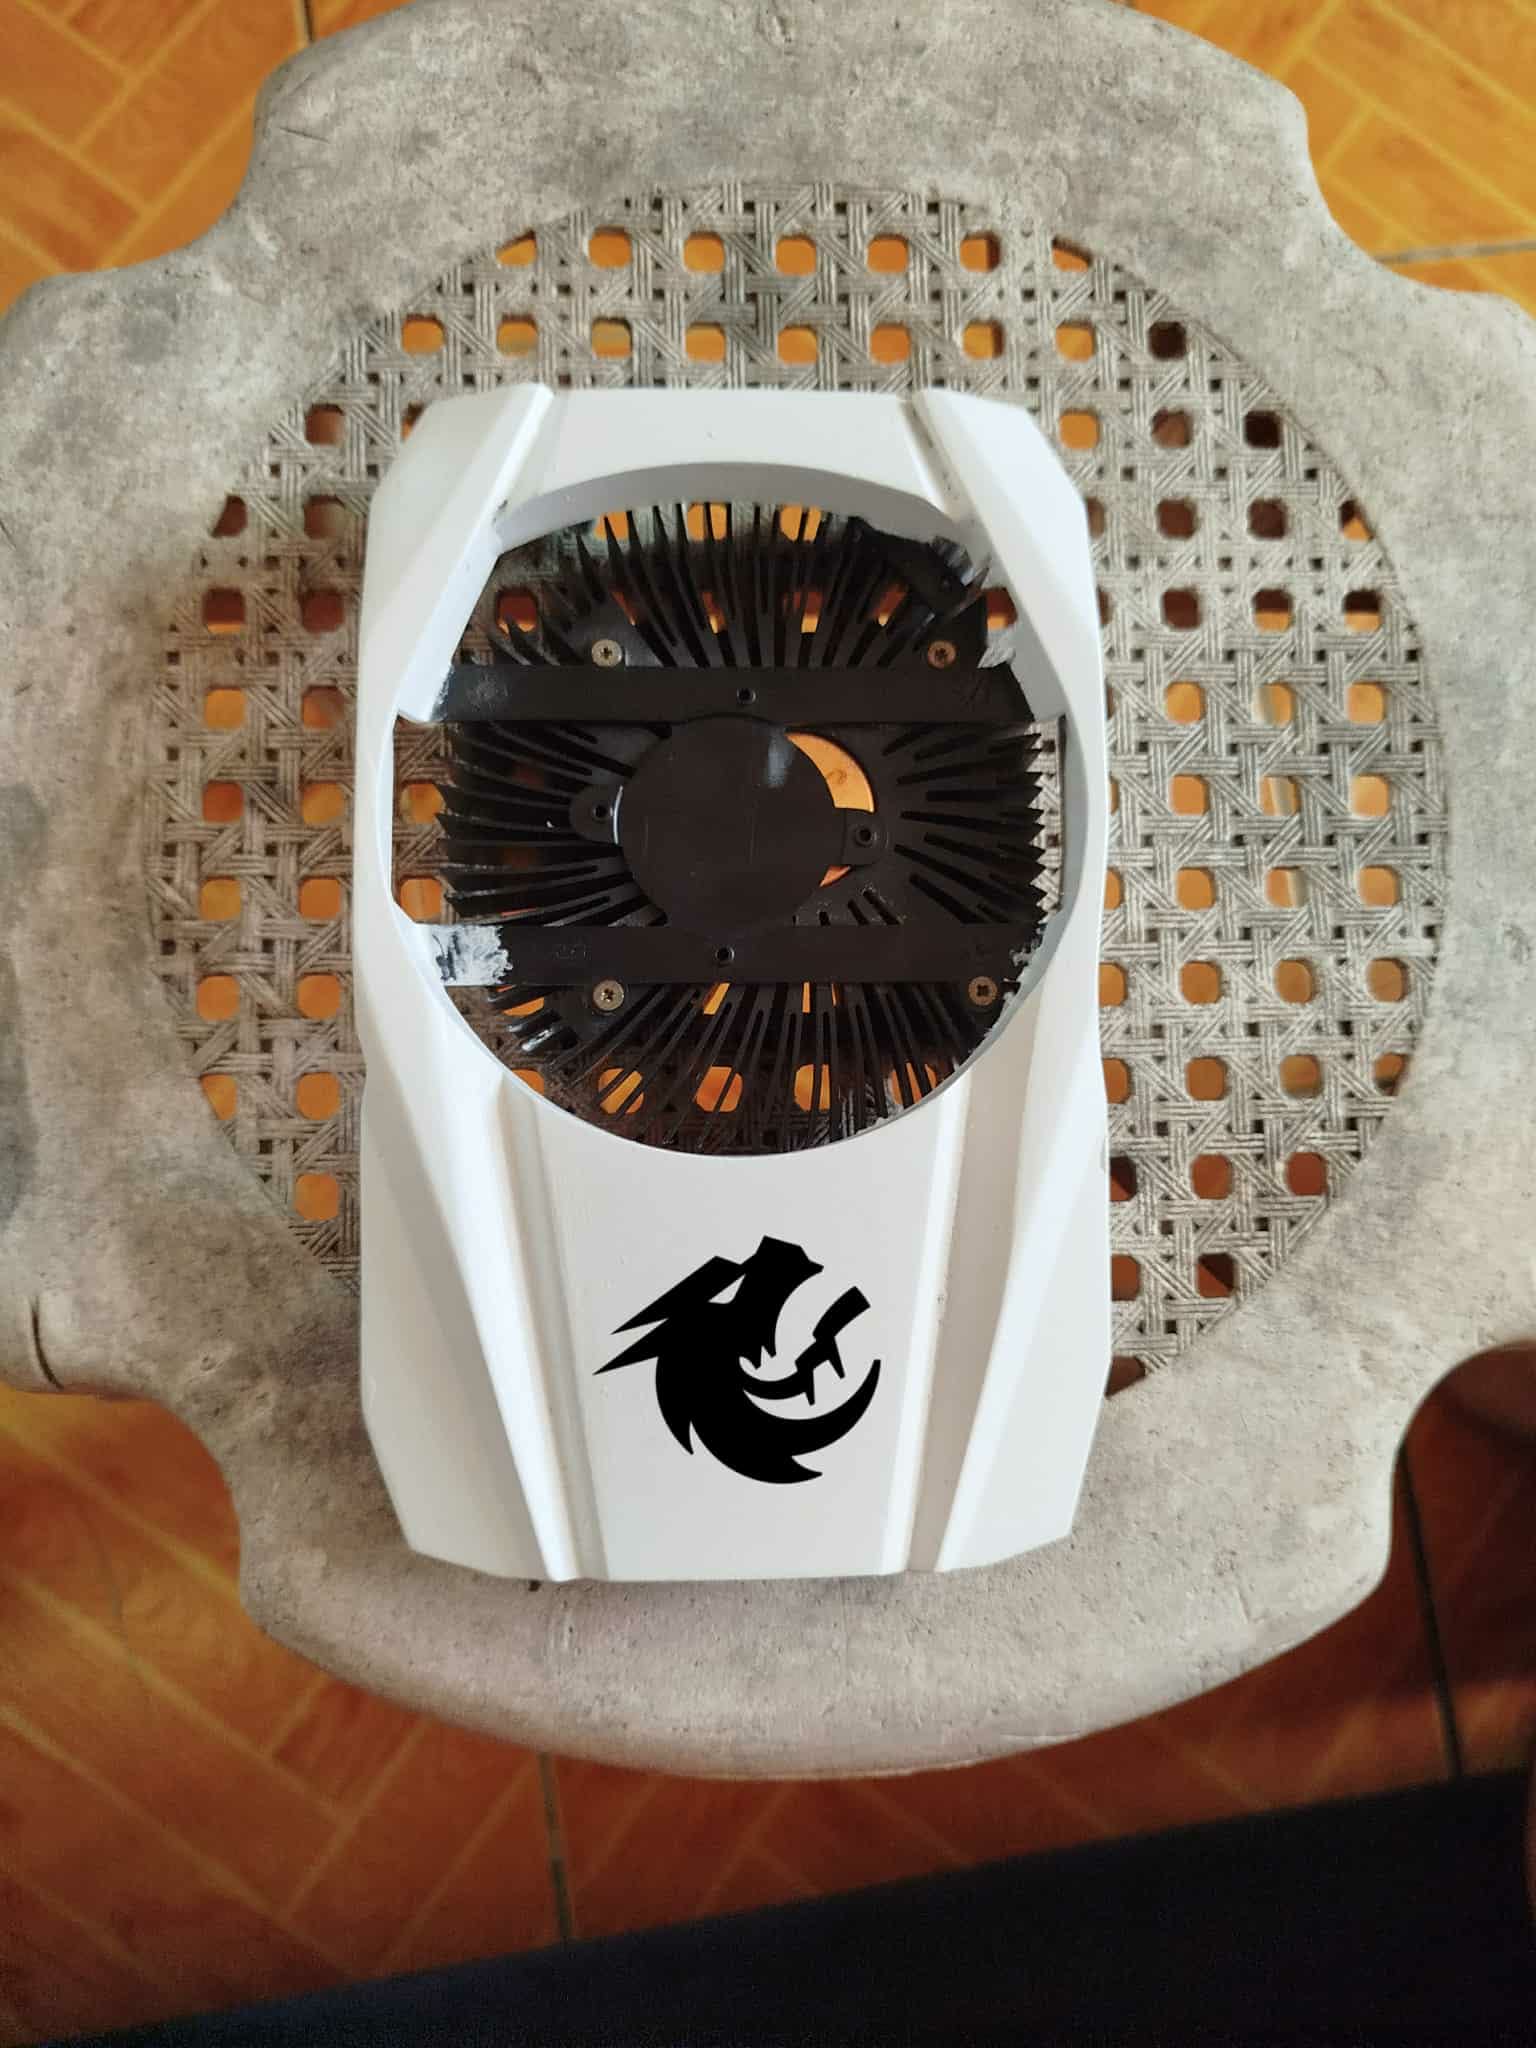
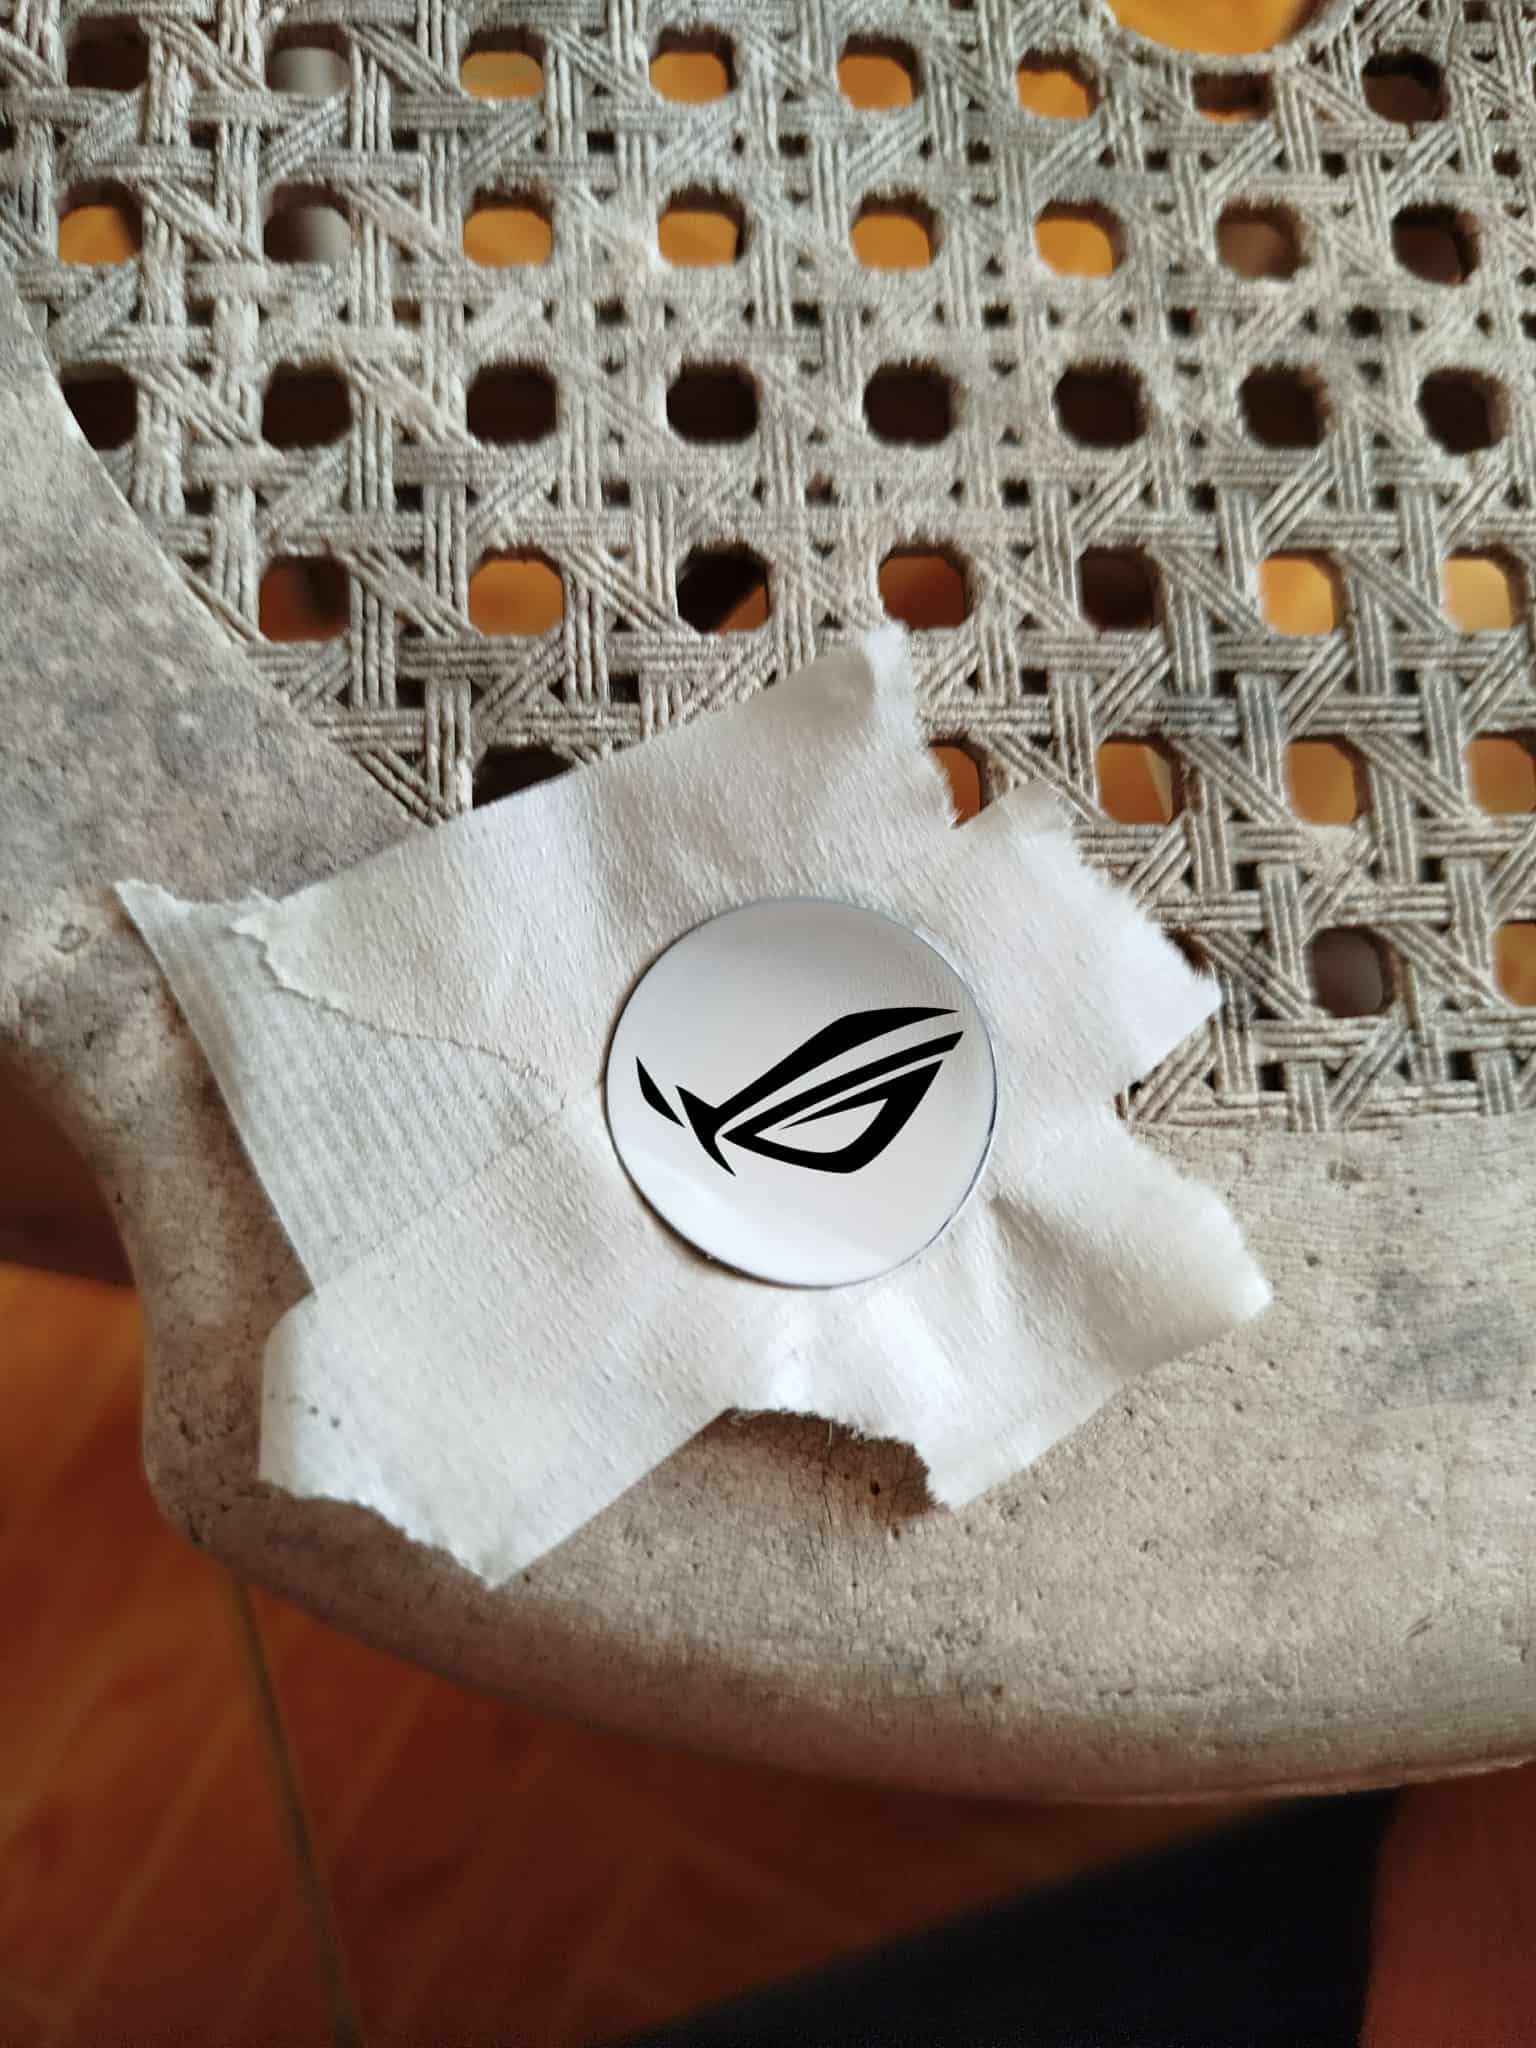
After my uncle finished, I finally had the GPU shell back, and I started editing the final design. From GTX… why not make it RTX? LOL. I love Team Spirit’s logo since they’re my favorite DOTA 2 team, so I thought it would look great on my GPU.
Adding The Designs and Details
Nov 30, 2025

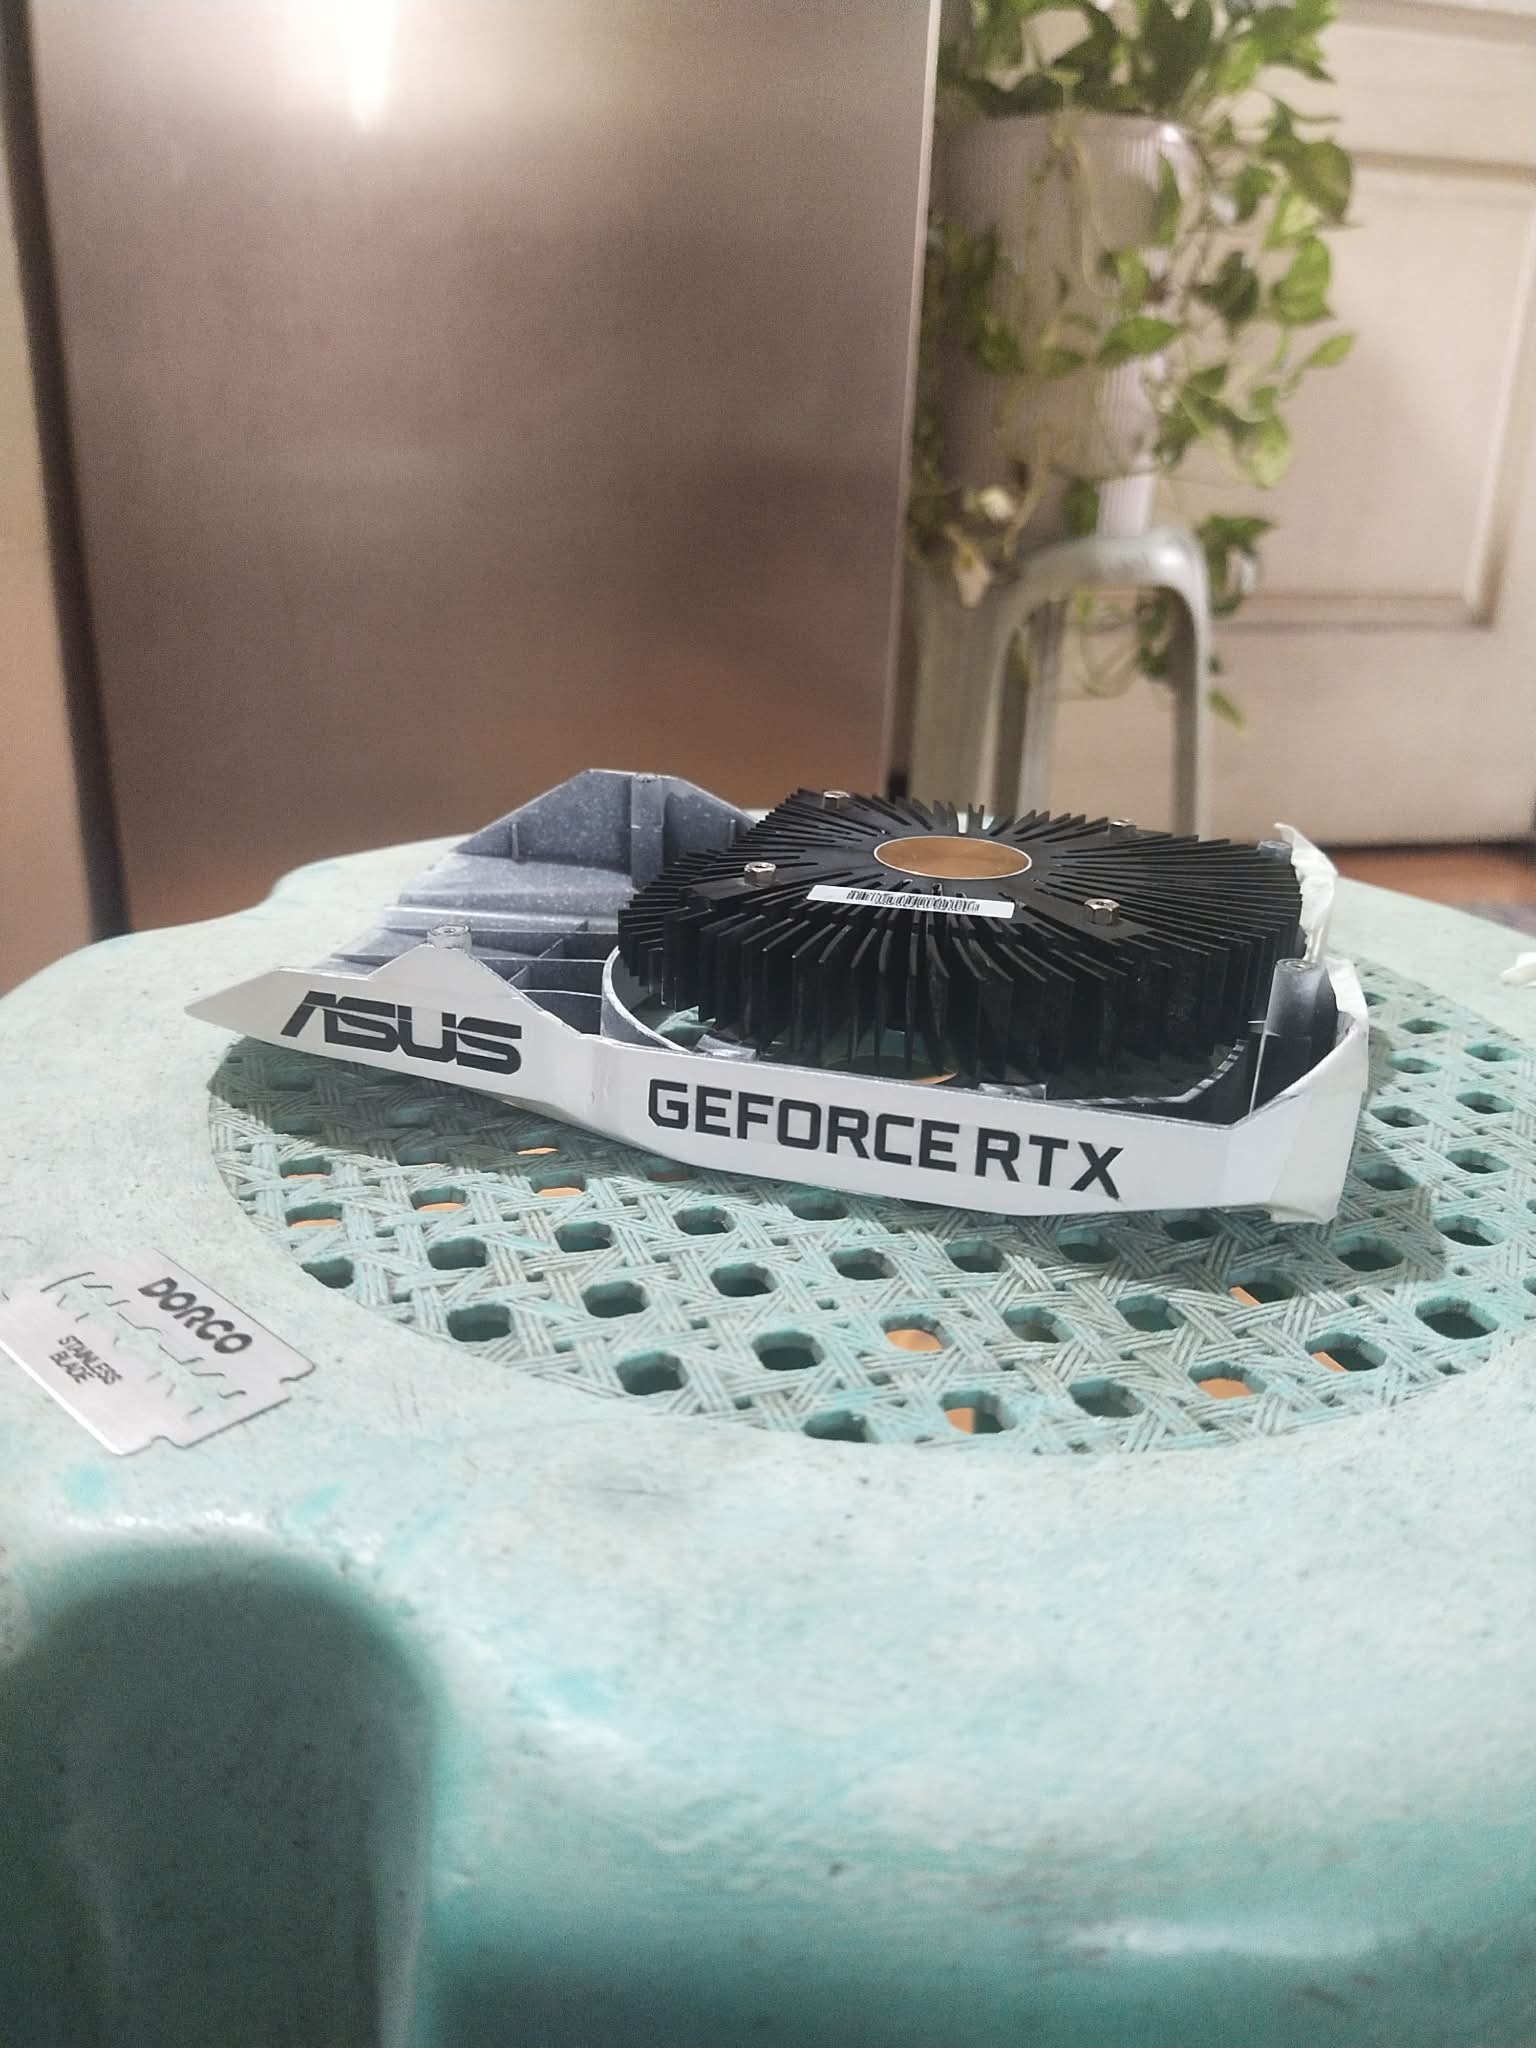
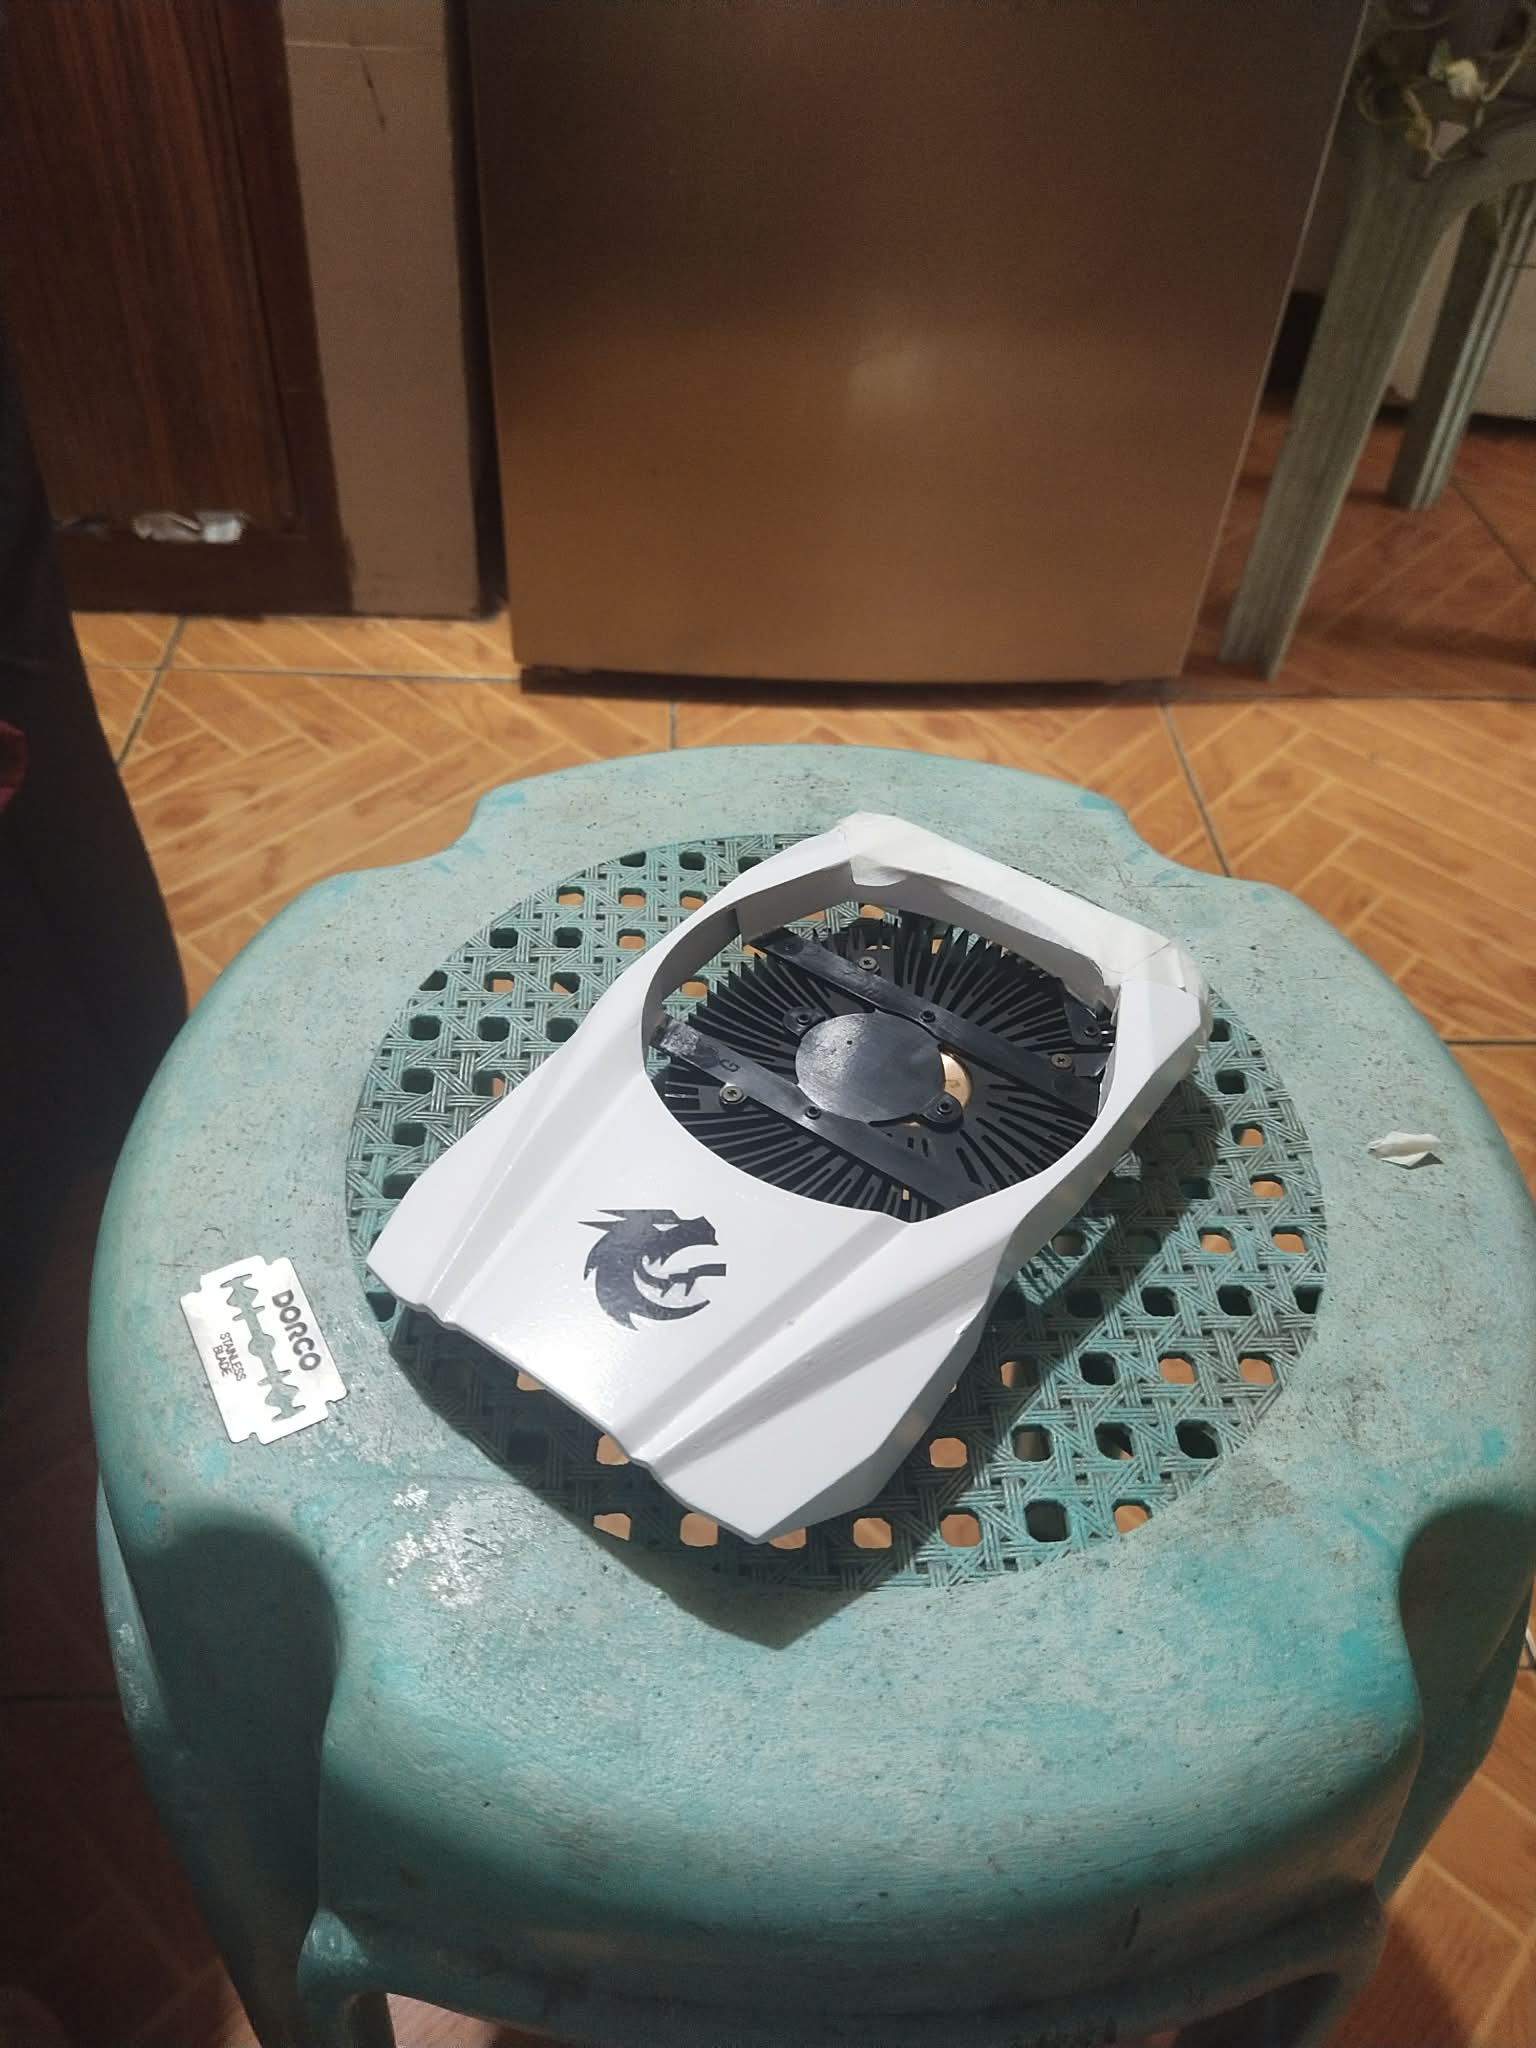
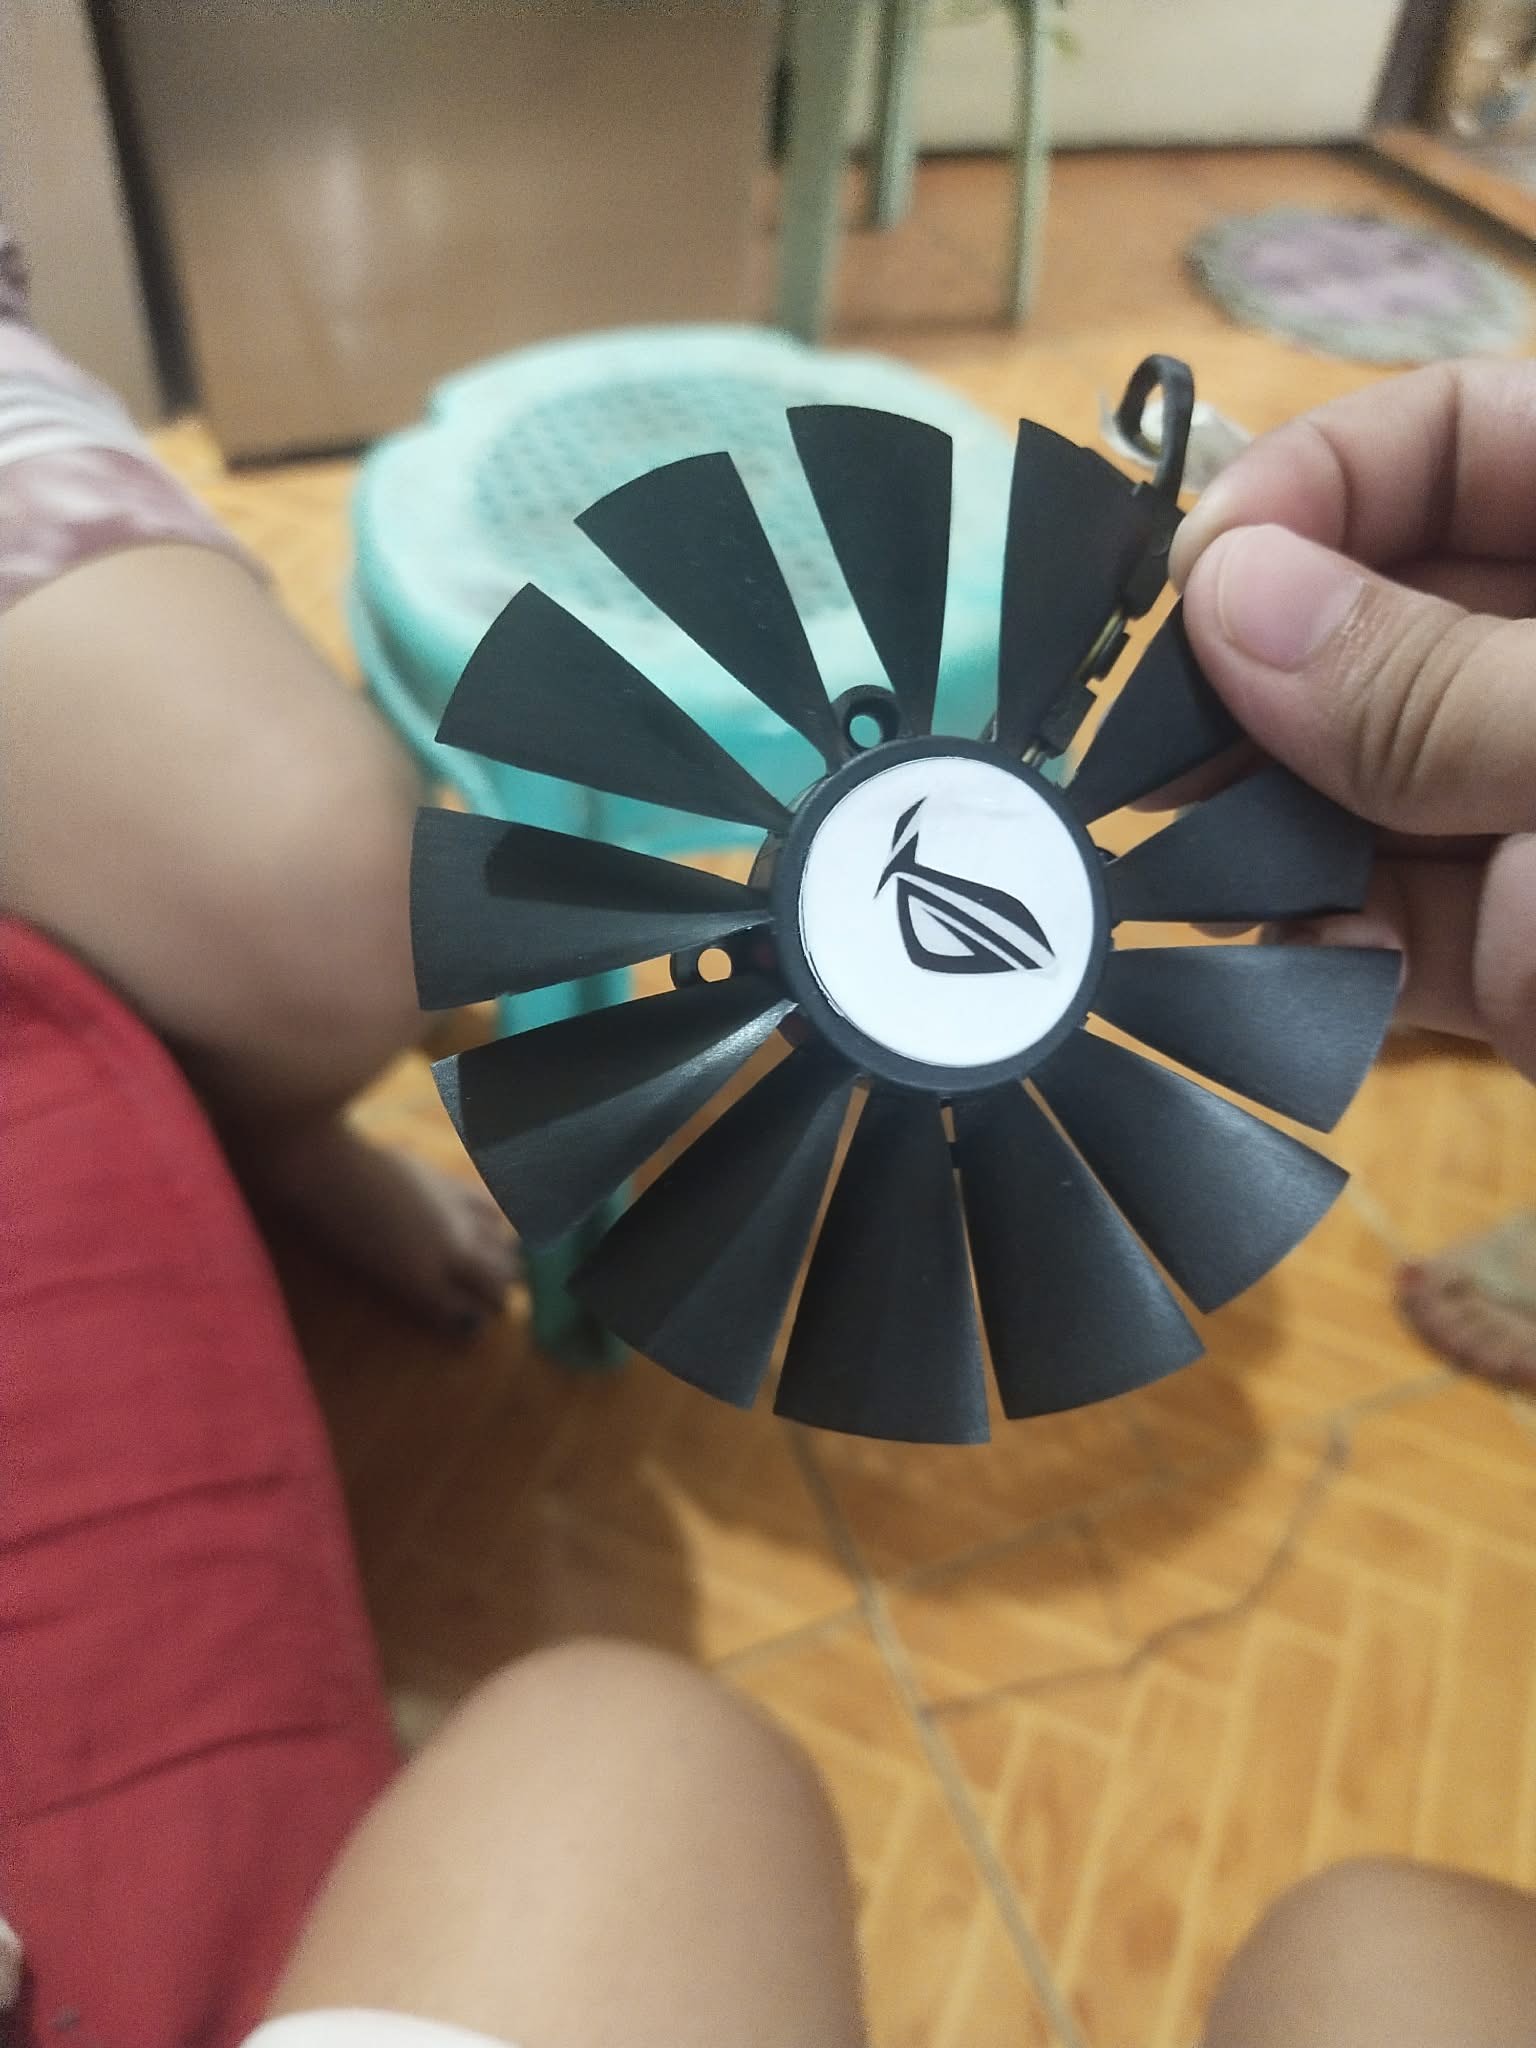
I asked my girlfriend to help me cut the stickers. My initial plan was to paint the design, but that’s kinda hard for someone like me with zero artistic talent, so stickers were the best choice. We cut the sticker design and placed it on the GPU. On the backside, we painted the small details using black cutics, then used ultraviolet light to dry it.
Final Assembly
Nov 30, 2025
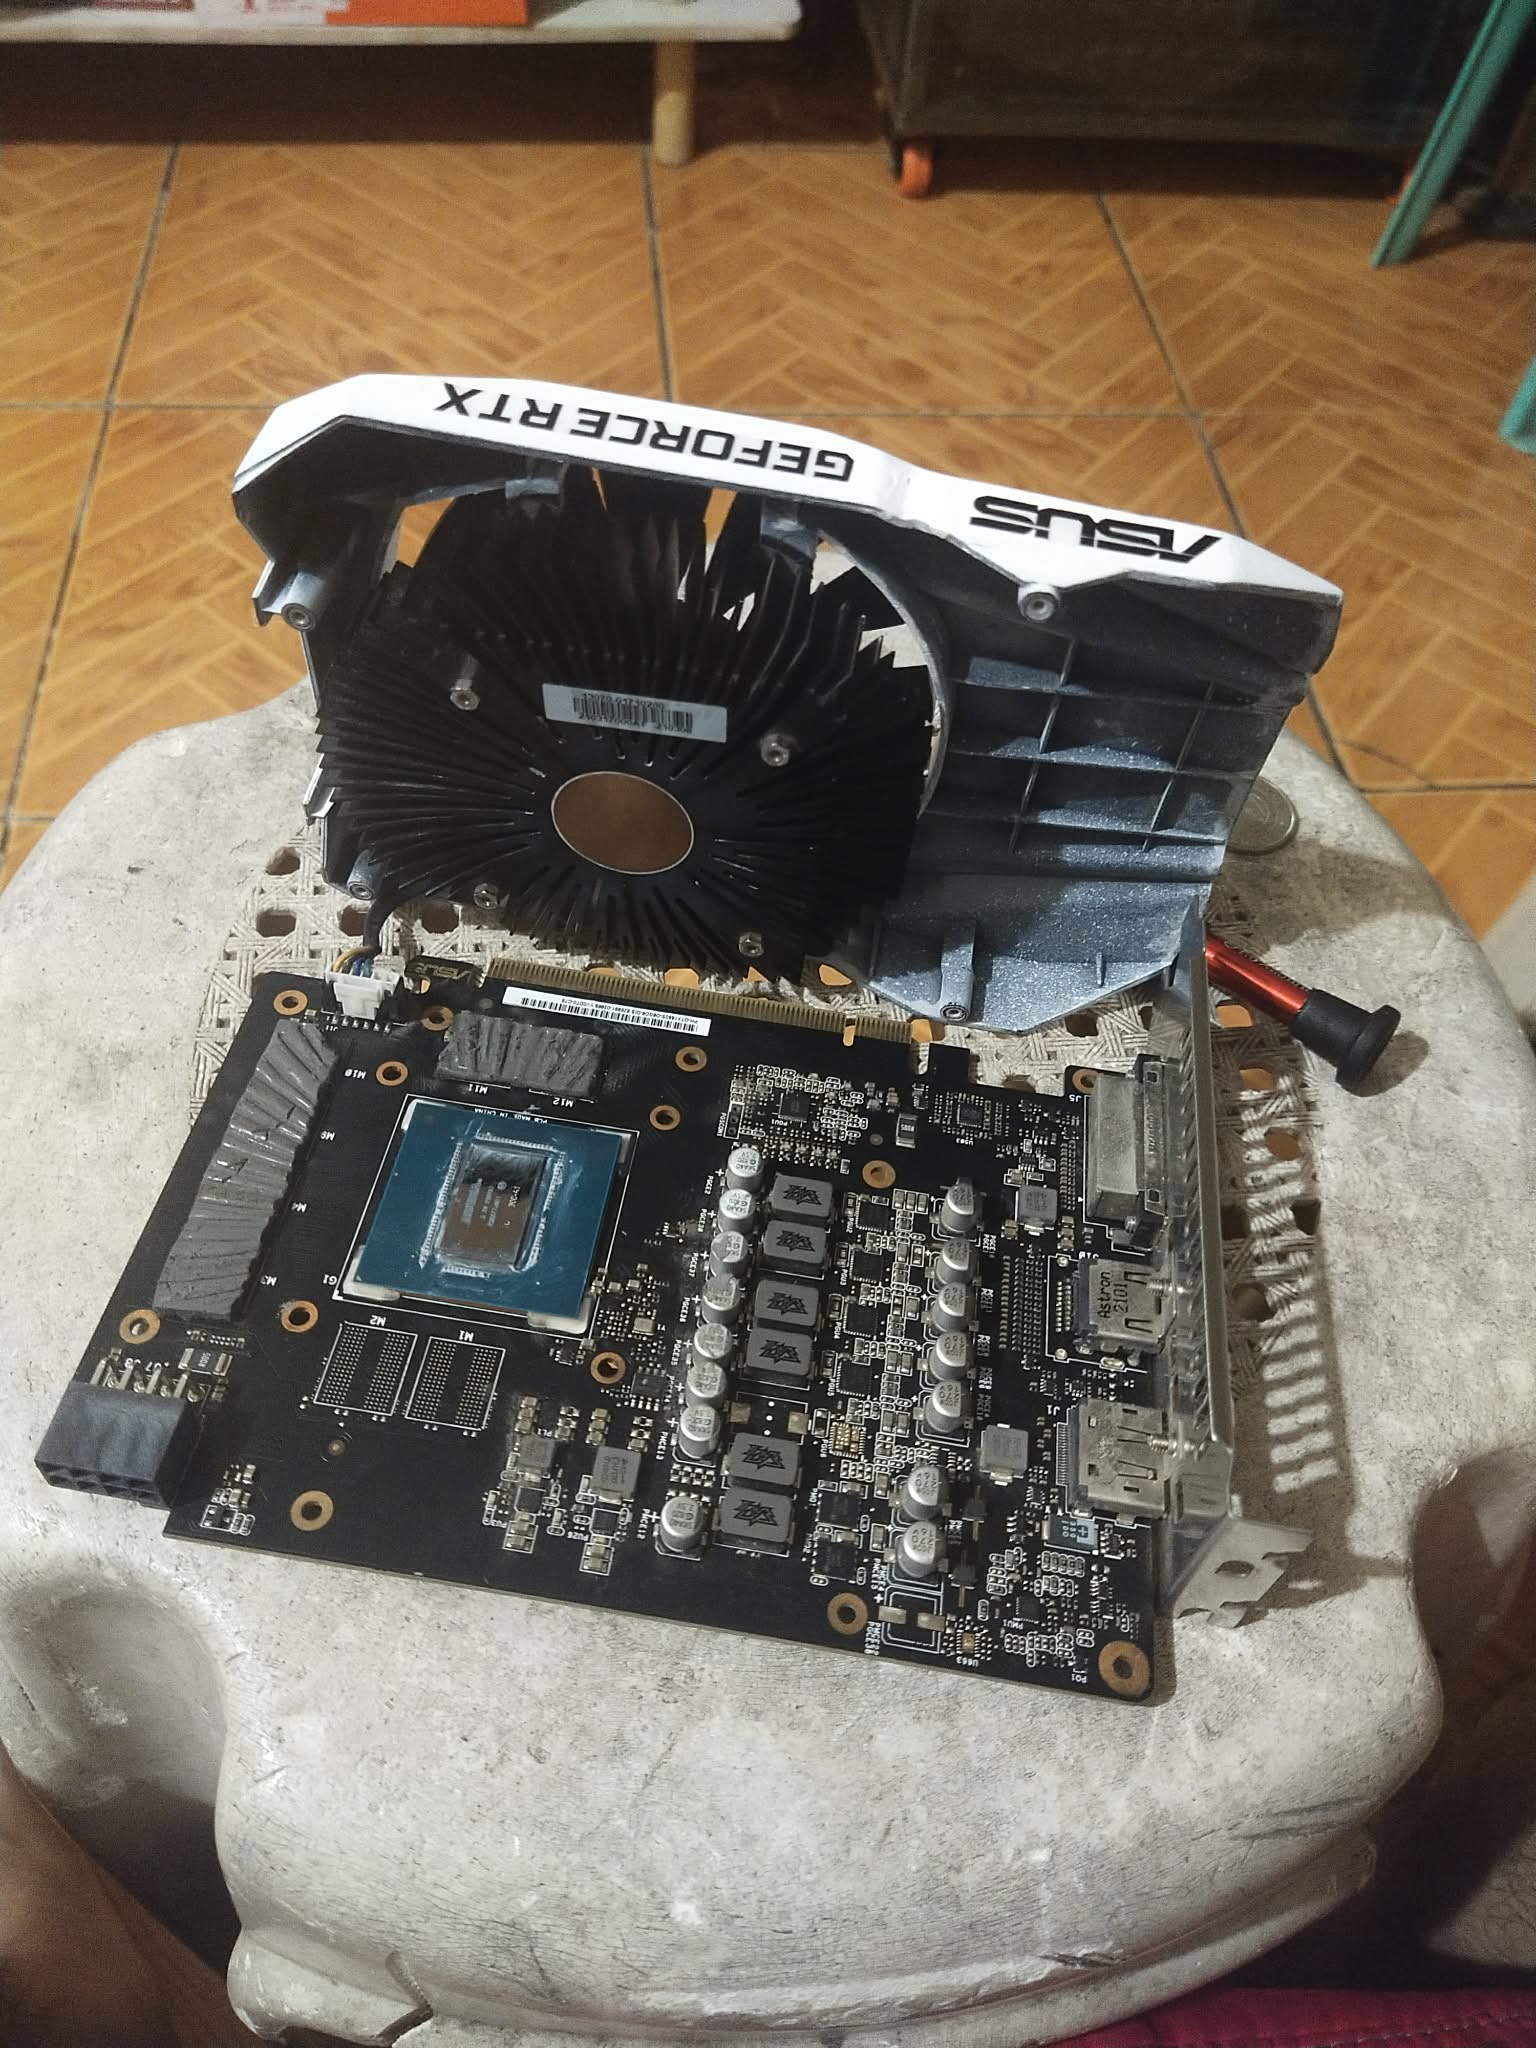
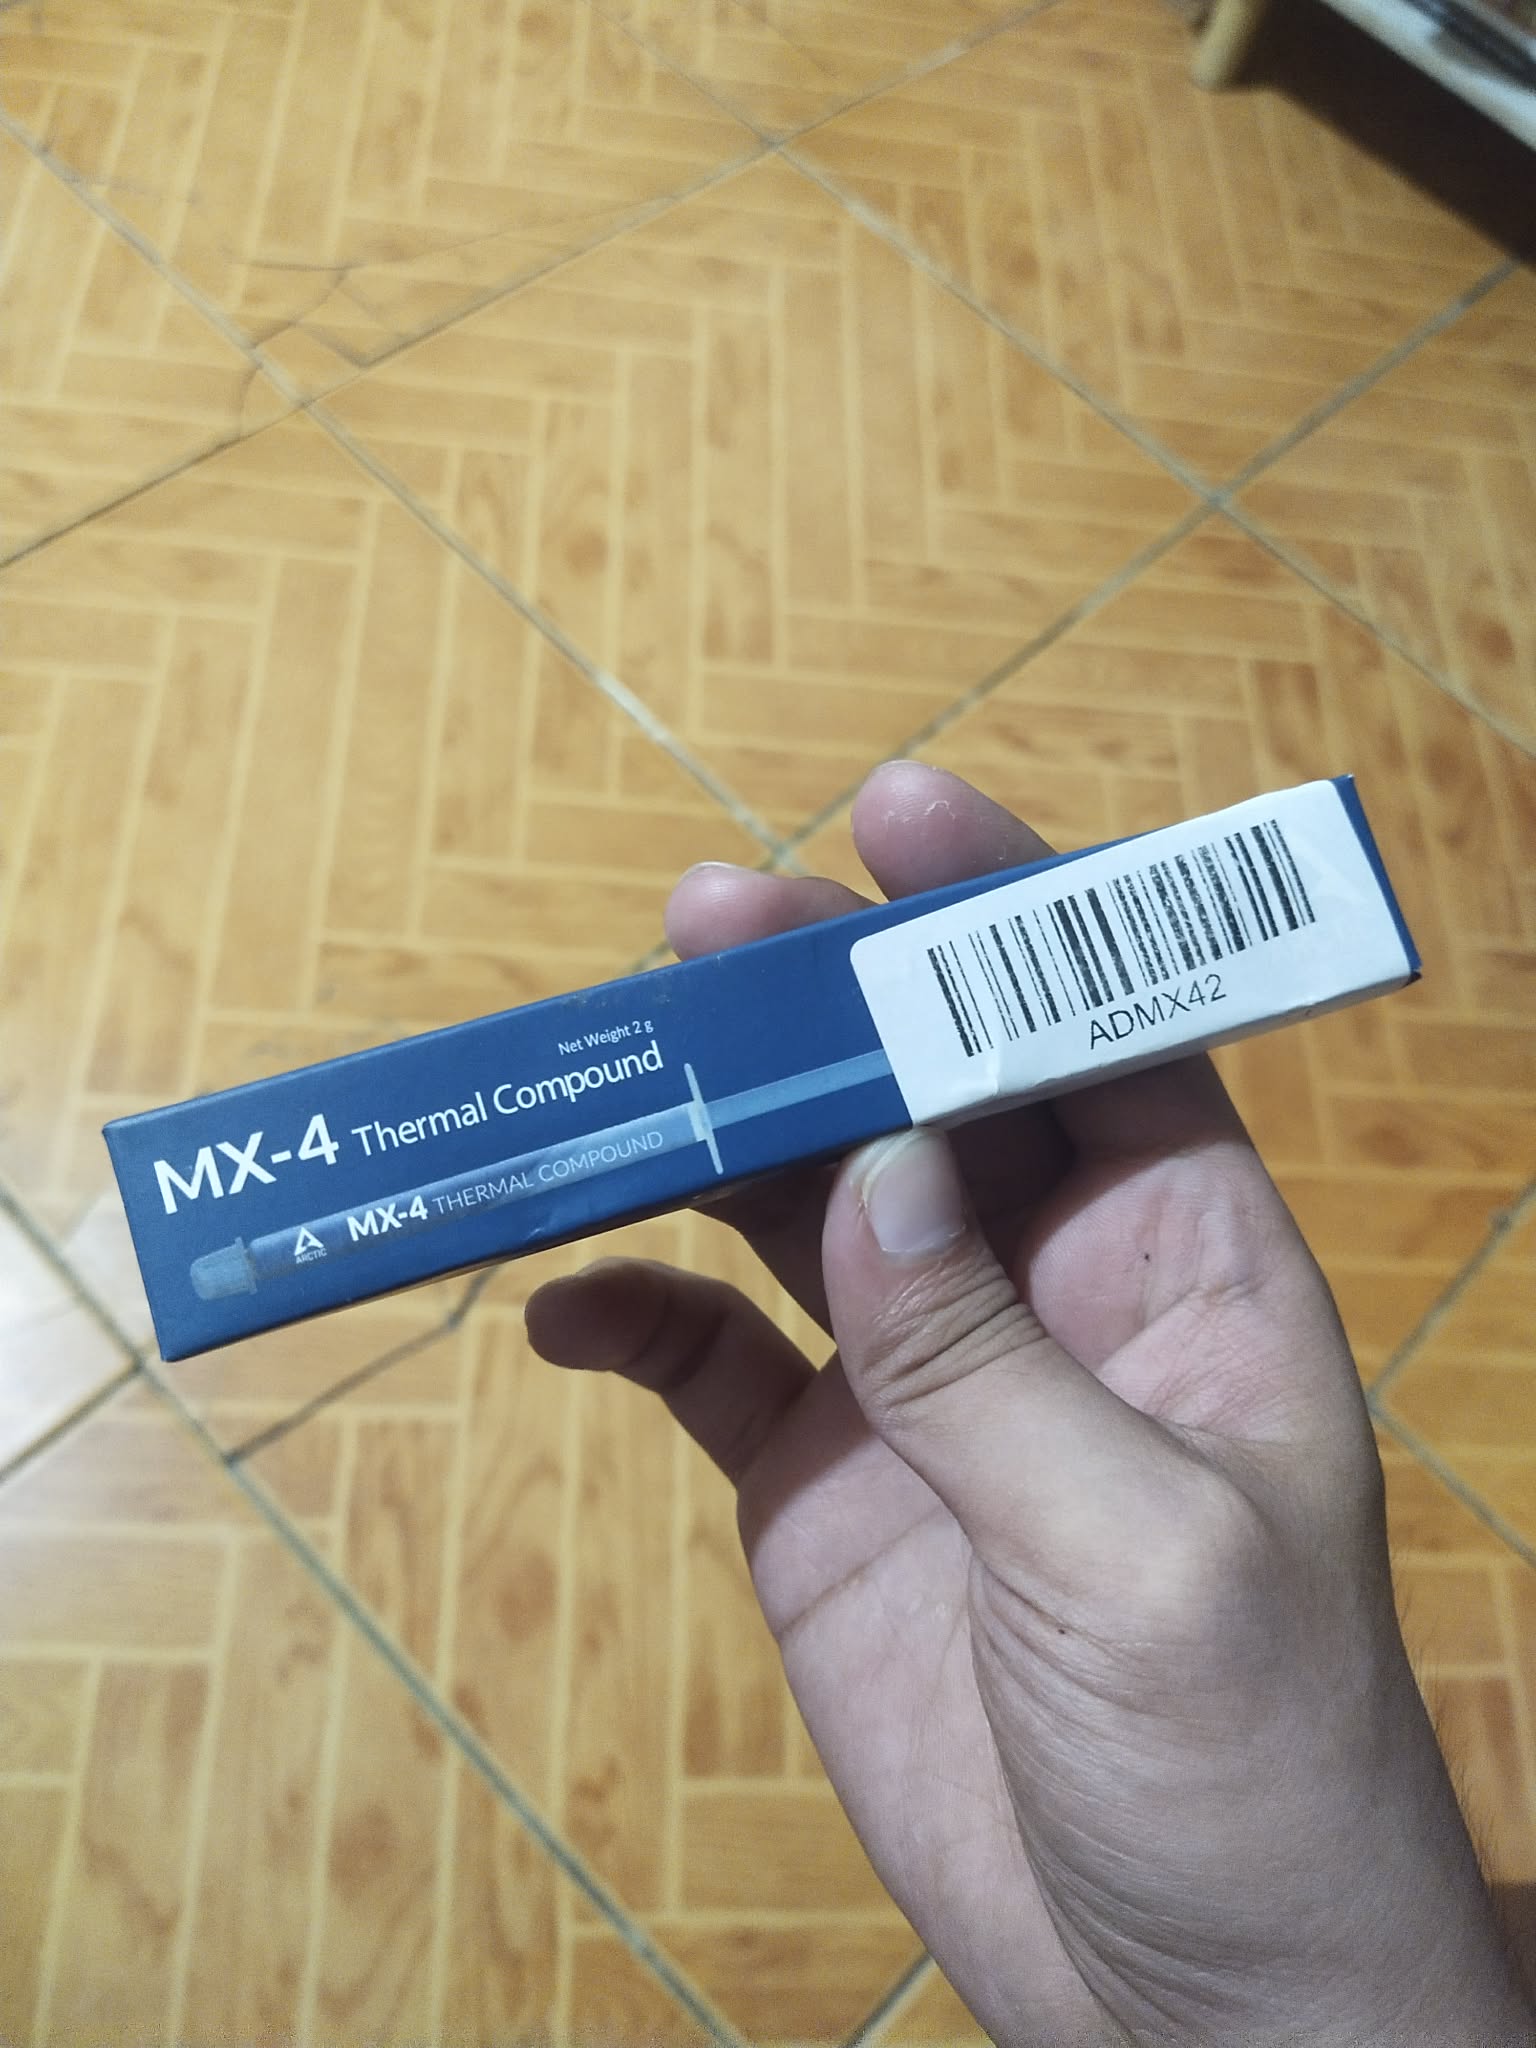
Since all the designs and detail painting were done, I started assembling the GPU back together. Of course, before doing that, I made sure the GPU was clean—brushed it well using my non-static brush. I used Arctic MX-4 thermal paste for better cooling.
Finish Product
Nov 30, 2025
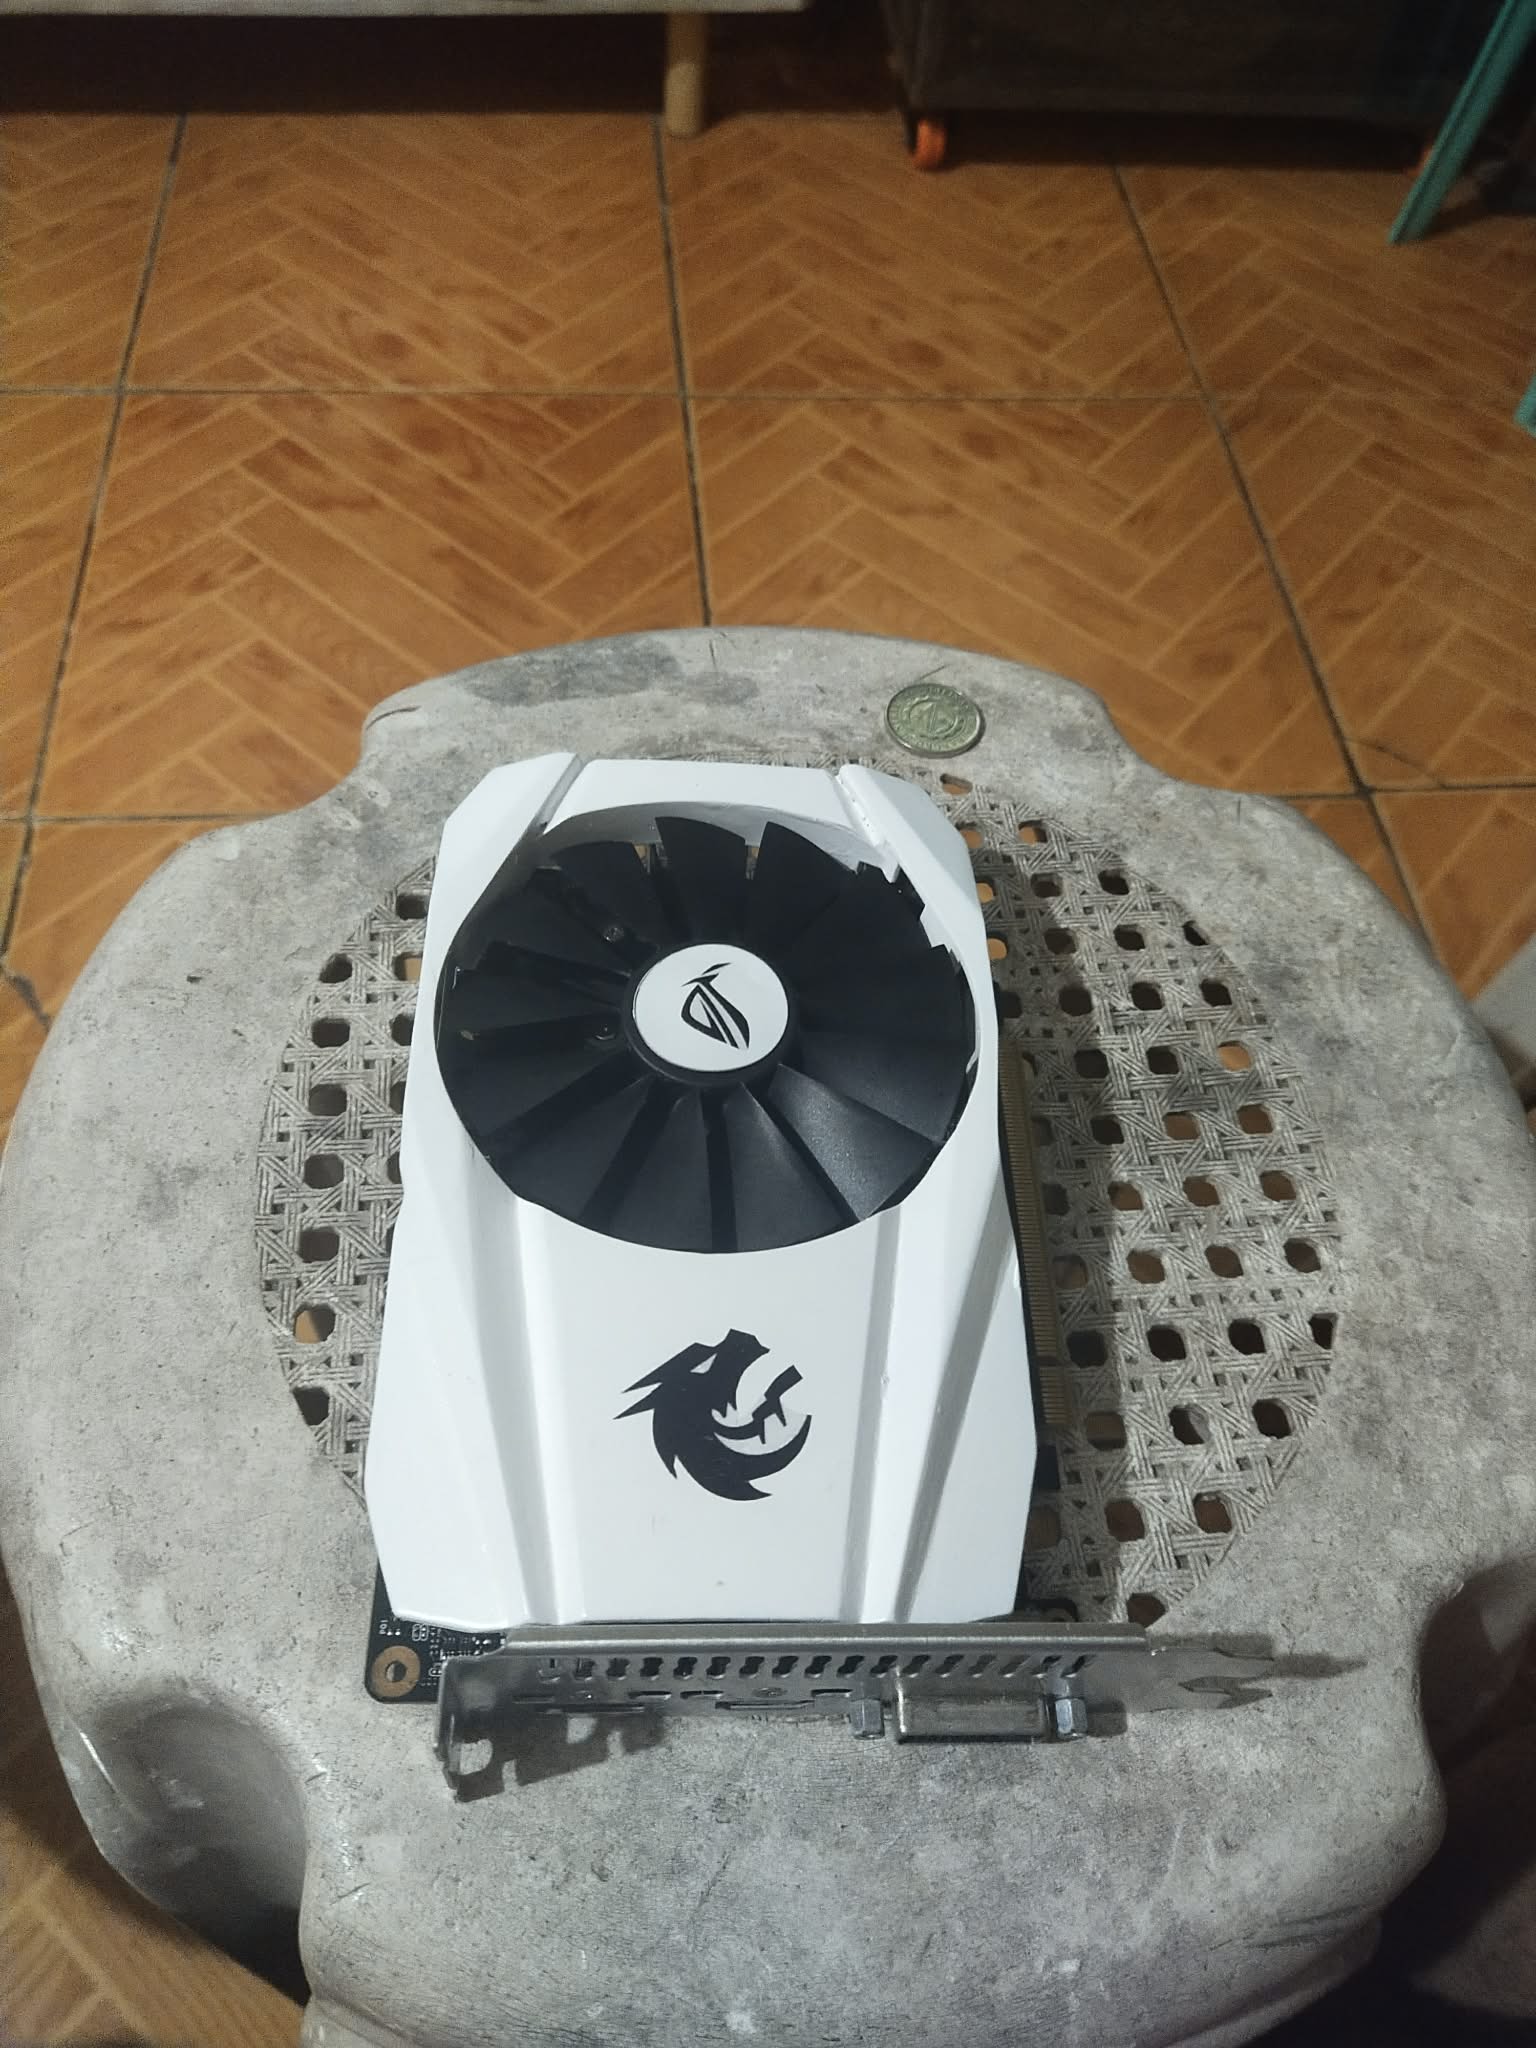
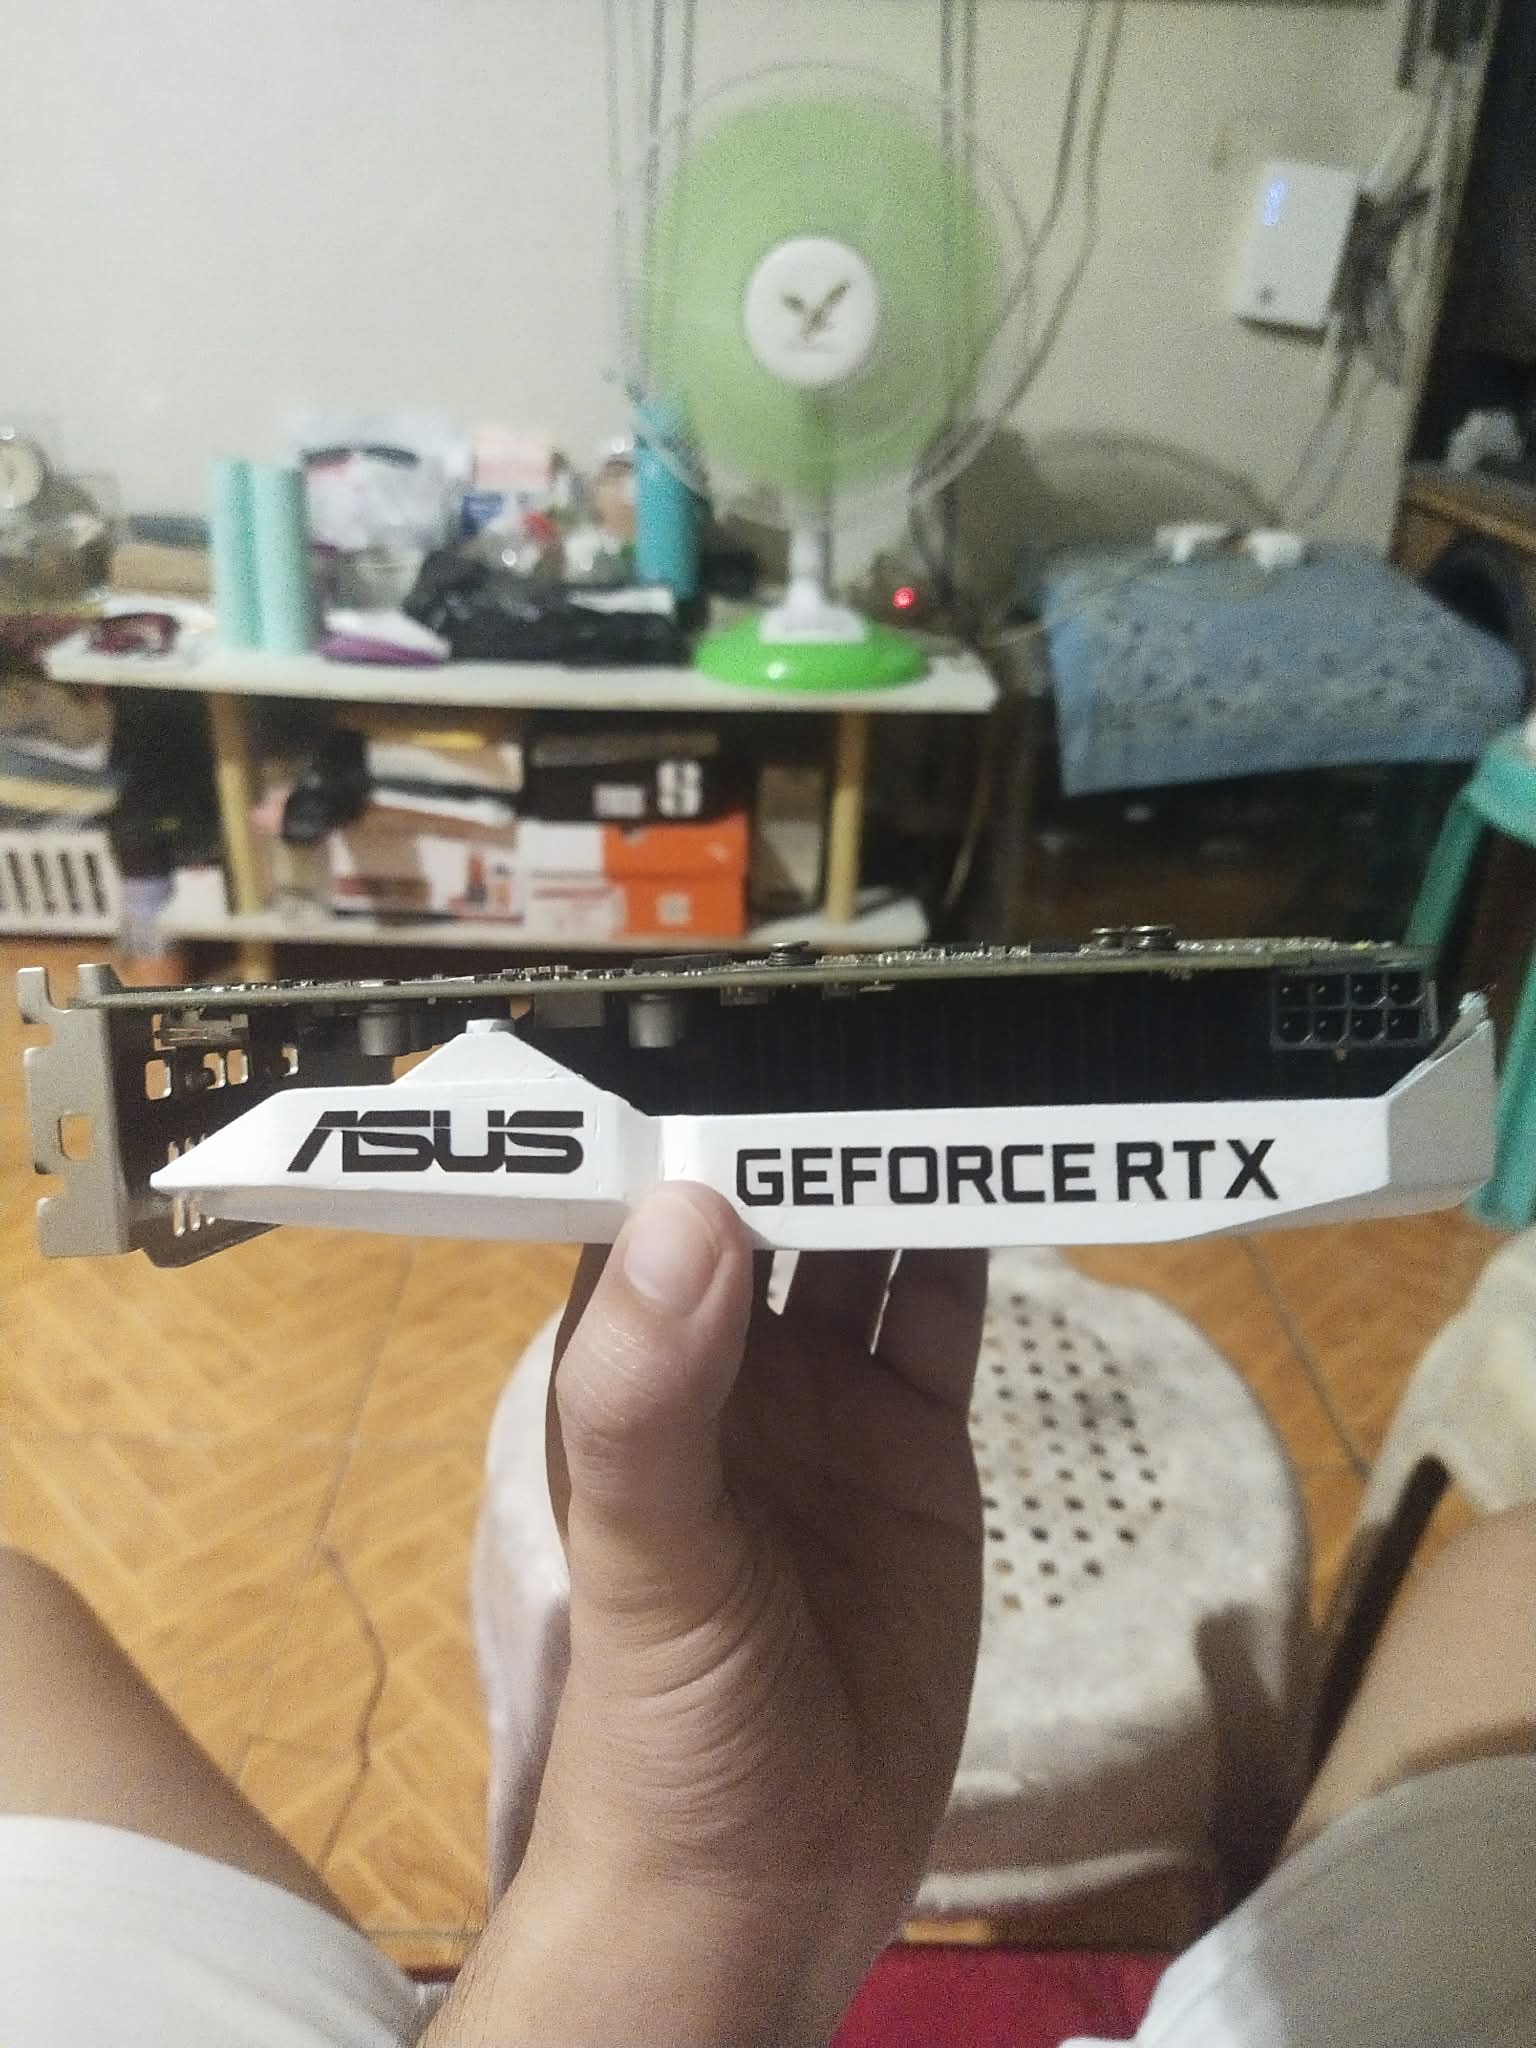
And voilà! This is the finished product, and it looks pretty cool. Honestly, I love the minimalist white design with the Team Spirit logo and the ROG logo. It’s a 10/10 for me, and I’m really happy that it turned out great.
GTX 1660 Super to RTX 3090 Ti
Dec 1, 2025
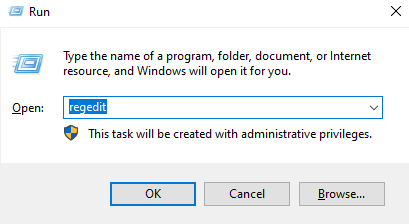
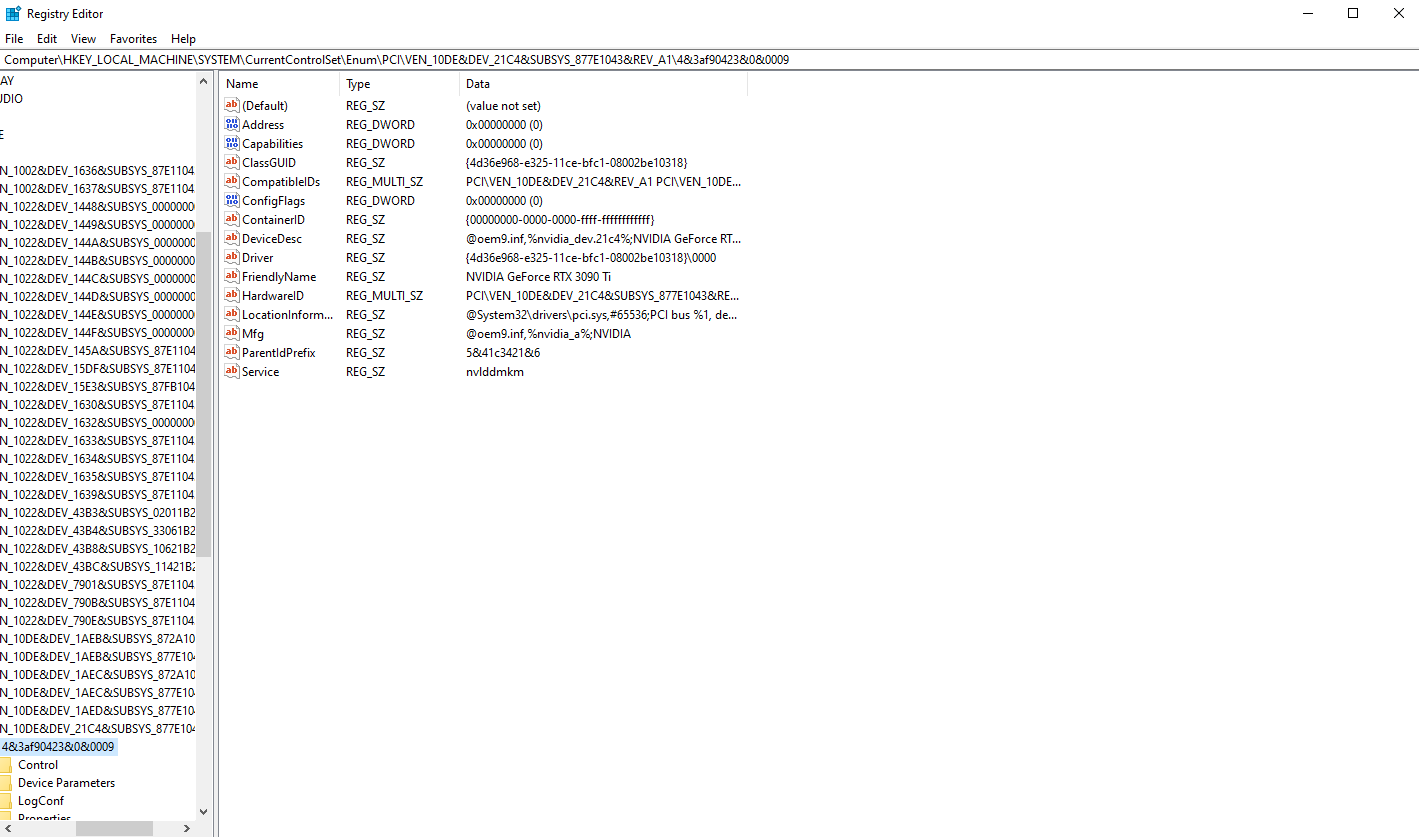
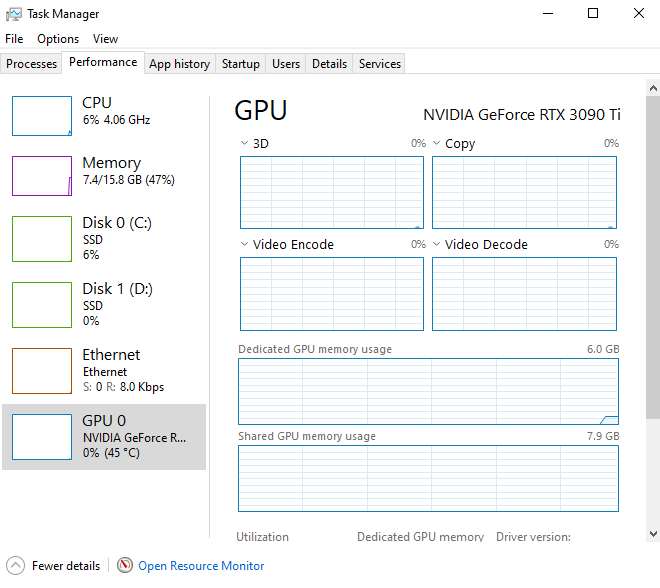
For the full transformation, I also changed the name of my GPU — from GTX 1660 Super to RTX 3090 Ti. I just pressed Windows Key + R, typed “regedit”, and looked for the DeviceDesc entry that had “NVIDIA GeForce GTX 1660 Super” in it. I changed the value to “NVIDIA GeForce RTX 3090 Ti.”
I also added a new string named FriendlyName and gave it the same value: “NVIDIA GeForce RTX 3090 Ti.” After restarting my PC, boom — it now shows as an RTX 3090 Ti. Didn’t know upgrading to a 3090 Ti was that cheap hahaha.
If you want to try it too, here’s a more precise guide:
Midnight Build Showcase
Dec 1, 2025
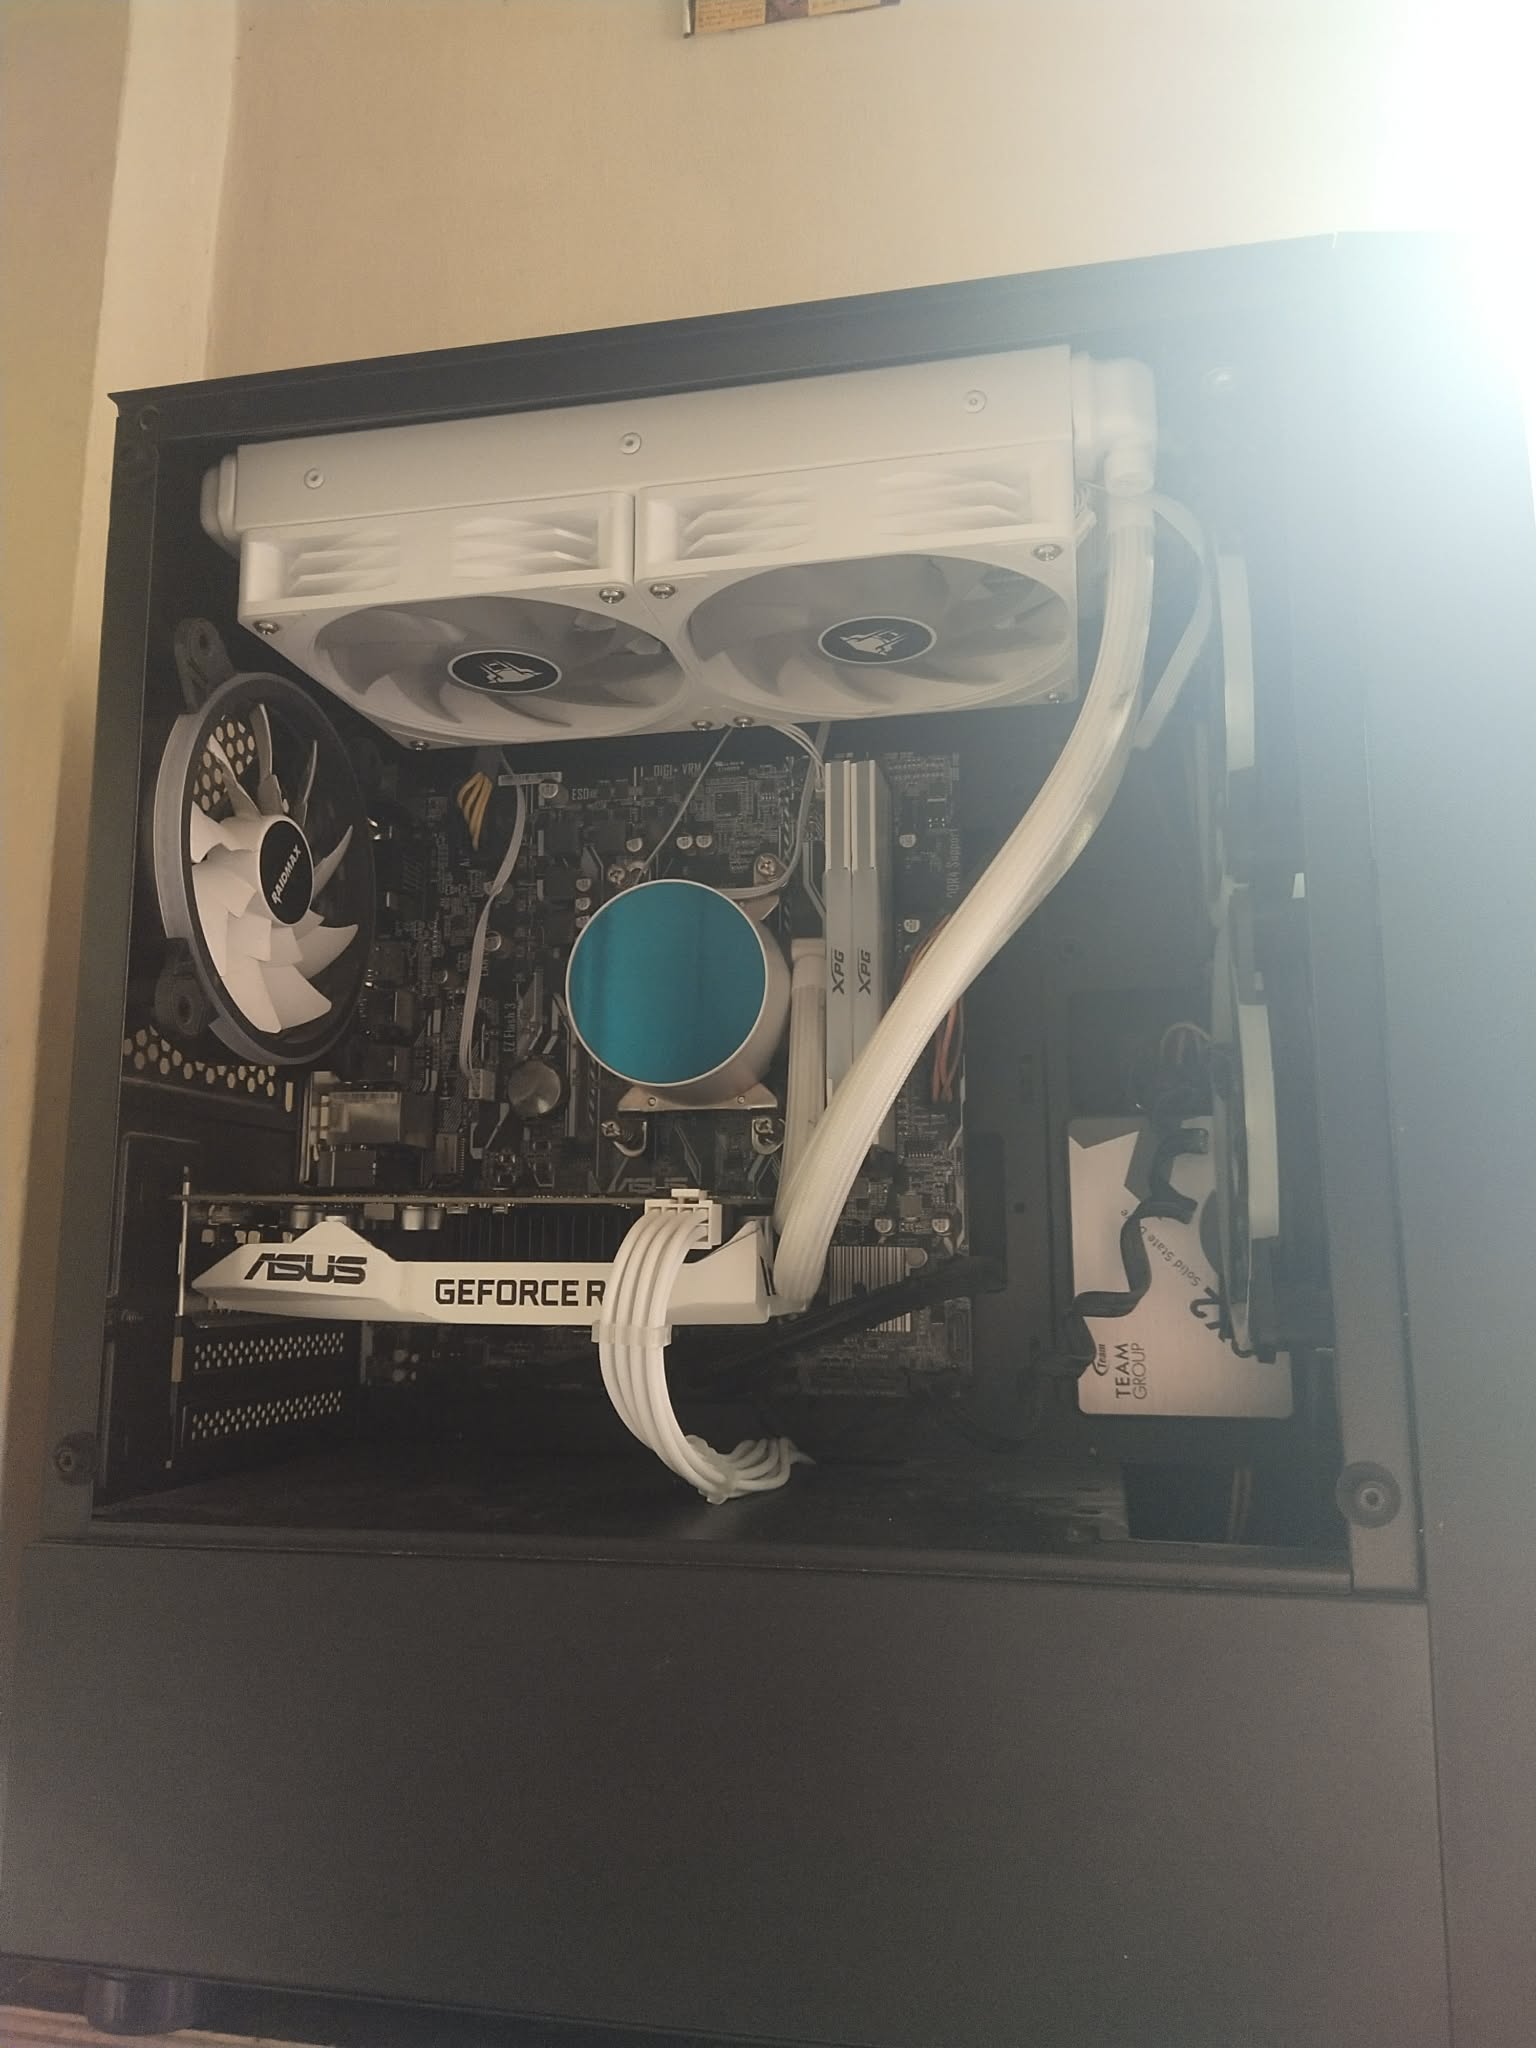
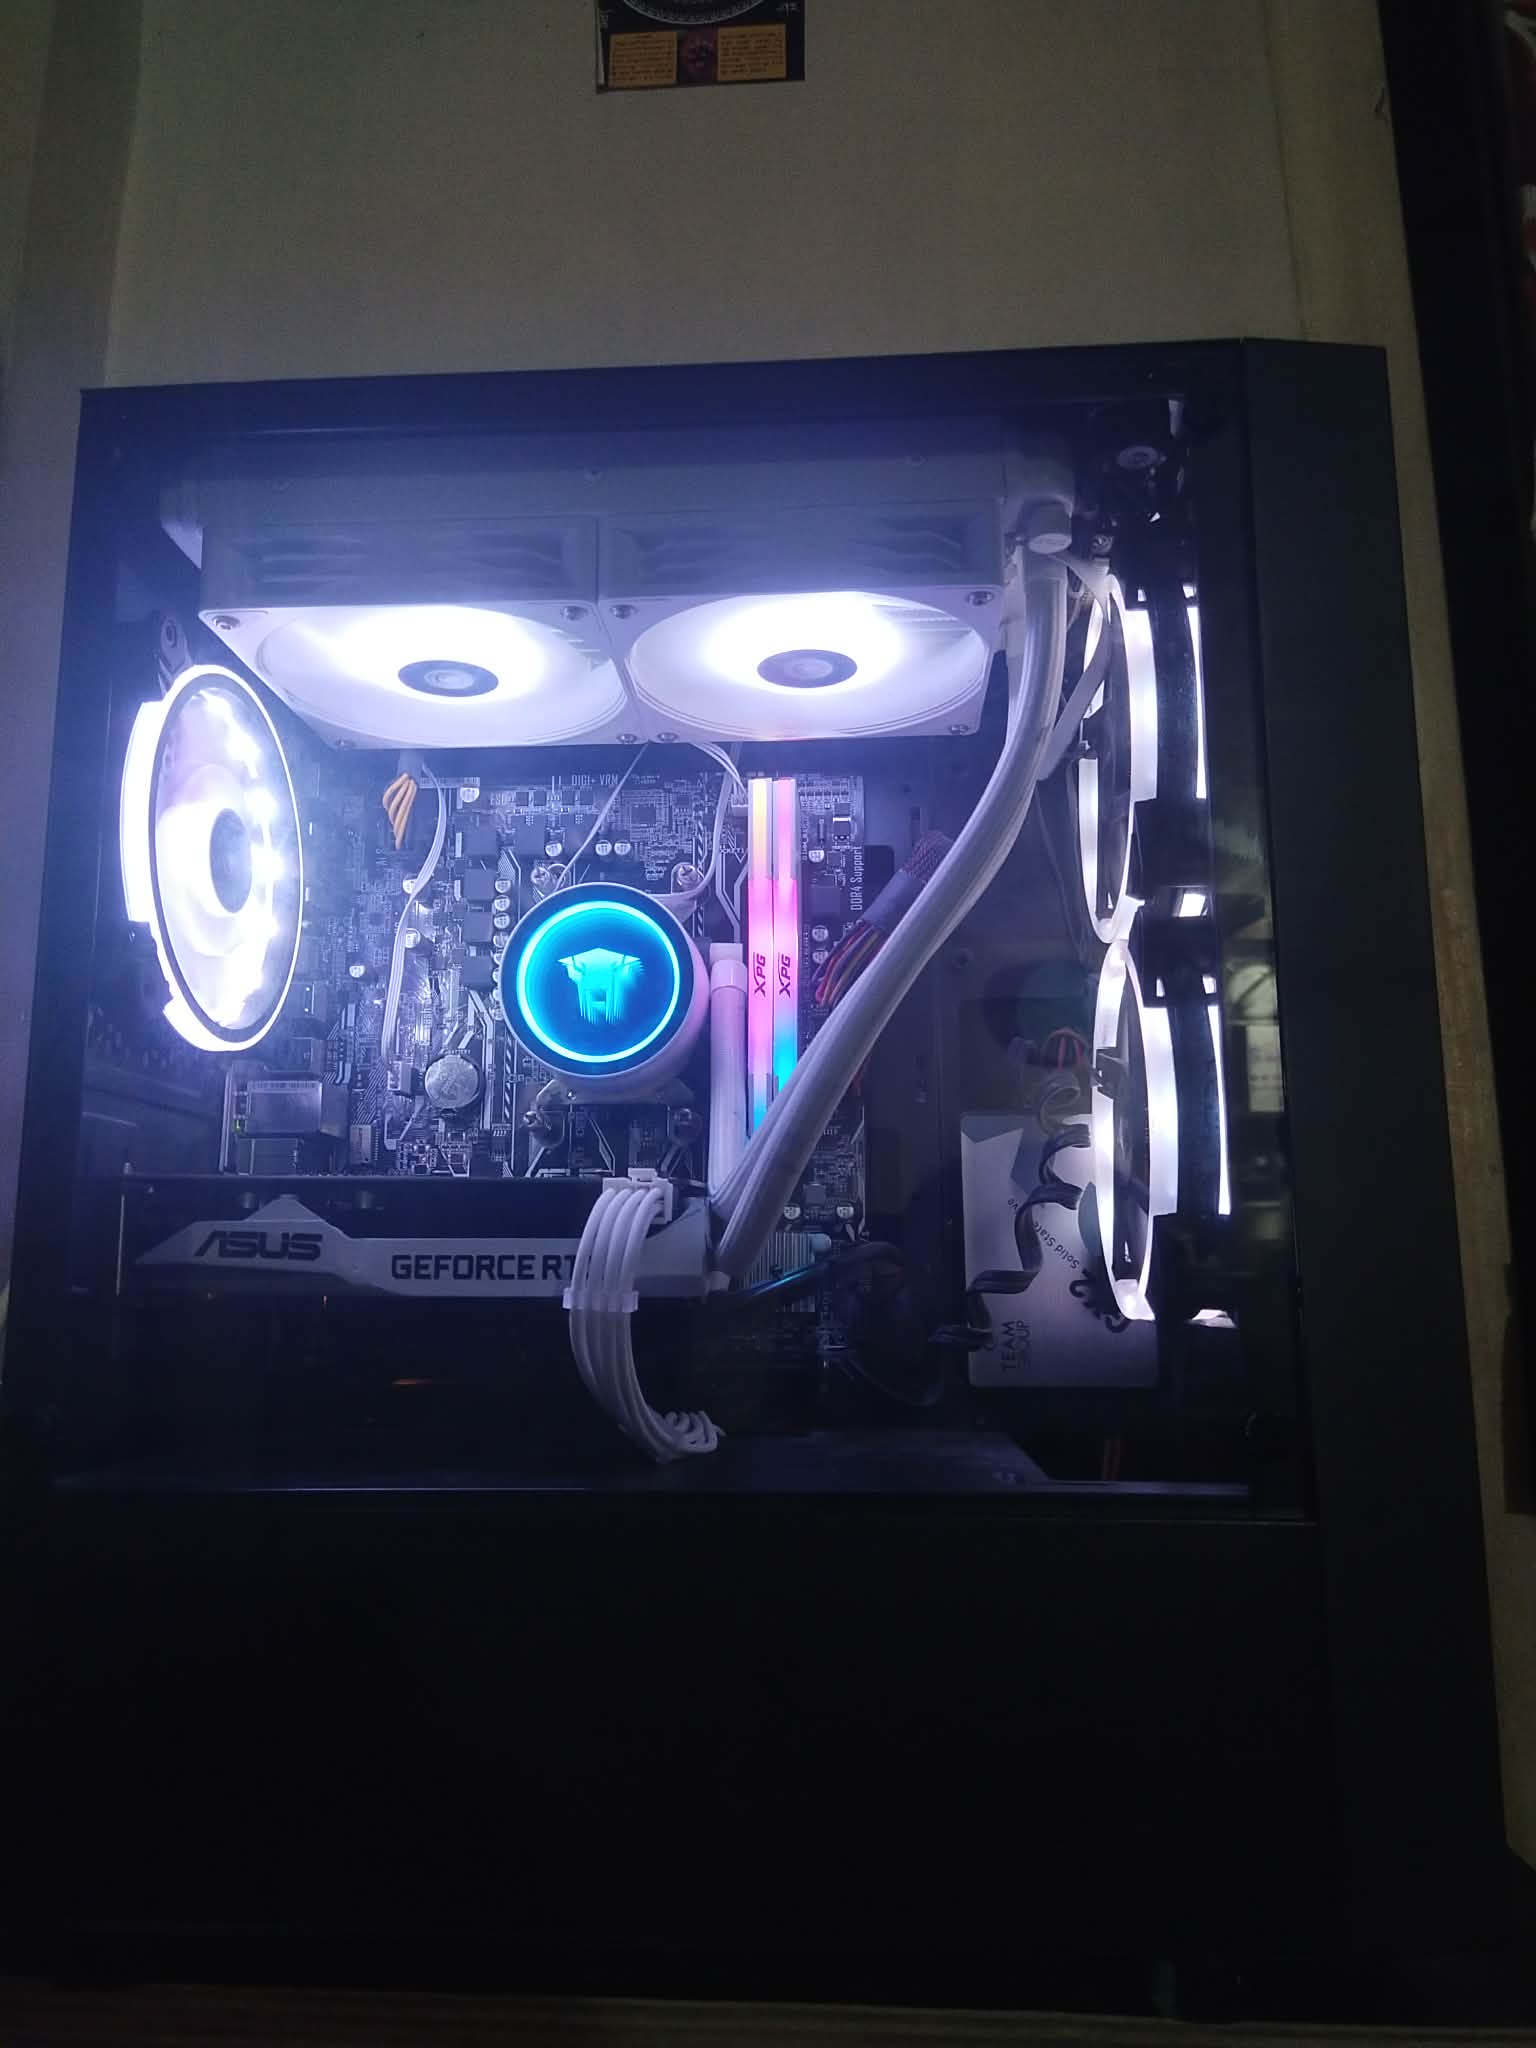
The Midnight Build is complete. With the black chassis and white components, it really gives off that midnight vibe.